

3 Tips for Better Kite Control
Today, we’re going to do one of the most important videos we’ve ever done. 3 tips to master kite control. This is part one of two, I’m going to do a second video on advanced kiteboard skills to expand on this next. We're lucky to live in a time where all kites are really user friendly but it came at a cost. It seems like most new kiteboarders don’t know how to control their kite with their edge.
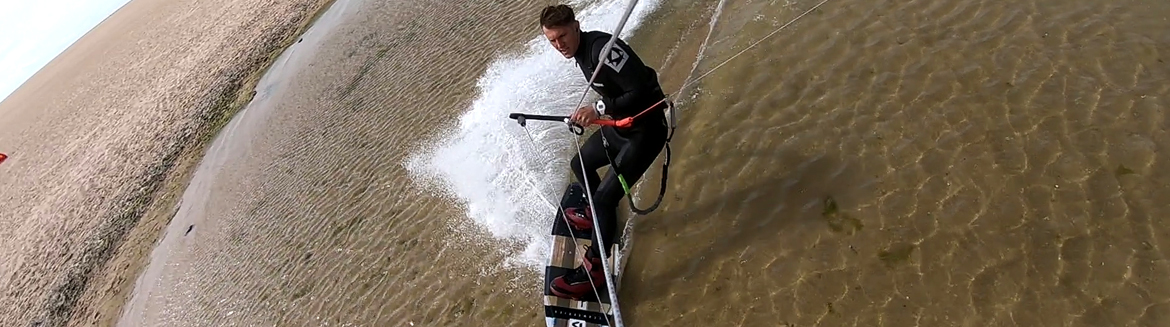
Riding in a boarding stance is important
In the early days of kiteboarding, riders had to use edge control to fly their kite. Now, depending on the kite you have, this might not have as much of an impact. Some respond better than others. Either way, if you can learn these techniques, you're going to be a better kiteboarder.
The goal of this video is to help you put the boarding into your kiteboarding. You’re going to jump higher, you're going to learn new tricks easier and honestly you’ll just have more fun riding if you can get these skills down! It's one of those things that most advanced riders just assume everyone knows but as it would turn out most people don’t actual know how to or they might do it a little but they are not fully aware of it.
Edge control impacts everything from depowering the kite, riding upwind and especially jumping. It’s everything for unhooked riding but you can sort of get away without it while hooked in. I’m going to focus on hooked in technique for this fundamental video.
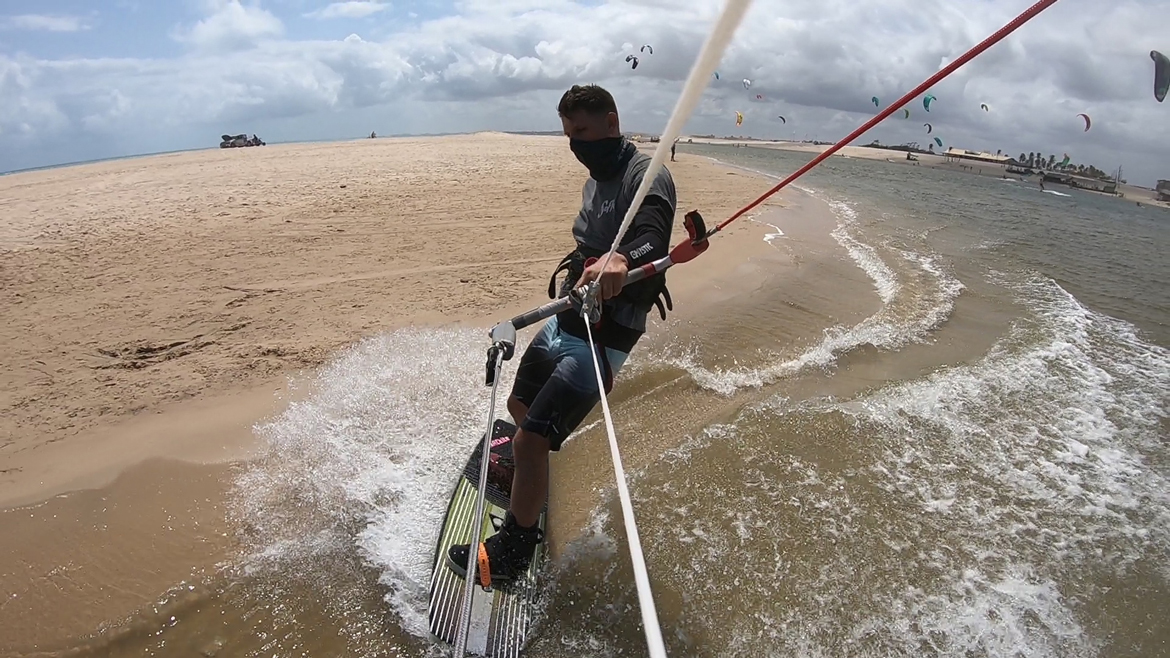
Learn to control the kite with your edge and front hand
Tip One - Edging the Kite Low with One Hand
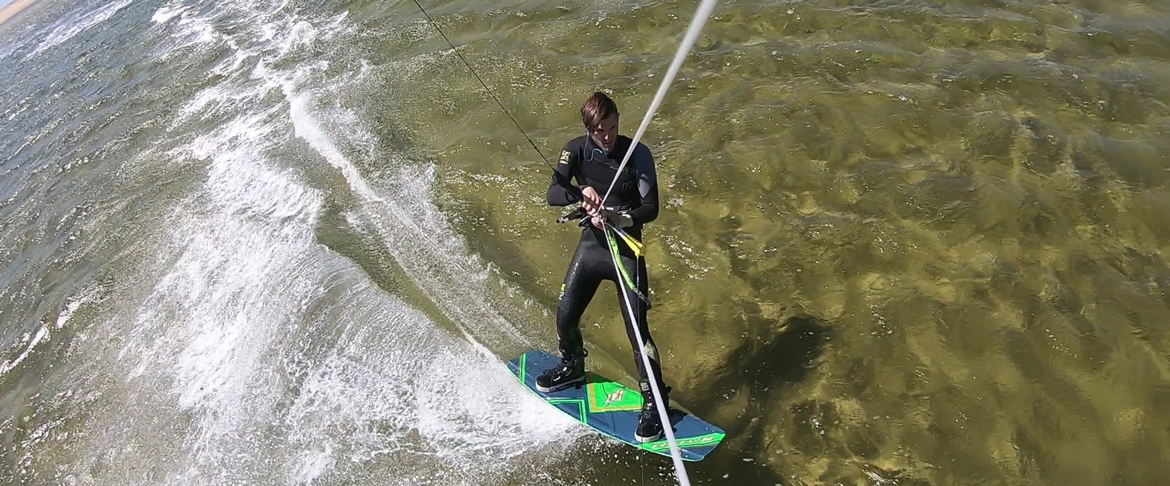
Before we get into the edging, we need to cover steering the kite with one hand. Split the control bar with your middle and index finger. Get your hand as wide as possible on this one too. You’ll be using your pointer and thumb to control one side of the bar while your palm and remaining 4 fingers on the other. Do this while riding slightly downwind. Start carving small S-turns from your heelside edge to your toeside edge. You want to be going across to the wind, slightly downwind for this.
This drill is going to help set the foundation for advanced kite control skills. You’ll be riding with the weight over your board. So imagine you are on a skateboard or a snowboard. Try to not lean back like you are going upwind. Put the kite low and in front of you. Anywhere under 10 or 1 o’clock is fine.
Keep the kite low
Now practice sending the kite up and down. Turn your wrist and put pressure on your pointer and thumb to send the kite up. To send the kite back down, turn your wrist the other way. put pressure on your palm you might even push up with your thumb. This is going to send the kite back down. Get used to signing the kite like this and spend a ton of time practicing.
Now start carving S turns downwind slightly across to the wind. Send the kite gently up and down and let it pull you forward. You should feel like you’re on a wakeboard or snowboard now.
This is going to help out later on when you are doing anything from the most basic jumps to advanced tricks. Being able to steer the kite and redirect it forward with one hand is going to make you look like a master kiteboarder. Spend time practicing this every chance you get. The more time you spend flying with one hand, the easier it will be and the more control you’ll have over the kite.
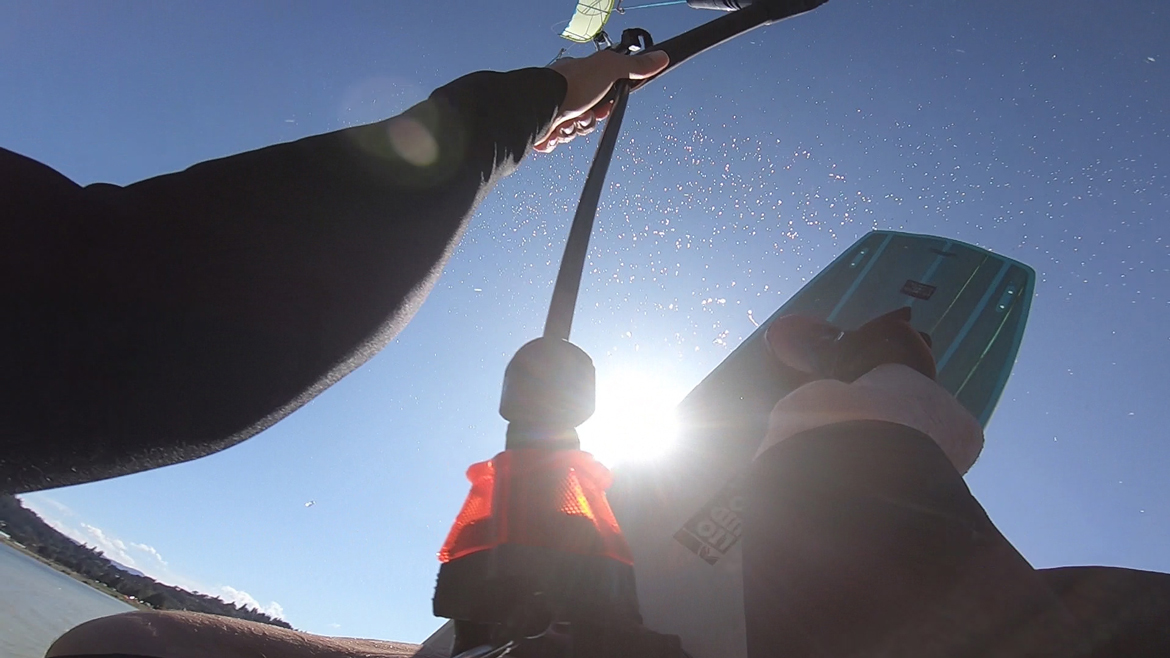
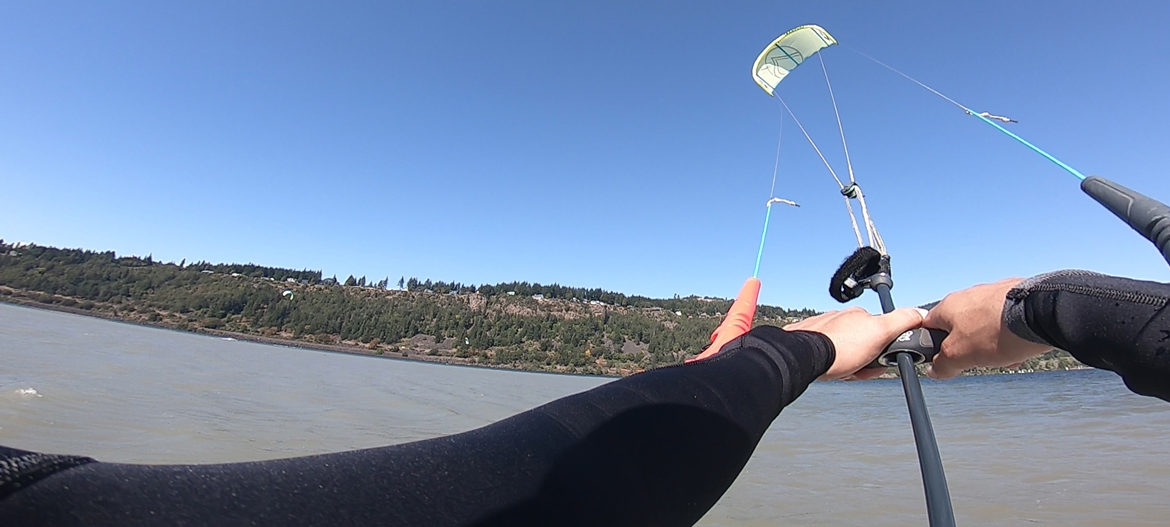
Front hand pressure keeps the kite pulling your forward for a better landing
This is going to teach you how to control the kite with one hand and help you build the muscle memory for proper landings. Something 90% of kiteboarders get wrong. Myself included for my first couple years of riding!
As you get more comfortable start digging your edge in more with your carves. Pay attention to the line tension and your kite as you dig your edge and come off downwind. You’ll fee the pressure load up in your hand as you steer the kite. Depending on the model you are using, the kite might shoot forward as ou edge and sit back deeper in the wind window and you come off the edge. Just pay attention and get used to how your kite responds.
Tip Two - Edge Control Basics
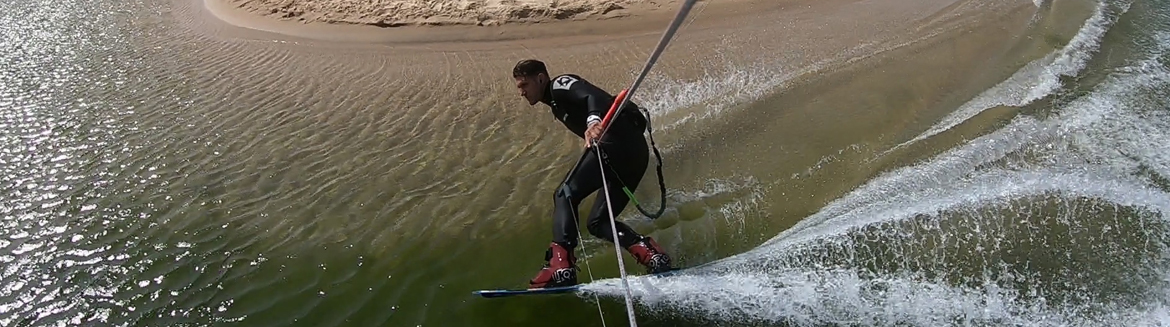
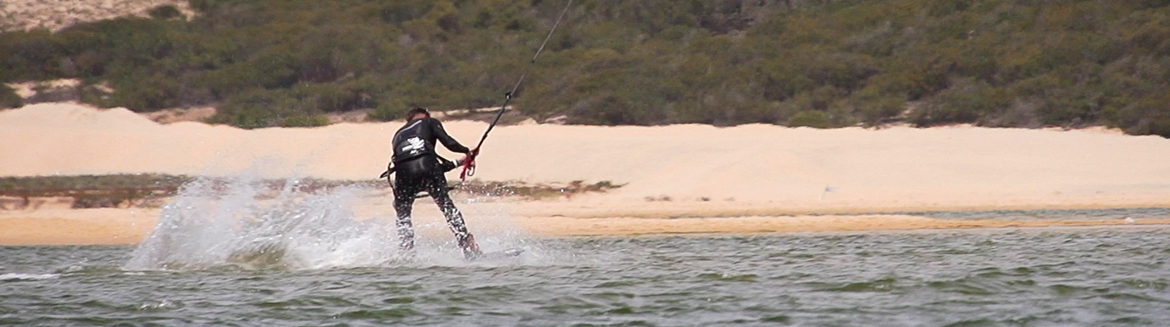
Dig an edge and shoot the kite forward
- Can slow momentum kite responds faster
- Kite will site further forward so its more efficient riding upwind
- How people used to slow down. You are reducing the kites' power by pushing it further forward in the window
Coming off your edge
- Helpful for controlling unhooked and for power on powered kite low tricks
- Balance the kites lift on harness vs edge of your board
- Ride downwind to set the kite deeper in the window (Priming the kite for power)
- Too deep and can slow you down too but the sweet spot will help you pick up speed.
- Use it to control the kites position in the window.
Jumping applications
- When jumping, you can come off your edge a bit, and set the kite deeper. When you send it up, it will be deeper in the window and you’ll pick up speed for a bigger jump.
Come off your edge to build speed
Controlling your board speed
Speed is an important factor in jumping or kite low powered tricks. You'll be using this drill to learn how to control your speed and set the kite in the correct position depending on what you want to do. Be that a more powerful pop, to slow down or to take out some line tension and give your arms a break.
For step two, you’ll be repeating that first drill. Except now, try to sheet the kite as little as possible. It might help to size down your kite so you can be more comfortable learning to control the power. With the bar sheeted in, riding in the athletic boarder stance shown in the video, come off your edge and ride downwind at the kite. To get a feel for this, start by riding slightly downwind in more of a snowboarding stance. Keep your back straight, bend your knees, and sit down like you're sitting tall in a chair. Stack your shoulders over your knees over your ankles. Your weight should be over the board. You don't want the kite holding you up too much.
Start riding slightly downwind at the kite with a mild heel side edge. The kite should drift deeper into the wind window. You’ll gain some speed and prime the kite for more power. As you edge back upwind, the kite will move though the power zone. You’ll feel the power build until the kite reaches the edge. Now, depending on how much pressure you apply and how you weight the board, you should be able to control the power in the kite. If you lean way back and edge more, the kite should lose power almost like putting on a brake. It helps to apply more back foot pressure here.
Ride upwind better
If you lock it in, at a moderate speed, keeping your weight even between your feet, you’ll be able to rock upwind If you come off your edge and pick up a ton of speed edge hard and flick the kite up for a jump in the power zone, you’ll get a ton of air.
The goal here is to just practice coming on and off your edge. Learn to set your kite where you want it and learn how to build speed and power and learn how to let it out with just the edge of your board.
Every kite is different and you will have to sheet a little, especially if your kite isn’t responding. Sheet the kite in and leave it there. The goal is to control the kite with your edge, not sheeting. Now, start carving from your heel side to your toeside. If you edge really hard on your heelside edge, the kite should shoot forward to the edge of the window.If you ride downwind, the kite should drift back and sit deeper in the wind window. If you charge too hard downwind, it will actually drift to the edge and likewise, if you edge too hard, the kite will shoot to the edge of the wind window. If your kite is trimmed incorrectly, it will backstal deep into the wind window.
Not all kites will respond to your edge
Depending on the model kite you are using the impact will vary. For example an all around kite the cabrinha Switchblade will not respond much at all. In fact, kites like that will just sit forward in the window and keep pulling you. This is because kites like this are like automatic cars. They rely on sheeting and just a little bit of edge control making everything easy. Now a kite like The RPM, Dice, the NV, the Fx, and some of the 3 strut kites are going to respond more. For example, the more C-Kite DNA a kite has, the more it will respond to edging. Regardless of your model kite. This is still a great drill to practice. It’s going to help you grow your skill set as a rider and help you learn to control the kite you are flying better.
Start experimenting and pay attention to how your kite responds. Notice what makes you lose or gain power. See if you can place your kite a bit deeper in the window or take some power out but angle the kite so that you are riding upwind more efficiently.
You’ll be able to jump higher, ride upwind better, Depower more effectively and when you pair this with step one, your jumps and tricks are going to look much more controlled and better in the air and on the landing. Eventually, if you get into wave riding, this is going to help you position the kite where it needs to be while surfing.
Set the kite deeper for more powerful jumps
Edge Control & Kite Position while Jumping
The goal of this drill is to apply all the skills you just learned into a jump. The faster you go, the deeper you set the kite and the more line tension, the more power or height you will get. You also want to keep the kite in front of you most of the jump and land in the athletic boarder stance that you were practicing. If you can do it with one hand, even better!
So while coming into a jump, come off your edge to build speed and set the kite deeper. Edge back upwind and feel the tension load into your lines. As you send the kite up, release your edge and sheet in between 10 or 2 and noon. Now, use that front hand pressure and control you’ve developed to pull the bar forward and redirect the kite. Stay compact and land riding downwind just like the S-curves drill. This should feel natural if you practiced step one. Now you can ride out for a moment weighted on your board and slowly edge back upwind.
Try again
Get more speed and send the kite a bit deeper into the window and flick it up to noon. Scoop, pop and sheet in as you’re sending the kite up. If you mastered the first two drills, you should be able to get a powerful edge and position the kite so that you get a lot more power into your jumps.
When you do this, make sure you release your edge while the kite is on the forward side of the wind window. A lot of riders release their edge when the kite is crossing over to noon. This will work but it makes everything kind of dangly and it limits your airtime unless you’re doing a kiteloop or something. So if you can load the kite up and release your edge with the kite a bit deeper and in front of you, you’ll generate a lot of forward lift needed for better looking bigger airs. Rather than letting the kite get behind you or that awkward dangling feeling when you miss release.
The main goal here is to keep the kite in front of you pulling you forward the whole jump. It can be above you for height but you need to pay attention to your front hand pressure. As you are coming down, pull hard on your front hand so the kite pulls you hard downwind.
An added benefit of that 2nd drill was opening your body up into a better riding / action stance. This is going to make you more athletic when jumping and more controlled while in the air.
As you feel yourself coming down, you can take your back hand off and steer the kite with one hand since you spent so much time practicing it. Redirect the kite forward and land slightly downind in the same snowboarding stance and downwind angle from the second drill.
If you can do all of these things, even the most basic of jumps will look controlled and stylish. You’re well on your way to mastering kite control and looking like a boarder not just a kiter!
If you would like to be contacted for adventure kiteboarding camps and pro clinics with Rygo, Blake Olsen and Chris Bobryk, shoot us an email at: Kiteboardingcamps@gmail.com
 Ryan (Rygo) Goloversic
Many people dream of quitting their job, traveling the world and pursuing their passions. Rygo is one of those people who pulled the trigger. A few years into his career, he decided to change everything and travel as a kiteboarder, freelance videographer & writer. His mission is to share the stoke & help people put the boarding into their kiteboarding. Get outside and kite!
Producer of: Ride with Blake I Sessions I Versus I Destinations I Foil Fridays
Recent Posts
-

AFS Stow Parawing Review: Value and Performance
Tucker from MACkiteboarding has been riding the 4.5m AFS Stow Parawing for a number of hours and s …24th Jul 2026 -

Best Wing Foil Upgrades to Level Up Your Riding
With the massive boom in wing foiling over the last three years, a lot of riders now have a couple …24th Jul 2026 -

Buying Your Next Wing: Top Questions Answered
Jeff and Tucker from MACkite dive into the questions they get asked every single day by riders loo …23rd Jul 2026