

The Kiteboarding Raley - Ultimate Beginners Guide - Unhooked
Today we're going to break down the Raley. This is an exciting point in your kiteboarding progression. It's a cornerstone trick that will lead to all the other tricks.
This is usually the first trick aspiring freestyle or wakestyle riders learn. It's a must if you hope to progress into any other air tricks as they all stem from this fundamental movement. Best of all, it's a lot easier than you think.
We touched on how to get started in our popping video. This week we are going to go into more detail to give you a complete beginner's guide. I'm going to break this down into four segments:
- Overview of the trick
- Body positioning
- Variations
- Common mistakes
Click here to download your free PDF
Prerequisites
The only prerequisites for this trick are the pop and being able to ride upwind. Being able to land off pieces of chop will help as well.
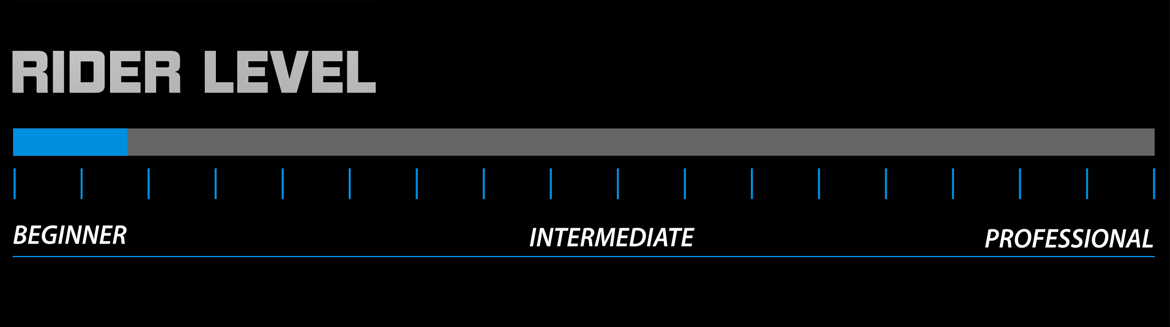
Difficulty Scale
Depending on who you ask, some will tell you the Raley is difficult. This is because most kiteboarders don't unhook. In truth, it's as basic as tricks get. On a scale of one to ten the Raley is about a two.
Something I've noticed is that riding level is all about perspective. So many people see these easy basic tricks as advanced. The goal of this video is to help you see how easy these moves are so you can focus on progressing into intermediate moves. While it's not difficult, the Raley is at the heart of most freestyle tricks. Loads of tricks start with the Raley and incorporate shiftys, rolls or spins.
What's Next
The Raley is the first progression of tricks like the Raley to Blind or the Blind Judge, that is, a Raley followed by a backside 180. In kiteboarding we differentiate these two tricks depending on whether the rider passes the bar in the air or after landing. In wakeboarding, it's just a Blind Judge. Check out our surface pass video for more information on spins. After mastering this video and our surface pass video, you should be ready to try pairing these two moves. I do have one more video planned as an in-between step coming soon. I'll cover how to prevent catching an edge and how to pop to blind.
The S-Bend is a full Raley mixed with a front roll, provided you keep your legs above your head. We'll be covering front rolls in this playlist. S-Bends will be a part of the intermediate playlist that I'll film this spring. Remember, all the advanced tricks are combinations of the basics and they all start with this one move.
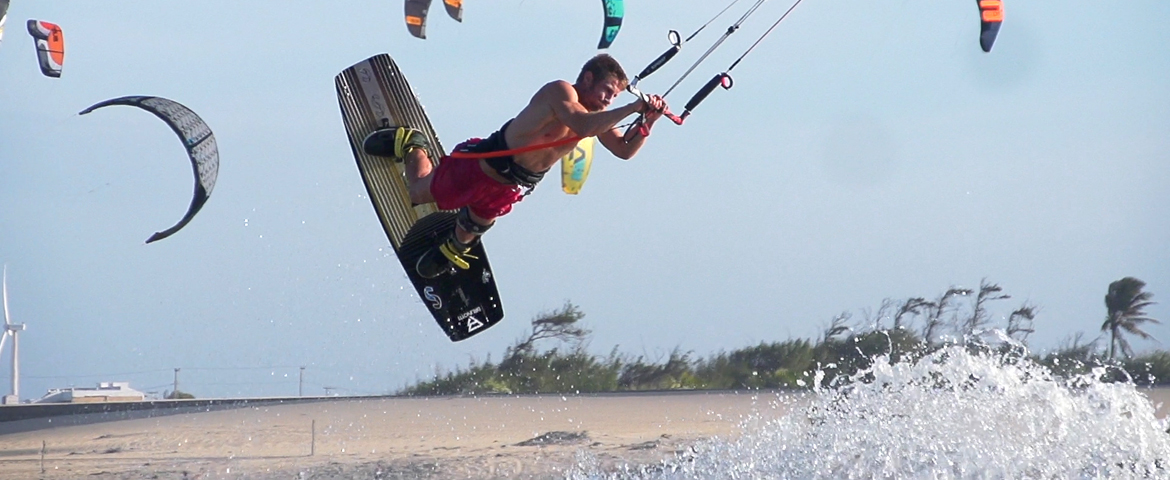
Your first powered kiteboarding trick!
Part One - Trick Overview
Take Off
Come in with decent speed. Keep your kite parked between 10 and 11 or 1 and 2. Ride towards the kite to take off some line tension and unhook. Now, lean back and start edging upwind. It's important to bring a lot of speed into this trick and pay attention to the pressure building up in your lines. You can control how much pressure with how hard you edge against the kite.
Posture
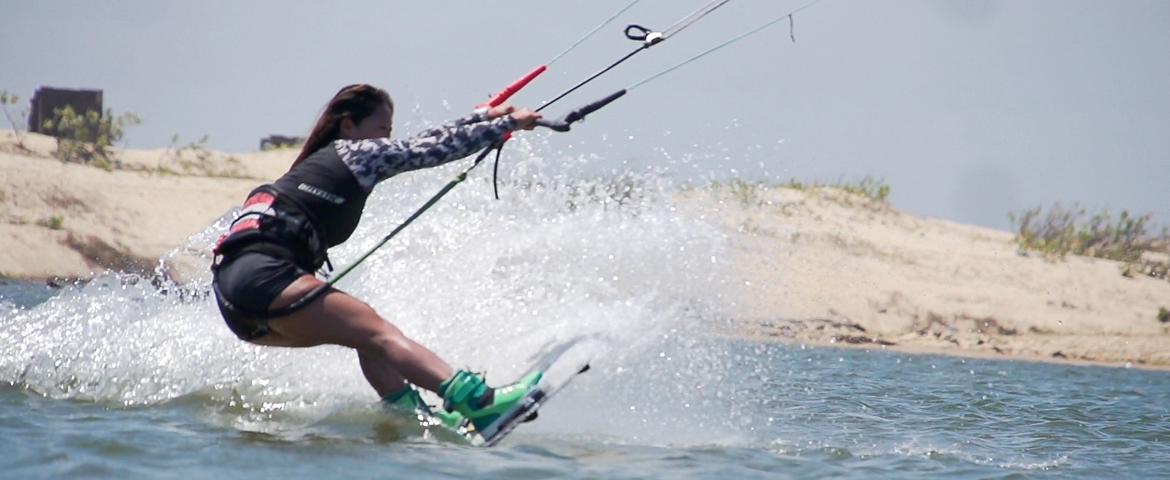
Roll your shoulders back and keep your hips up. The faster you go and the further back you load, the higher your Raley is going to be. The trick to loading is getting a ton of pressure into your lines and releasing it quickly with a scoop.
When loading, roll your shoulders back and keep your chest and hips up and facing the sky. Don't squat. Lean back like you are on the back two legs of a chair. Keep your arms in close almost like you never unhooked. Keep your hips locked, dig in your heels, and point your toes into the sky. Treat your body as a unit taking in all the energy. You will be releasing this energy with your scoop.
Timing
A quick, powerful snap or scoop is better than a long, leaned-back pop. If you lean too far, you'll choke out the kite as well. The trick is doing all of this in a fast, fluid movement. You can not hesitate. If you are struggling here, you can work on your timing with the drills I covered in our popping video.
As you carve away, the kite will rip you off the water. Let the kite pull you forward. It helps to pull down on your front hand as you release that edge. This will pull you forward rather than up. Let your arms come out in front of you and let your legs stretch out behind you. Keep your eyes on the water.
Landing
As you feel yourself naturally falling back down, pull the bar into your lead knee with both hands. Bring your knee into your chest and point the nose of your board downwind at the kite. Land with a slight bend in your arms with the bar close, almost like you never unhooked.
Absorb the landing evenly with both knees. Ride downwind to take the power out of the kite and to hook back in. Now you can edge back upwind to try again.
Stay locked at the hips & keep a straight back.
Part Two - Body Position
We covered what to do with your body while loading, but what about in the air?
Arms
As the kite releases, let your arms out in front of you. As the kite pulls you up, your shoulders will come in line with your ears if you have that kind of mobility. It's okay if not. Let your arms stretch as far as you can. Don't lock them. Keep a slight bend at your elbows at the peak of your stretch.
Body and Legs
As you release your edge, let the kite pull you forward. Scoop the board by pointing your toes back. Let your legs swing up behind you.
You'll have a slight arch in your back as you get stretched out. Your legs can come up even with your head or, if you brought a lot of power into it, they might even scorpion above your head.
Face Forward
Keep your chest open and facing the water. Look forward and through your arms. Your shoulders are going to be tucked up into your ears. Keep your eyes on the water. Everything should be squared up with the horizon, your chest and your hips facing down and towards the water with an arch in your back.
Knees
Let your knees bend as your legs come up. They can swing up and behind you. The more power, the better this is going to look. The higher you can get your board, the better it's going to look.
This is the traditional powered Raley. If you're just doing a simple Raley this is going to look best.
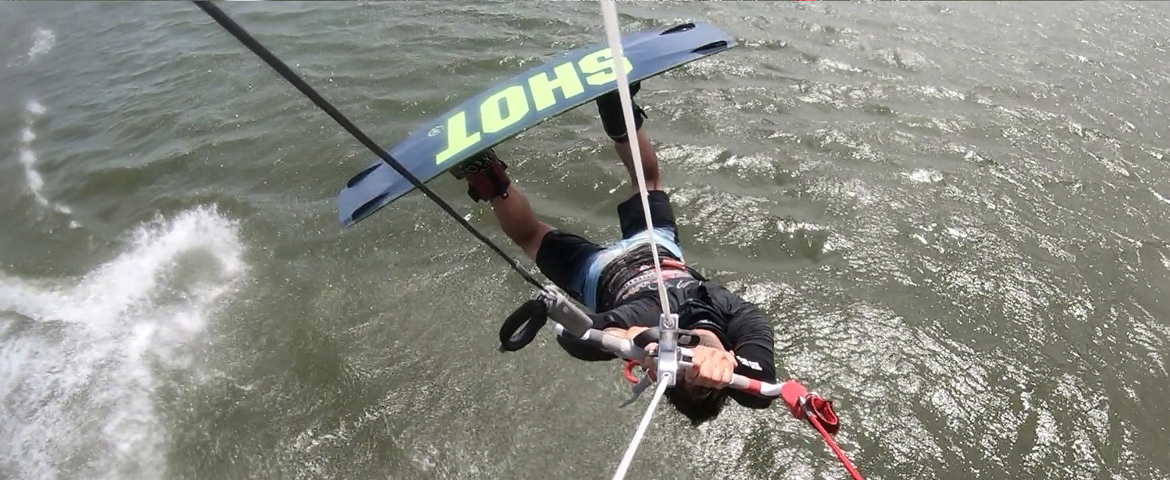
Chris Bobryk demonstrating a Shifty nosegrab to Blind.
Part Three - Variations
There are actually different ways to do the Raley. This can range from what you're doing with your arms, when you release your edge, or how you move your body in the air. Practice these basics and you can work up to advanced variations like the photo of Chris Bobryk above.
Late release arms close
One fun variation is releasing a bit later and letting your body come up sideways. For this variation, you can also keep your arms slightly bent in front of you, rather than stretched out. Some people frown on this but, like all things in sports, style is subjective. If you do this variation, it's a good door-opener for a nose grab or adding a shifty before taking it to blind.
When I say shifty, I mean you'll counter-rotate in the opposite direction before adding a spin. Or in your case, back to a regular landing. This move looks good if you are taking it to blind. In this instance your chest is opening up, facing your direction of travel in the air. If you were to spin backside, a back 180 would look more like a 270, adding style to that rotation. You can work on controlling your body in the air now, getting that muscle memory dialed long before you start spinning.
Shiftys
Another variation of the shifty is where you let your back twist into your direction of travel. This looks really good if you bring it back to toeside or to wrapped. We'll save the details for later videos, but the goal of this step is to get you practicing and thinking about the different variations. Start watching for this when you watch rider edits. You'll get a good feel for the flow.
Speed
For this variation, you can experiment with how much power you bring and how far up your legs go. This isn't so much a trick as it is a tool to learn new progressions.
If you're just doing a Raley, using power and getting the board above your head looks good. If you come in a bit slower, you can vary how high you pop. Sometimes you'll see riders doing almost a half-loaded grab or very mild Raley. These can be useful when working on a new rotation or trying a grab.
A good example of when to use the speed variable would be your first Raley to Blind or with a Blind Judge. You can use a mild Raley while learning and progressively take it higher. Big tricks like the Blind Judge need more airtime but are easier if your legs poke out back rather than stretch above your head.
Generally the more power and amplitude you bring, the better these look. Less powered variations only look good if you're pairing it with a grab or rotation.
Drills
For all of these videos, I want to leave you with some drills to practice to set the muscle memory for more advanced tricks, so make a point to practice and think about all these variations.
- The traditional powered release: Arms stretched out, chest facing the water.
- The late release: Arms slightly bent and the shifty with your chest facing into your direction of travel.
- The late release with a shifty letting your back drift into your direction of travel.
- Landing with one hand on the bar
Experiment with letting your arms out on these variations too. Eventually, you'll develop your own style and rhythm. Work on landing with one hand on the bar too.
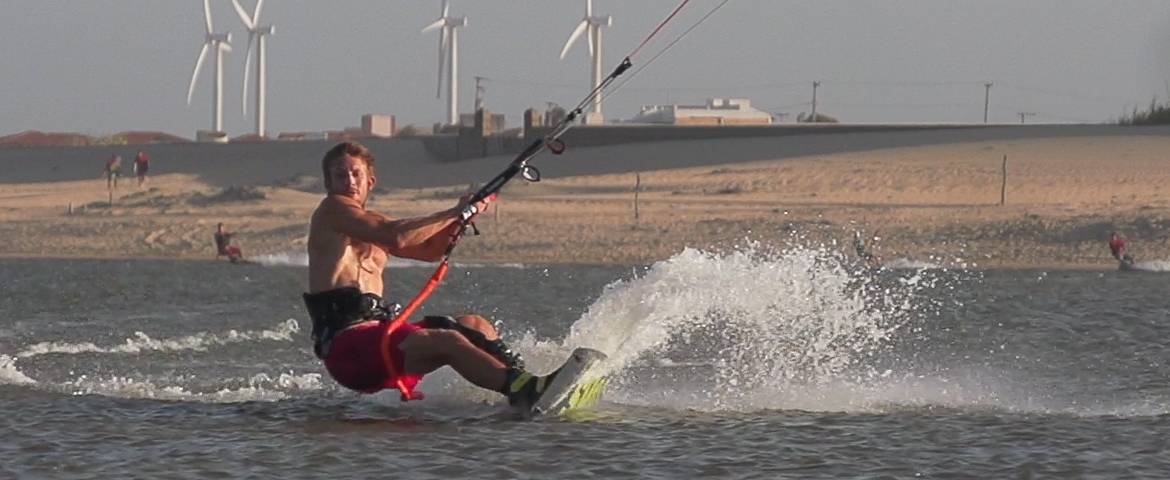
Classic first-timer form
Part Four - Mistakes
The biggest mistake is compensating for the surge of power in the bar. People usually do three things:
- Bend at the hips like a hinge
- Let their arms out while loading
- Point their toes forward while loading
- Land in the same direction they loaded
These actions take the power out of your pop. Often, this is because of the initial fear of the power loading up. If this is happening, go back to our pop video and work on the steps, or experiment with the speed variable. Work your way up and learn to have fun with the power. This is why they are called powered air tricks!
Bend at the hips like a hinge
This will choke out power. Fix this with my tips on keeping good posture. Treat your body as a unit. Point your hips and chest into the sky. Lean back like you're sitting in a chair on the back two legs. Imagine you have perfect posture. Keep your arms in close and let the energy transfer though you to be released by your edge.
Pointing your toes
Another common mistake is coming off your edge before the scoop. This will cause you to slip out and choke out the power. You need to dig those heels for a solid pop. This is part of using your body as a unit. Your pop is only as good as the weakest link.
Tips to correct this: Dig your heels and watch your spray as you load. It should be massive. Your board will be sitting deep and it will look like you've created a ramp in the water.
Arms stretched out while loading
It's common for people to stretch their arms out. This creates a disadvantage in your leverage while loading. It's also just awkward. For all unhooked tricks, keep your arms in like you never unhooked while loading. Keep that power close to your core so you can control it and stay with it.
In the air, use the speed variable on your pop to keep up with the control bar. You can also simply muscle the bar close. A good pop is a better technique and easier on the body. This point of power is the axis point for all your spins, rotations and flips later on. A funny note, but if your kite does not slack well, you can simply go fast and keep up with the bar. Land riding downwind and it's a non-issue!
The landing!!!
Lastly, I want to hammer home the landing. I can't believe how many people try to land with a slight edge, riding in their direction of travel. Kiteboarding is different than other sports. In snowboarding, you jump and land in the direction you started.
In kiteboarding, you load going across to the wind. Pop slightly upwind and land riding downwind. So make sure you land downwind to take the power out of the kite. Don't land across to the wind in your original direction of travel. Get his habit started now! If you do, all your landings will feel good and, most importantly, in control.
If you have any questions, add me and hit me up on instagram!
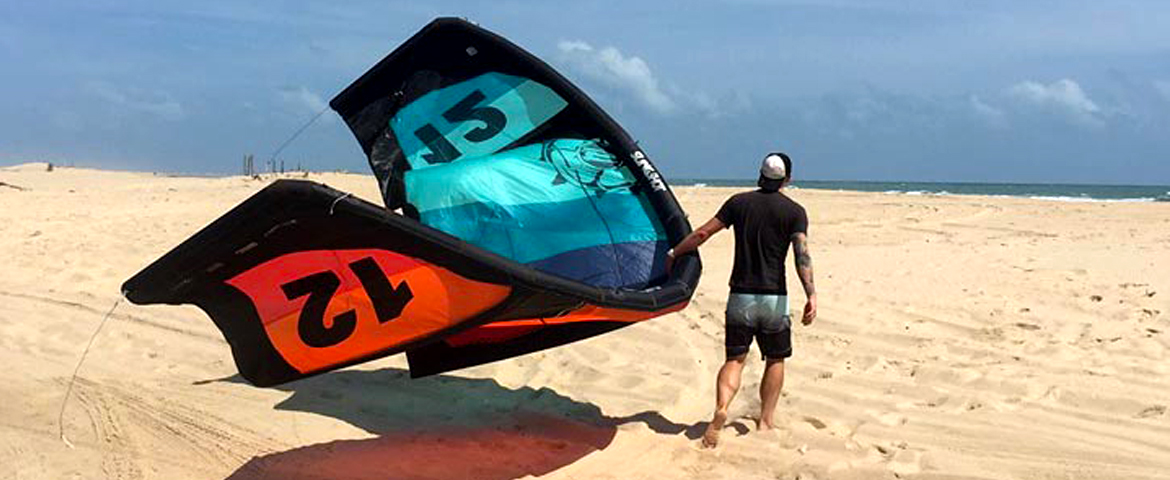
Kiteboarding equipment used for this playlist
The past 5 years I've changed my setup every season. These are my top choice kites and kiteboards. If you're interested in unhooked riding, these are my personal recommendations. If you have any gear questions, you can always instagram me with questions.
My 2020 gear picks for this list are the Slingshot RPM. My quiver consists of a 10, 12, and 14m, and the Slingshot Refraction 147.
Kites
Slingshot RPM
Cabrinha FX
Liquid Force NV V9
Duotone Dice
Kiteboards
Slingshot Refraction
Duotone Team Series
Cabrinha CBL
Naish Stomp
 Ryan (Rygo) Goloversic
Many people dream of quitting their job, traveling the world and pursuing their passions. Rygo is one of those people who pulled the trigger. A few years into a postal career, he decided to change everything and travel as a kiteboarder, freelance videographer & writer. His mission is to help people and share the stoke. Get out there and kite!
Producer of: Ride with Blake I Sessions I Versus I Destinations I Foil Fridays
Recent Posts
-

F-One Trigger Brainchild V3 with Josh Gillitt
The Brazilian Brothers are back and joined by F-One international rider Josh Gillitt. Together, th …17th Jul 2026 -

GKA Mykonos Part 6: Round 1 Rolls On
The Brazilian Brothers are on the beach in Mykonos for the 2026 GKA Big Air Kite World Cup, and th …17th Jul 2026 -

Cabrinha Switchblade Design Works: First Impressions
The Brazilian Brothers are back in Brazil for the 2026 windy season, and it's officially on. With …16th Jul 2026