

Kiteboarding Transitions: Low Powered Crail grab Downloop
It has come to our attention that this particular grab is actually a Crail grab. In the video we call it a Nuke, however for the written steps, I'll be using the correct name. My apologies for any confusion. The Crail Grab is your backhand reaching across to the nose of the kite. The Nuke is technically when you take that a step further to your heelside edge. -Rygo
Today we are going to go over how to do a powered transition. The powered Crail grab with a downloop. Last time, we covered a sent Crail grab with the option to redirect the kite or use a downloop. The difference between these two tricks is in the powered variation you will keep the kite low and use board speed for pop. You are going to be twisting your hips away from the kite on a horizontal axis rather than a vertical one and lastly, you have have to use a downloop to turn this into a transition.

We recommend you download the attached PDF on your phone. Check it before your next session!
The prerequisites for this are downloop transitions, basic rolls and basic grabs. We recommend having these basics down as you will need the air and body awareness that comes from practicing them to pull this one off. Admittedly flexibility is important on this grab. You need to be able to tuck your front knee into your back armpit while reaching over your leg to the nose of the board. I recommend practicing the grab with your board on the ground and something to hold onto like a picnic table. Treat it like a dynamic stretch and work your way into before each session.
Once your legs are warmed up try a couple of static holds for at least 40 to 60 seconds. This should prepare you to make the grab. If you can't quite make it, practice an Indy grab on the water and slowly work your grab up to the nose over time. Be persistent and you will get it.
Practice on the ground first
If you want more information, check out our first Crail grab video.
Step One- Learn the Crail
Practice on the ground
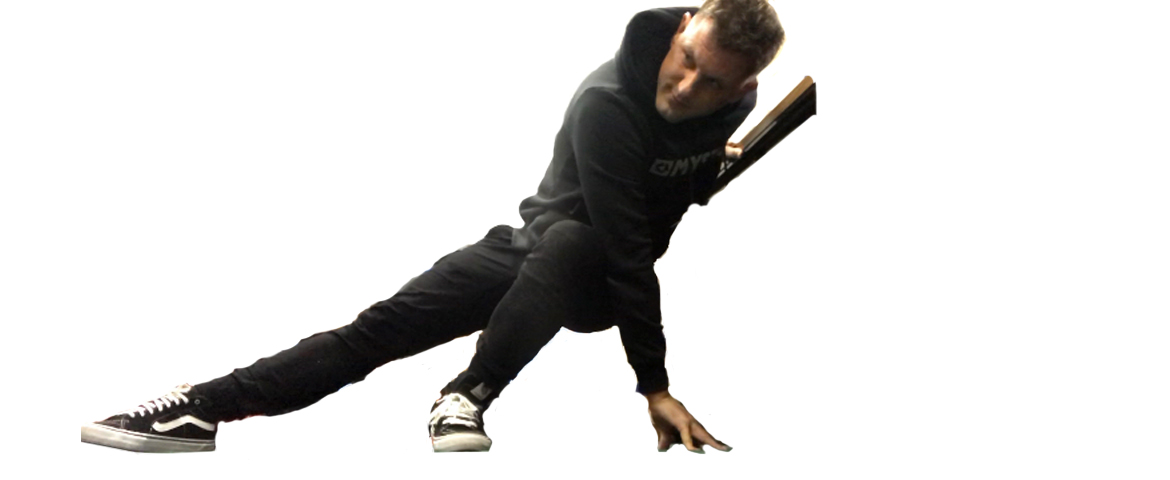
The first step in this transition is learning how to do a proper Crail grab. For some, this comes natural. For others it's an incredibly difficult grab. I know it was for me! The first step starts off the water. Spend sometime warming up before your session and work in some mobility stretches. I like to do a quick jog followed by some body weight squats. If you find you can never quite reach the nose of your board, you'll want to do this too. Get warm and practice some grabs on the beach. You can see in the photo above I'm stretching out at my desk. You need to get your front knee close to your back armpit and and your back hand on the ground. Once you have the mobility you can take it to the water.
![]()
Practice on the water
The trick is to turn your back to the kite and twist your hips. You can see in the first photo my left hand is supporting my weight on my desk. Imagine the desk is your kite. In the above photo of Blake, you can clearly see he is twisting his hips away from the bar. This is especially important when hooked in. Your center lines are going to get in your way unless you twist your hips. This motion will also bring the nose of the board right into your hand
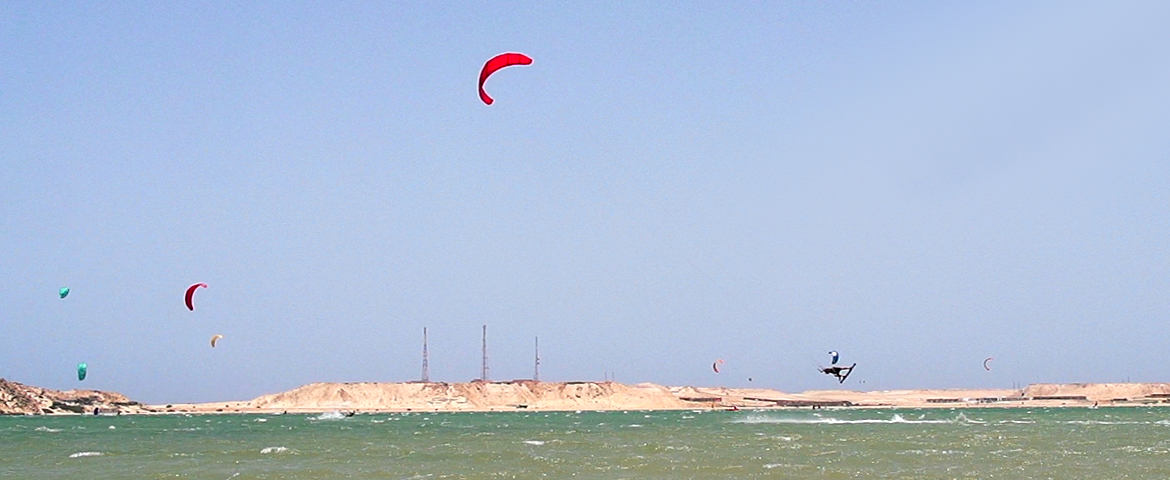
Go fast and keep the kite low
Step Two - Kite Movement
Before we break down the trick, we wanted to talk about kite movement. This is a low powered move. That means, you will be keeping your kite low and using speed and the loading of your edge to get pop. Something you can practice for extra height is flicking your kite. Come in with good speed with your kite at 45 degrees. Start to load your edge like you would for a jump. Rather than sending your kite all the way up to noon like you would on a sent jump, give the bar a little flick up and back down. This will send your kite just a little and pop you up. The timing is the same as a sent jump. Flick the kite, sheet in push down on your back leg and release your edge. You want to under-exaggerate the sending of the kite and maintain loads of power and speed. This will get your the most air time.
![]()
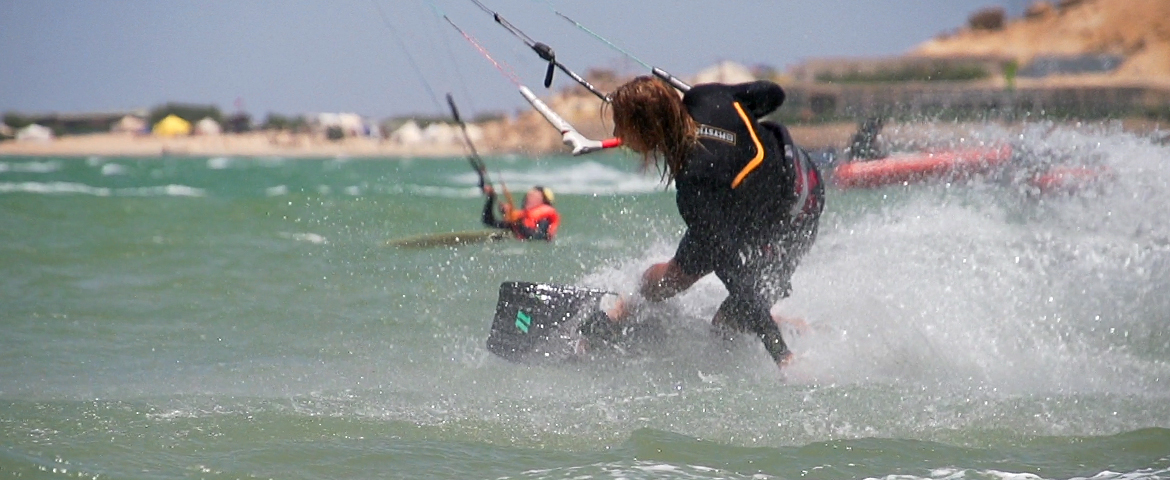
Kick out your back leg and twist away!
Step Three- Body Position
The trick to executing this trick correctly comes down to your body position. Keep your front knee tucked as much as possible and straighten your back leg. Bring your front hip as close to the board as possible. Twist your back to the kite and bring your back arm over your knee for the grab. Once you have a solid grab, it helps to kick your back leg out and twist even further away from the bar.
Look at the above photo. Imagine a line from the nose of the board to Blake's lead hip. The goal is to minimize the distance between these two points. If you can do that, everything else will fall into place.
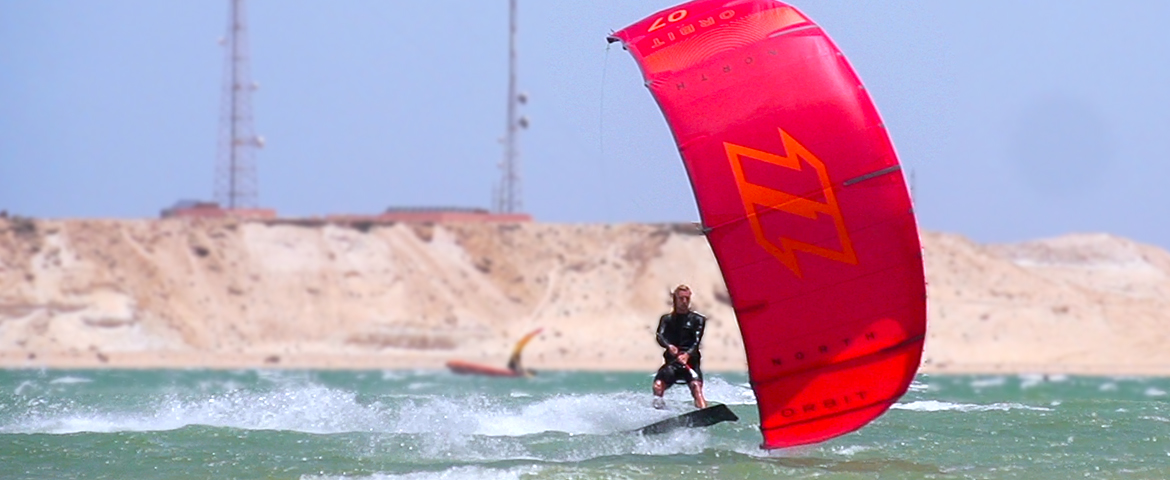
keep the kite low
Drag your hand
Step Four- The downloop
The downloop is going to pull you out of this tweaked position. Hold the grab as long as possible and keep that front knee bent. As you get close to the water, pull hard on your front hand and drop into a landing position. The pull from the loop is going to straighten you out and give you orientation for the landing.
Like all loop based tricks, it's important to land flat riding downwind. Let the loop pull you into the opposite tack. You will be landing flat but the loop is going to pull you onto your toeside edge as you carve around. For added style points, drag your hand through the water while you complete the loop.
The North Orbit and Atmos
Gear Used for this Playlist
We had the chance to try out all the new North kiteboarding equipment for the brand launch in Dahkla Morroco this summer. For this playlist the Orbit was the top choice. Fast turning, Quick to catch you on loops and tons of hangtime. A true performance big air kite. In contrast to previous kites we've used on past playlists the Orbit is faster, more energized and aimed at performance big air riding. Yet, seems to lack some of the low end of the Cabrinha Switchblade we often film with. It's also more user friendly than the FX that we often use when looking for a faster performance kite. It sits right between these two kites for riders that want a lofty and reactive kite.
We also used the North Carve for a good portion of the filming. While it is a surf kite, we wanted to demonstrate the all around potential that the carve brings to the table
Ride the Gear
North Orbit - Big Air / Performance
North Atmos - Big Air / Performance
North Carve - Waves / All Around
North Focus - Wakestyle / Freestyle
-Written and produced by Blake Olsen & Ryan (Rygo) Goloversic.
Request information on Blake's adventure camps & lessons: blakemolsen@gmail.com
 Blake Olsen
A Michigan boy through and through (even though he was born in Saudi Arabia), Blake is a youth with a lifetime of experiences and adventures. Not only that, he's passionate about sharing his zest for life with others. He is proficient at many fields, including kiteboarding and acting as concierge to any who simply ask. Looking for an adventure? Well, Blake is your guy. From sailing the Gulf and the Caribbean to backpacking Hawaii and Southeast Asia, he knows his stuff and can make your vacation into an adventure.
Instagram: @BlakeTheOlsen
 Ryan (Rygo) Goloversic
Many people dream of quitting their job, traveling the world and pursuing their passions. Rygo is one of those people who pulled the trigger. A few years into a postal career, he decided to change everything and travel as a kiteboarder, freelance videographer & writer. His mission is to help people and share the stoke. Get out there and kite!
Producer of: Ride with Blake I Sessions I Versus I Destinations I Foil Fridays
Recent Posts
-

AFS Stow Parawing Review: Value and Performance
Tucker from MACkiteboarding has been riding the 4.5m AFS Stow Parawing for a number of hours and s …24th Jul 2026 -

Best Wing Foil Upgrades to Level Up Your Riding
With the massive boom in wing foiling over the last three years, a lot of riders now have a couple …24th Jul 2026 -

Buying Your Next Wing: Top Questions Answered
Jeff and Tucker from MACkite dive into the questions they get asked every single day by riders loo …23rd Jul 2026