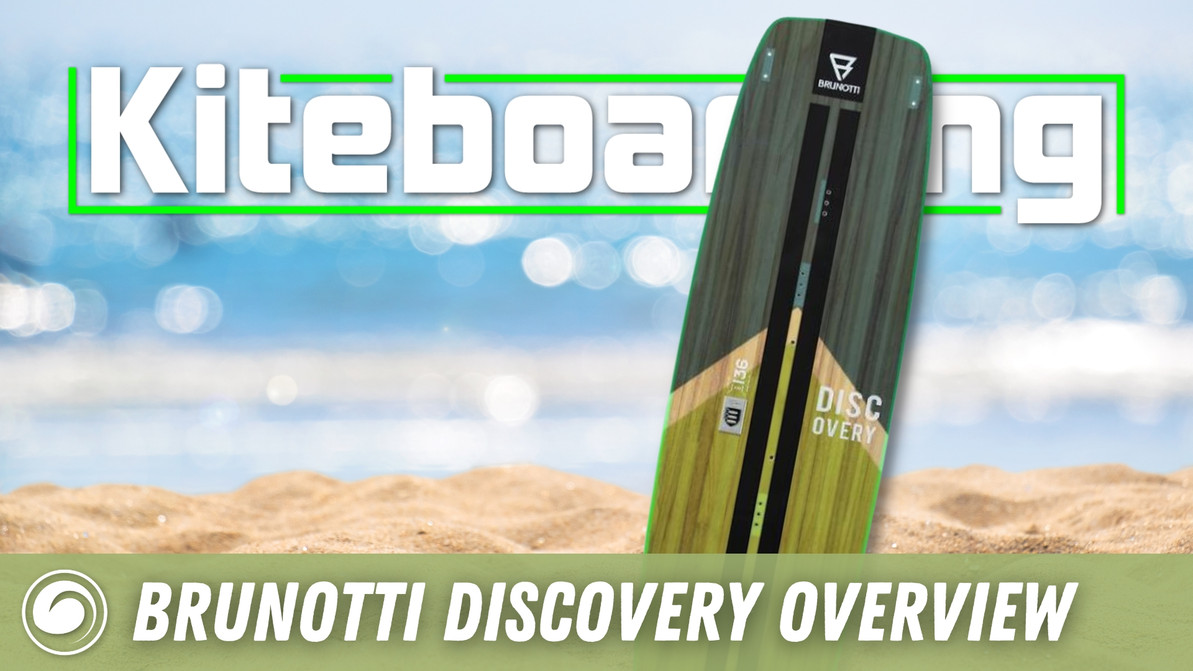
Brunotti Discovery Kiteboard Unboxing and Assembly
Board Overview
This is Pat with MACkiteboarding.com, and today we're going be checking out the Brunotti Discovery that we are offering in our complete kiteboarding packages. It is the upgrade board from the PKG, and the biggest advantages to this board are that you get a solid wood core, better fit and finish, and it's going to last you a lot longer down the road.
The PKG is a great board for getting into the sport, but you're going to outgrow it quickly. The Brunotti Discovery is still a great board for learning as an entry level freeride board, but you're not going to grow out of it nearly as quickly. It's going to be a 2 - 4 year board for most people.
The board does come complete with Brunotti Aqua Clamp straps as well as the handle. This probably is one of our most affordable boards in the shop at the moment. It retails for $499 complete, so it's a good value for the price. It's pretty hard to find a nice wood core board for that.
Unboxing
In the box you're going to get your Brunotti Aqua Clamp straps. Each one comes as two separate pieces, but they're quick and easy to assemble. You also get your nice Brunotti grab handle, and your pack of fins. Some little plastic shims are included for the fins as well, and you're going to want to use those since it uses countersunk screws for the fins and the board itself is not countersunk, so you do need them to get your fins attached correctly. The only thing you're going to need that isn't included is a P3 screwdriver for assembly.
Assembly
Straps
Take your footpads and get them lined up on the board. If this is your first board setup, either start out in the middle, or stand on the board to see where it's comfortable with your feet. You can adjust them according to what's right for you, but most people start with the middle settings and then adjust it later if they feel like they need a little bit narrower or wider stance, depending on their height.
Lay the board in the correct orientation with the middle insert holes a little bit forward (toeside) and the outside inserts a little bit back (heelside). Set your footpad down with the arch side toward the middle of the board and line it up with the holes, then take your strap and align it with the wide portion on the inside. Take one of the screws that are provided and put it through the middle hole on both layers of the wide side of the strap. Grab your screwdriver, press everything down to the board through the hole on the arch side of the pad, and screw it in. It doesn't have to be fully tightened yet because that gives you the ability to move the strap around a little bit to make sure you have everything centered.
You'll do the same thing for the other side of the strap. Flip the little neoprene cover over, pop the screw into the hole and through the bottom hole of the strap, making sure you line them up. Push on the strap to bend it into shape so it lines up with the hole on the board. It does take a little bit of pressure on that strap to make sure everything lines up nicely. Once you've got both screws in and everything is lined up, you can go ahead and snug both the screws up the rest of the way. Repeat these steps for the other footstrap.
It's a nice single strap adjustment for your freeriding needs. You can loosen the strap up for larger feet, or if you have smaller feet you can tighten it down as well. There are two Velcro straps to lock it down in place, and you're good to go.
Handle
The grab handle goes in the middle of the board. Use the two screws with the black washers for the grab handle. Simply screw one side in, then the other, and tighten them down.
Fins
You want the fins oriented so the wide part of the fin is towards the nose of the board, with the tapered side going towards the middle. The Brunotti fins are asymmetrical, so place them with the logo on each fin facing the outside of the board. You also will need your little plastic shims. You get one for each fin, and these go on the top side of the board. These will space those screws out to the correct spacing. Line up the shim on the top of the board with the fin on the bottom, and put in a screw from the top. I usually tighten it up by hand first to get the screw started, and then I'll finish it up with my screwdriver. Each fin gets two screws. Once you get all four fins attached, you're good to hit the water.
MACkite Subscription Links:
YouTube | Instagram | Spotify Oddcasts
Contact MACkite Below:
800.622.4655 | Kiteboarder@MACkite.com | LIVE Chat Messenger

Recent Posts
-
Kiteboarding | Crafting the Harlem Force Kite with Sustainability and Performance
Unparalleled Performance Meets Unmatched Sustainability The kiteboarding industry is on …24th Apr 2024 -
Duotone Ventis 2025 | What's New?
If you're familiar with Duotone's Ventis, you know its specialty is freeriding in light wind …23rd Apr 2024 -
Duotone Ventis D/LAB 2025 Overview
If you ride in an area with multiple light wind days and need a wing that'll let you get o …23rd Apr 2024


