

How to Trim Your Kiteboarding Kite for Big Air & Hangtime
With the Red Bull King of the Air competition having just wrapped up, we wanted to do a video on big air, specifically on how you can trim your kite to get more air and hangtime! This is an easy tip that will make a big difference in your kiteboarding. Rather than our normal ride with Blake blog, we decided to keep this one right to point. Enjoy!

Step One - Trim your Kite for Hangtime
The point of this is to trim your kite so that you can sheet the bar all the way in without the kite drifting backwards. You will get more hangtime the longer you hold your bar all the way in. Once you start sheeting out in the air, you will come back down, so the more tuned in your kite is, the longer you can float.
Sit down on the ground with your legs in front of you, almost like there is a board under your feet. A sandy beach free of rocks or shells is helpful here! If you can’t sit, you can do this standing. Bring the kite up near the apex and slowly sheet in. If you are standing, you should be pulled onto the balls of your feet. If you are sitting, you’ll feel a little lift off the ground.
Now, hold the bar in all the way and count to 10. The kite should stay in the air above you. If it falls out of the sky, you’ll need to sheet back out to recover. The kite will shoot forward to the edge of the wind window.
Experiment with the trim using micro adjustments and repeat this process until the kite stays still above you. The only movement should come from the variances in the wind speed. If your kite is steady with the bar sheeted all the way in, you are ready to go!
Step-Two Kite Size & Type
Choose the kite size in relation to the conditions you are riding based on your specific kite. Ride near the top end for maximum height.
Every kite is going to jump differently. Some might have more low-end power. You’ll want to choose according to the recommended wind range of your specific kite. If big air is your endgame, push it to the top of the recommended wind speed by size. These charts can be found online easily enough.
Different kite styles have different flight characteristics. For example, freestyle kites have the turning advantage that allows riders to jump high. They lack the hangtime because of their specific shape. Their unique shape does allow for awesome kiteloops! All-around kites come in a variety of shapes as well. Some have more of a freestyle profile while others might be loftier.
The big air kite advantage
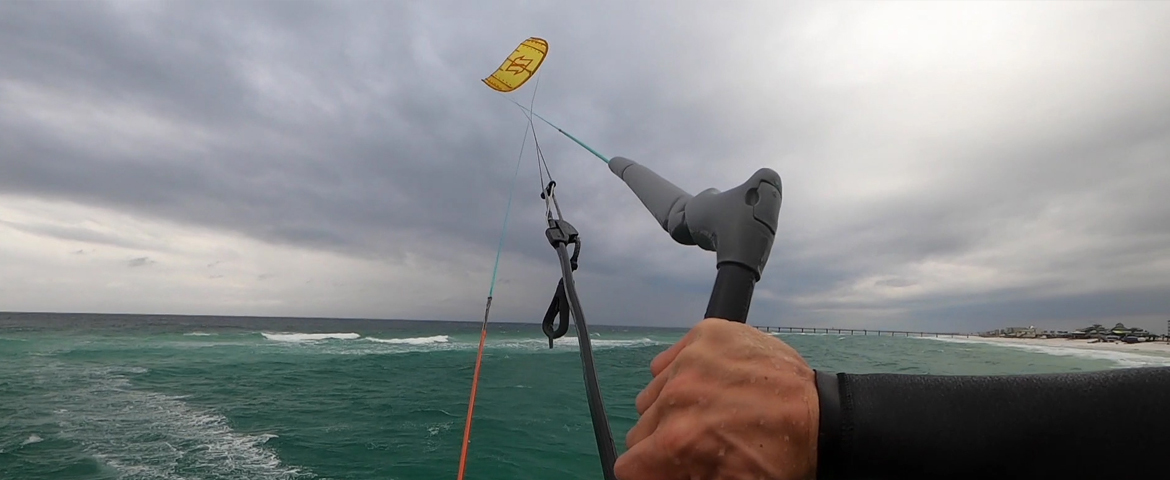
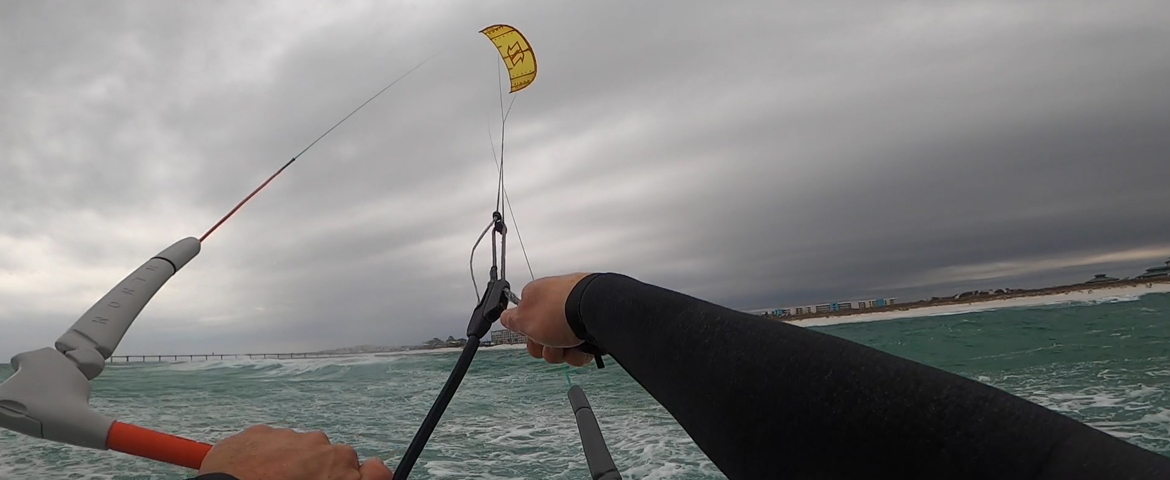
The last few years, we’ve seen a new category of kite emerge: the big air kite. There a couple out now. In this video, we used the North Orbit. This is a hybrid big air kite, meaning the kite has a two-stage arc. You get a flat portion of the canopy for hangtime, yet the wingtips are profiled for sharper turns and more aggressive steering when you send it for a jump, and even benefit turning on kite loops.
Kites like this are designed to be flown with power and can handle a lot of high-end. The only real trade-off is that they do lack the low end of other styles. This is solved easily enough by sizing up in very light conditions.
The takeaway here is to pick the size in relation to the conditions you are riding based on your specific kite. Ride near the top end for maximum height.
Step Three - What is Backstalling?
Backstalling means that the kite falls out of the sky and down into the power zone when you pull in on your bar. This is caused by the steering lines being shorter than your centerlines. When this happens, in order for the kite to go back up you need to sheet the bar all of the way out and it will launch back into the air.
Most people see the kite falling and they want to pull the bar in, but that is a mistake. A good way to keep this simple is to remember that whenever your kite is falling backwards you need to push the bar out. The kite will then shoot forward and correct itself.
The reason your kite backstalls is because your steering lines are shorter than the center lines and so the wind creates downward lift. Sheeting out on the bar opens up the kite and lengthens the lines, changing the angle of attack of the kite and creating upward lift.
Hopefully you all found this one helpful! Let us know in the comments of the video.
Need help on these tricks?
Follow the guys on their adventures and shoot us a message.
 Blake Olsen
A Michigan boy through and through (even though he was born in Saudi Arabia), Blake is a youth with a lifetime of experiences and adventures. Not only that, he's passionate about sharing his zest for life with others. He is proficient at many fields, including kiteboarding and acting as concierge to any who simply ask. Looking for an adventure? Well, Blake is your guy. From sailing the Gulf and the Caribbean to backpacking Hawaii and Southeast Asia, he knows his stuff and can make your vacation into an adventure.
Instagram: @BlakeTheOlsen
 Ryan (Rygo) Goloversic
Many people dream of quitting their job, traveling the world and pursuing their passions. Rygo is one of those people who pulled the trigger. A few years into a postal career, he decided to change everything and travel as a kiteboarder, freelance videographer & writer. His mission is to help people and share the stoke. Get out there and kite!
Producer of: Ride with Blake I Sessions I Versus I Destinations I Foil Fridays
Recent Posts
-

Light Wind Parawinging: Tucker's Top Tips and Favorite Gear
Tucker has been getting a lot of questions lately about light wind parawinging. He put together a …15th Jul 2026 -

How to Choose the Right Foil Mast Length
Jeff and Tucker dive into a majorly important part of the foil setup: the mast. With foiling exper …14th Jul 2026 -

Adam Bennets' Ideal FLUX Setup for Fliteboard eFoils
Tucker is joined by Adam Bennetts from FLITElab to walk through some of the FLITElab wings and how …13th Jul 2026