

Kiteboarding Control Bar Size & tuning your kite
Kiteboarding Control Bars
The first step in tuning your kite is choosing the right size control bar.
The standard pairing is
- 43 - 47 cm bars for 05 - 10m kites
- 50 - 55 cm bars for 11 - 13m kites
- 58 - 63 cm bars for 14 - 19m kites
These are just guidelines, of course. You can pair any size bar with any kite, but you will change how it flies. If you put a small bar on a large kite, you will slow it down significantly. If you put a large bar on a small kite, you will speed it up greatly.
Bar size dramatically changes your kite's turning speed
Large Bars
Best paired with 12m kites and up.
- Speed up the kite
- Increase power
- Less direct
- Weigh more
This is where things get fun. If you are using a larger kite, it's a good idea to use a bigger bar. If you are the kind of rider who prefers smaller kites like 10 and under, try using a large bar on your 12m kite. It will speed the kite up dramatically, making your tricks feel similar to when riding a 10.
If you are working on kiteloops, a larger bar will also help speed up any size kite you are riding. It might also help to reduce the length of your lines if you can. More on that in a moment. Be wary of using these on small kites. It will make your 8m incredibly fast, probably too fast for most people's tastes.
Medium bars
These bars often get paired with most any size. I prefer them on my 10 - 17m.
- Standard size for mid-range kites
- Often the one-size-fits-all length
- Perfect for learning
50 - 55cm bars are more or less the standard in kiteboarding. This is a good fit for any size kite and what many riders start with. If you only want to buy or travel with one bar, this would be your size.
Small Bars
These are normally paired with 10m kites and under, depending who you ask.
- Slow down the kite
- Decrease power
- More direct
- Increase stability
If you are trying new tricks, it might be a good idea to use a small bar. Some of my favorite sessions have been on 15m kites paired with a small bar. This is especially beneficial for unhooked kiteboarding tricks or handle passing. It's also nice when riding in gusty winds or on small kites. A slow, predictable kite is very helpful.
If you're new, stick to the guidelines. If you want to customize your ride, get a couple different size bars and use them according to your preferences.
Adjustable bars
In 2020, most brands offer an adjustable bar. These range from 46 - 55 cm. If you can't make up your mind, this would be the best option. You can experiment with the different sizes and see how it impacts your kites. Best of all, if you are traveling, you only have to bring one bar with you in your bag.
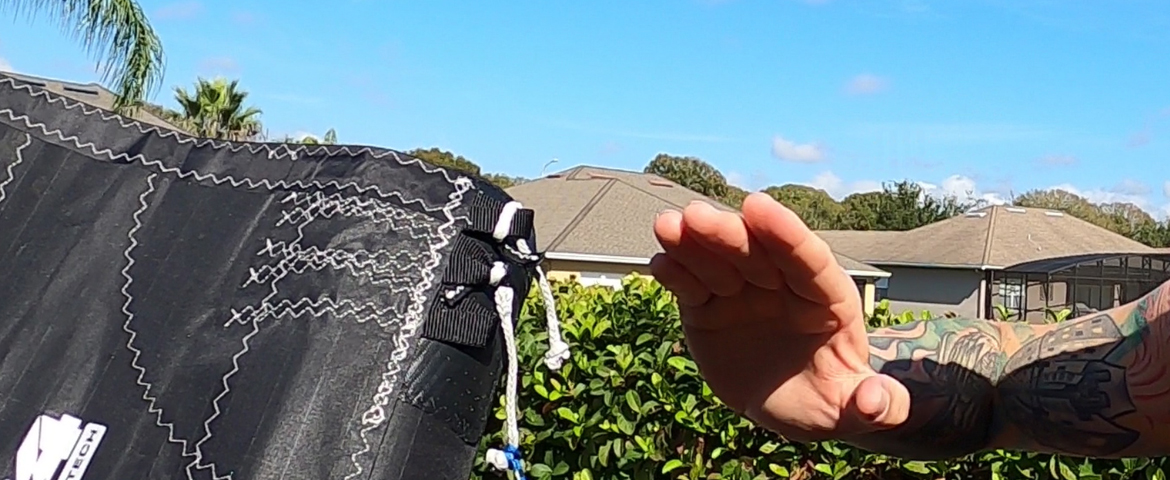
Most kiteboarding kites have three steering line settings
Settings on the Steering Lines
To take this a step further, most kites have three settings for the steering lines. The setting closest to the wingtip will speed up the kite and decrease the bar pressure. The setting closest to the center of the kite will slow the kite down and add bar pressure. The middle setting splits the difference.
You can use different size control bars with different settings to achieve different effects. So if you want to make your big, slow kite very fast, pair a large bar with the knot closest to the wing tip. You can really double down on everything we covered on control bar size.
Kitesurfing control bar line lengths matter
Line Lengths
Something I left out of the video is the line lengths. Each size bar will come with standard line lengths for that size. Usually the smaller the bar, the shorter the lines. Many brands come with built-in extensions that can be removed. Alternatively, you can order up extra sets of extensions to modify further if you wish.
Short lines
Short lines will make for a faster, more direct-feeling kite. They will also reduce the wind window, taking some of the low-end power out of the kite. They are perfect for teaching and exciting for kiteloops.
Long lines
Longer lines make your wind window larger. This will improve the efficacy of your power stroke and give an extra knot or so of power. It will also slow the kite down.
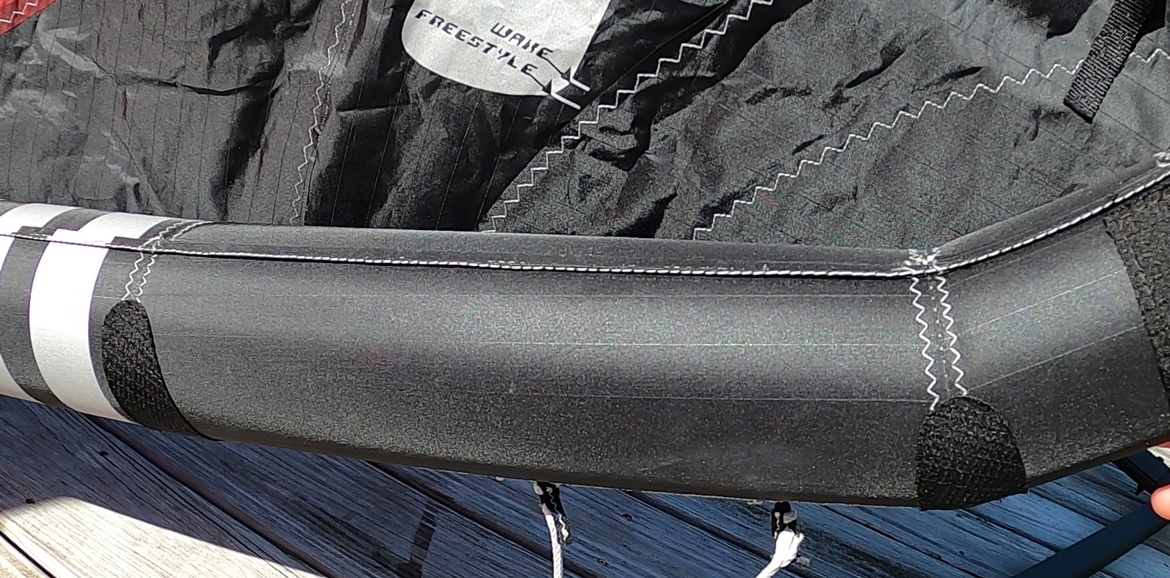
Many kites have extra settings for various styles of kiteboarding
Bridle Settings
This is where things are going to change from kite to kite. Not all, but many kites do have adjustments that can be made on the kite. I'll break down a few that I am aware of. Tucker from Foil Fridays is going to chime in and help out with some of the kites he knows as well.
Slingshot RPM
The RPM has a wake and a freestyle setting. Wake will slow the kite down and increase the bar pressure. Freestyle makes for a faster kite. Use these settings with your choice of bar size to get a consistent feel across your kites. A small bar paired with the high bar pressure setting and the wake bridle setting slows down an 8 or 7m kite. This is very useful if you are trying to unhook. If you are doing loops, go for the faster settings. Likewise, you can modify larger kites to turn faster. It all comes down to getting what you want out of your kite.
Cabrinha FX
The FX has three settings on the center of the leading edge for each bridle connection point. The one closest to the center of the leading edge will give the kite more depower. This is useful in gusty winds. The one closest to the wingtips will give freestyle riders more line slack. This is useful for riders who are unhooking and looking for a c-kite experience. The setting in between splits the two. I was skeptical on the impact of these settings, but they make a big difference on how the kite flies.
Cabrinha Drifter
The Drifter has an onshore / sideshore setting. This makes the kite sit further back, which allows for more slack line drift. Perfect for wave riders or hydrofoiling.
The sideshore / offshore setting makes the kite fly further forward when you edge hard. This will allow you to ride upwind better.
Duotone Neo
The Neo has an adjustable front bridle. While it is a wave kite, you can tune it for freeride with the freeride setting.
Sebastian Ribeiro riding the Duotone Neo on a small shore break in side shore conditions
Tucker's Notes on Surf Kites
Tuning a surf kite
Many surf kites have multiple settings to adjust your performance. Unlike other styles of riding, you have another dimension to consider in how you want your kite to fly. The direction of the waves in relation to your wind direction will play a large part in how you need to position your kite. Sideshore, onshore, offshore, or some variation of those are common terms used in describing the wind. Most commonly, waves are headed towards the beach at an onshore to side/onshore direction, while you ride the wave in a side to side/onshore direction.
Imagine you are riding a wave directly downwind. The issue becomes keeping tension in the kite lines so you can control the kite and keep it from falling out of the sky. Downwind or side/downwind is the most common situation since winds and waves frequently travel in similar paths and you ride across the wave, not directly down it. When riding a wave in an upwind or side/upwind direction, the kite is holding you back as you try to drag it up into the wind. If the paths line up properly, this is considered the "easiest" kitesurfing and ideal for shaping clean waves. It is also the rarest.
Because of these paths of travel while kitesurfing, many kites have multiple bridle settings to adjust the kite's performance for the type of wave direction. Not to be confused with bar pressure settings on the wingtip, these are typically found on the leading-edge center bridle attachment or near the centerline bridle pigtails. Most kites have a reference printed on the leading edge or kite canopy, but you may need to consult your user manual on some models.
Onshore
Onshore type settings hold the kite further back into the wind window and allow the kite to "drift" backward when you travel downwind. Because they sit further back and drift, they have less tendency to fall out of the sky or lose line tension. However, they do lose a few degrees of upwind ability. The onshore setting is also great for hydrofoiling because you can go downwind with so much speed while keeping control of the kite. Most foilers do not mind sacrificing some upwind ability since they blast upwind so quickly anyway.
Another onshore method I have come to appreciate over the years is a slightly over-sheeted trim. By connecting to the steering pigtail knot closest to the kite, you should be over-sheeted by 1-2 inches when you pull the bar all the way in. This allows the kite to drift downwind more quickly with less opportunity to catch power. It does require some finesse to get it right when flying, but if you practice and learn to use it properly, it can help in a lot of situations. Additionally, it puts your maximum power zone in a more comfortable arm/wrist position for hard turns that are so common in kitesurf or foiling.
Offshore
Good offshore conditions are very rare other than in a few dreamy locations, so this type of discussion is less common in the kitesurfing world. For offshore riding, a kite that pushes further towards the edge of the wind window is ideal. This is because you are typically riding perpendicular to or upwind a bit. That will allow you to ride the wave more top to bottom without the worry of getting pulled off the back of the wave. Upwind ability is also important as a safety feature in offshore winds since you need to ride upwind to avoid being blown out to sea. Offshore winds tend to be less predictable and gusty due to land features. You should also have a rescue boat in place in case you cannot get back to shore.
 Ryan (Rygo) Goloversic
Many people dream of quitting their job, traveling the world and pursuing their passions. Rygo is one of those people who pulled the trigger. A few years into his career, he decided to change everything and travel as a kiteboarder, freelance videographer & writer. His mission is to help people and share the stoke. Get out there and kite!
Producer of: Ride with Blake I Sessions I Versus I Destinations I Foil Fridays
Recent Posts
-

AFS Stow Parawing Review: Value and Performance
Tucker from MACkiteboarding has been riding the 4.5m AFS Stow Parawing for a number of hours and s …24th Jul 2026 -

Best Wing Foil Upgrades to Level Up Your Riding
With the massive boom in wing foiling over the last three years, a lot of riders now have a couple …24th Jul 2026 -

Buying Your Next Wing: Top Questions Answered
Jeff and Tucker from MACkite dive into the questions they get asked every single day by riders loo …23rd Jul 2026