

Big Air Kiteboarding Basics, Episode 1: Learning and Perfecting Your Kiteloop
David is kicking off a new series focusing on big air. He's not an expert in big air, but rather an experienced kiteboarder who's ready to progress his skills. If you're ready to delve into big air yourself, come along for the ride as David shares any tricks, tips, and lessons learned along the way.
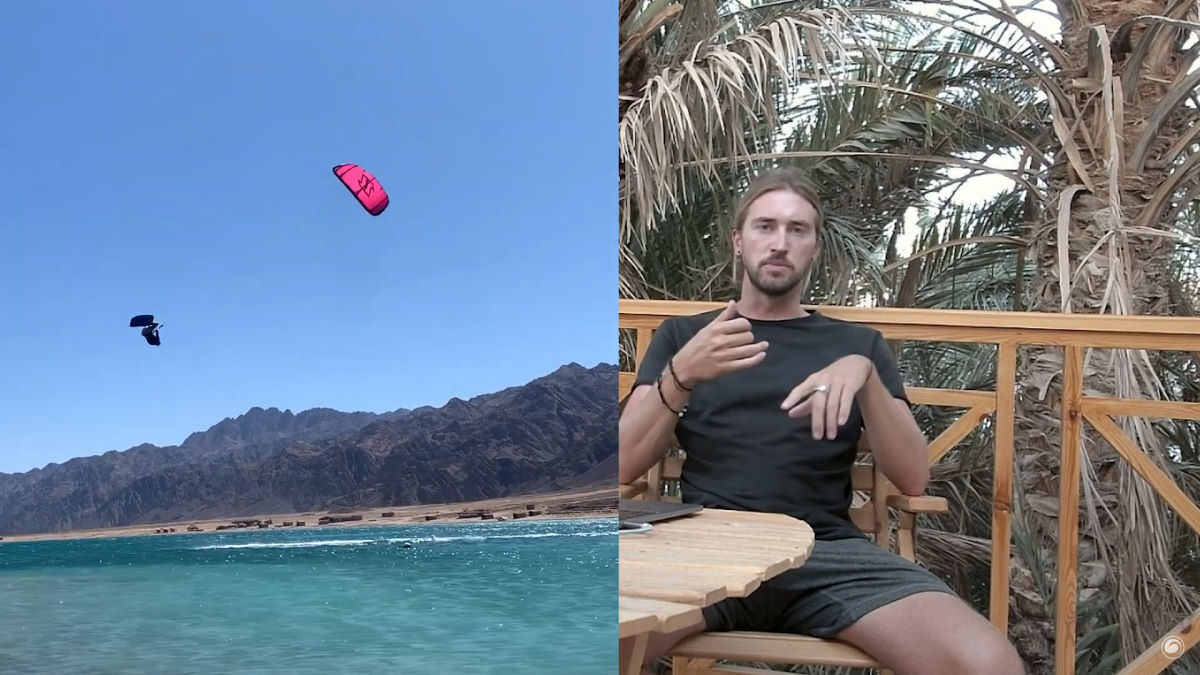
Kiteloops: The Foundation of Big Air
Big air builds on your kiteloops. If you're just getting into kiteloops, Blake has a great intro. Here, I'm going to share what I've learned about kiteloops and big air. You'll want to start going a little bigger with your kiteloops to build a foundation for things like Kiteloop Late Backrolls, Boogie Loops, Contra Loops, Boogie Contras, and so on. A kiteloop means that you're pulling that loop with your back hand versus your front hand, which would be a Contra Loop.
Height Matters
As you start to get into big air and trickster big air, make sure you're getting those kiteloops above the 5 - 6 meter height range. Below that, they're great for intro to kiteloops or "baby loops", but they're not at that height where you're fully swinging under the kite yet and needing to Heli Loop to get out of it. Be sure to perfect and get used to kiteloops at the 2 - 3 meter range where you're not high enough up that you're relying on the swing of the kite to catch you and you can still come down safely and nicely.
Once you progress to the mid-range, you have to be a little bit careful. You're high enough that you're going to freefall after the loop, but you're not quite high enough that the kite is going to climb and catch you in time, so please do be careful in that range.
To have steady and reliable kiteloops in that 6 meter and above range, it's always going to come from your edge and pop. It's about getting a good, clean takeoff and getting as vertical as you can.
Tip 1: Loop Early in Your Jump
The big thing that I learned while doing this was that I realized I tended to pull my kiteloops pretty late because I was afraid of the yank at first, as well as thinking I needed to get as high as I could. It's important to pull that loop a little bit earlier, because if you wait until your highest peak when you get that weightless feeling, that means that there's not as much line tension, so when you pull that loop, it's not going to loop as fast.
You should shoot for pulling that loop at about 80 percent of your total jump height, and that's just going to take some getting used to. You can pull it earlier, and that's going to create more yank out of the loop, but because your velocity is already shooting you up, you'll have more time for the kite to catch you.
Tip 2: Loop at or Before Noon
Make sure the kite is at noon, or even a little bit before noon, when you pull the loop. A lot of times we tend to overshoot the kite when we're doing regular tricks because we know that when we let go of our back hand for grabs and rotations, we're going to end up slightly pulling on the front hand anyway and make that kite float back in front of us as we come down for our landing. There's no penalty in that world for overshooting the kite a little bit.
However, when you start getting into to kiteloops, and especially bigger loops, overshooting that kite a little bit is going to cause the loop to be lower, and you'll waste a lot of the total energy of the loop in that moment. Let's say you're riding and, as you jump, you shoot the kite over. If it's too far behind you when you loop, that loop is going to be low and behind you. That's going to create a force that's back in the opposite direction that you were riding. That's energy that could have been used to go higher or to keep the kite in a position where it's going to be safer and catch you. Keep that kite up at 12, or even a little bit before it, so that loop is centered and straight downwind of you.
Tip 3: Sheeting Out After the Loop
As you get higher, you'll start to realize that you don't need to sheet out quite as much in order to get the kite to climb. This depends on which kind of kite you have and how fast that kite is going to rise. I'm riding the North Orbits, and they tend to climb really fast so I don't have to sheet out quite as much to get that kite to climb. It's going to come down to which kite you're riding and what that kite needs in order to rise so that you can get caught with it.
Tip 4: Put Your Best Foot Forward
As you get into doing higher kiteloops, it's important to make sure to practice them in both directions. One thing that I found easiest for me when working on those bigger kiteloops is to land and plan to land going to your strong side. I'm a regular rider, so I like to ride going left foot forward, and I like those for my landings a lot better as well. While it's important to be comfortable with both, as you're starting it's a bit more comfortable and gives you a little more room for error in being able to ride out landings.
Go for those kiteloops starting with your opposite direction and use it as a transition. Let's say we're going to the right and we're going to jump. Pull the loop with your back hand. As the loop comes around, sheet out and then, because you're going to want to land as a transition, you can pull your Heli Loop with your what was your front hand and it'll make it a clean landing. Untwist the lines from the loop so that you when you land everything's opened up and the kite's going to fly easy and smooth.
This is just the beginning to our big air series. We're going to progress into some different big air aspects. I'm learning just as much as you are, so let's see what we can all do together.
MACkite Subscription Links:
YouTube | Instagram | Spotify Oddcasts
Contact MACkite Below:
800.622.4655 | Kiteboarder@MACkite.com | LIVE Chat Messenger
Recent Posts
-

AFS Stow Parawing Review: Value and Performance
Tucker from MACkiteboarding has been riding the 4.5m AFS Stow Parawing for a number of hours and s …24th Jul 2026 -

Best Wing Foil Upgrades to Level Up Your Riding
With the massive boom in wing foiling over the last three years, a lot of riders now have a couple …24th Jul 2026 -

Buying Your Next Wing: Top Questions Answered
Jeff and Tucker from MACkite dive into the questions they get asked every single day by riders loo …23rd Jul 2026