

Wake Foiling | A Step-by-Step Guide for Assembling Your Hydrofoil
Welcome to your comprehensive guide on assembling your hydrofoil. Today, we're going to transform your foil parts into a fully functioning foil and get you out there on the water with a Slingshot All-Around Wake Foil Package!
Unboxing Your Brand New Foil
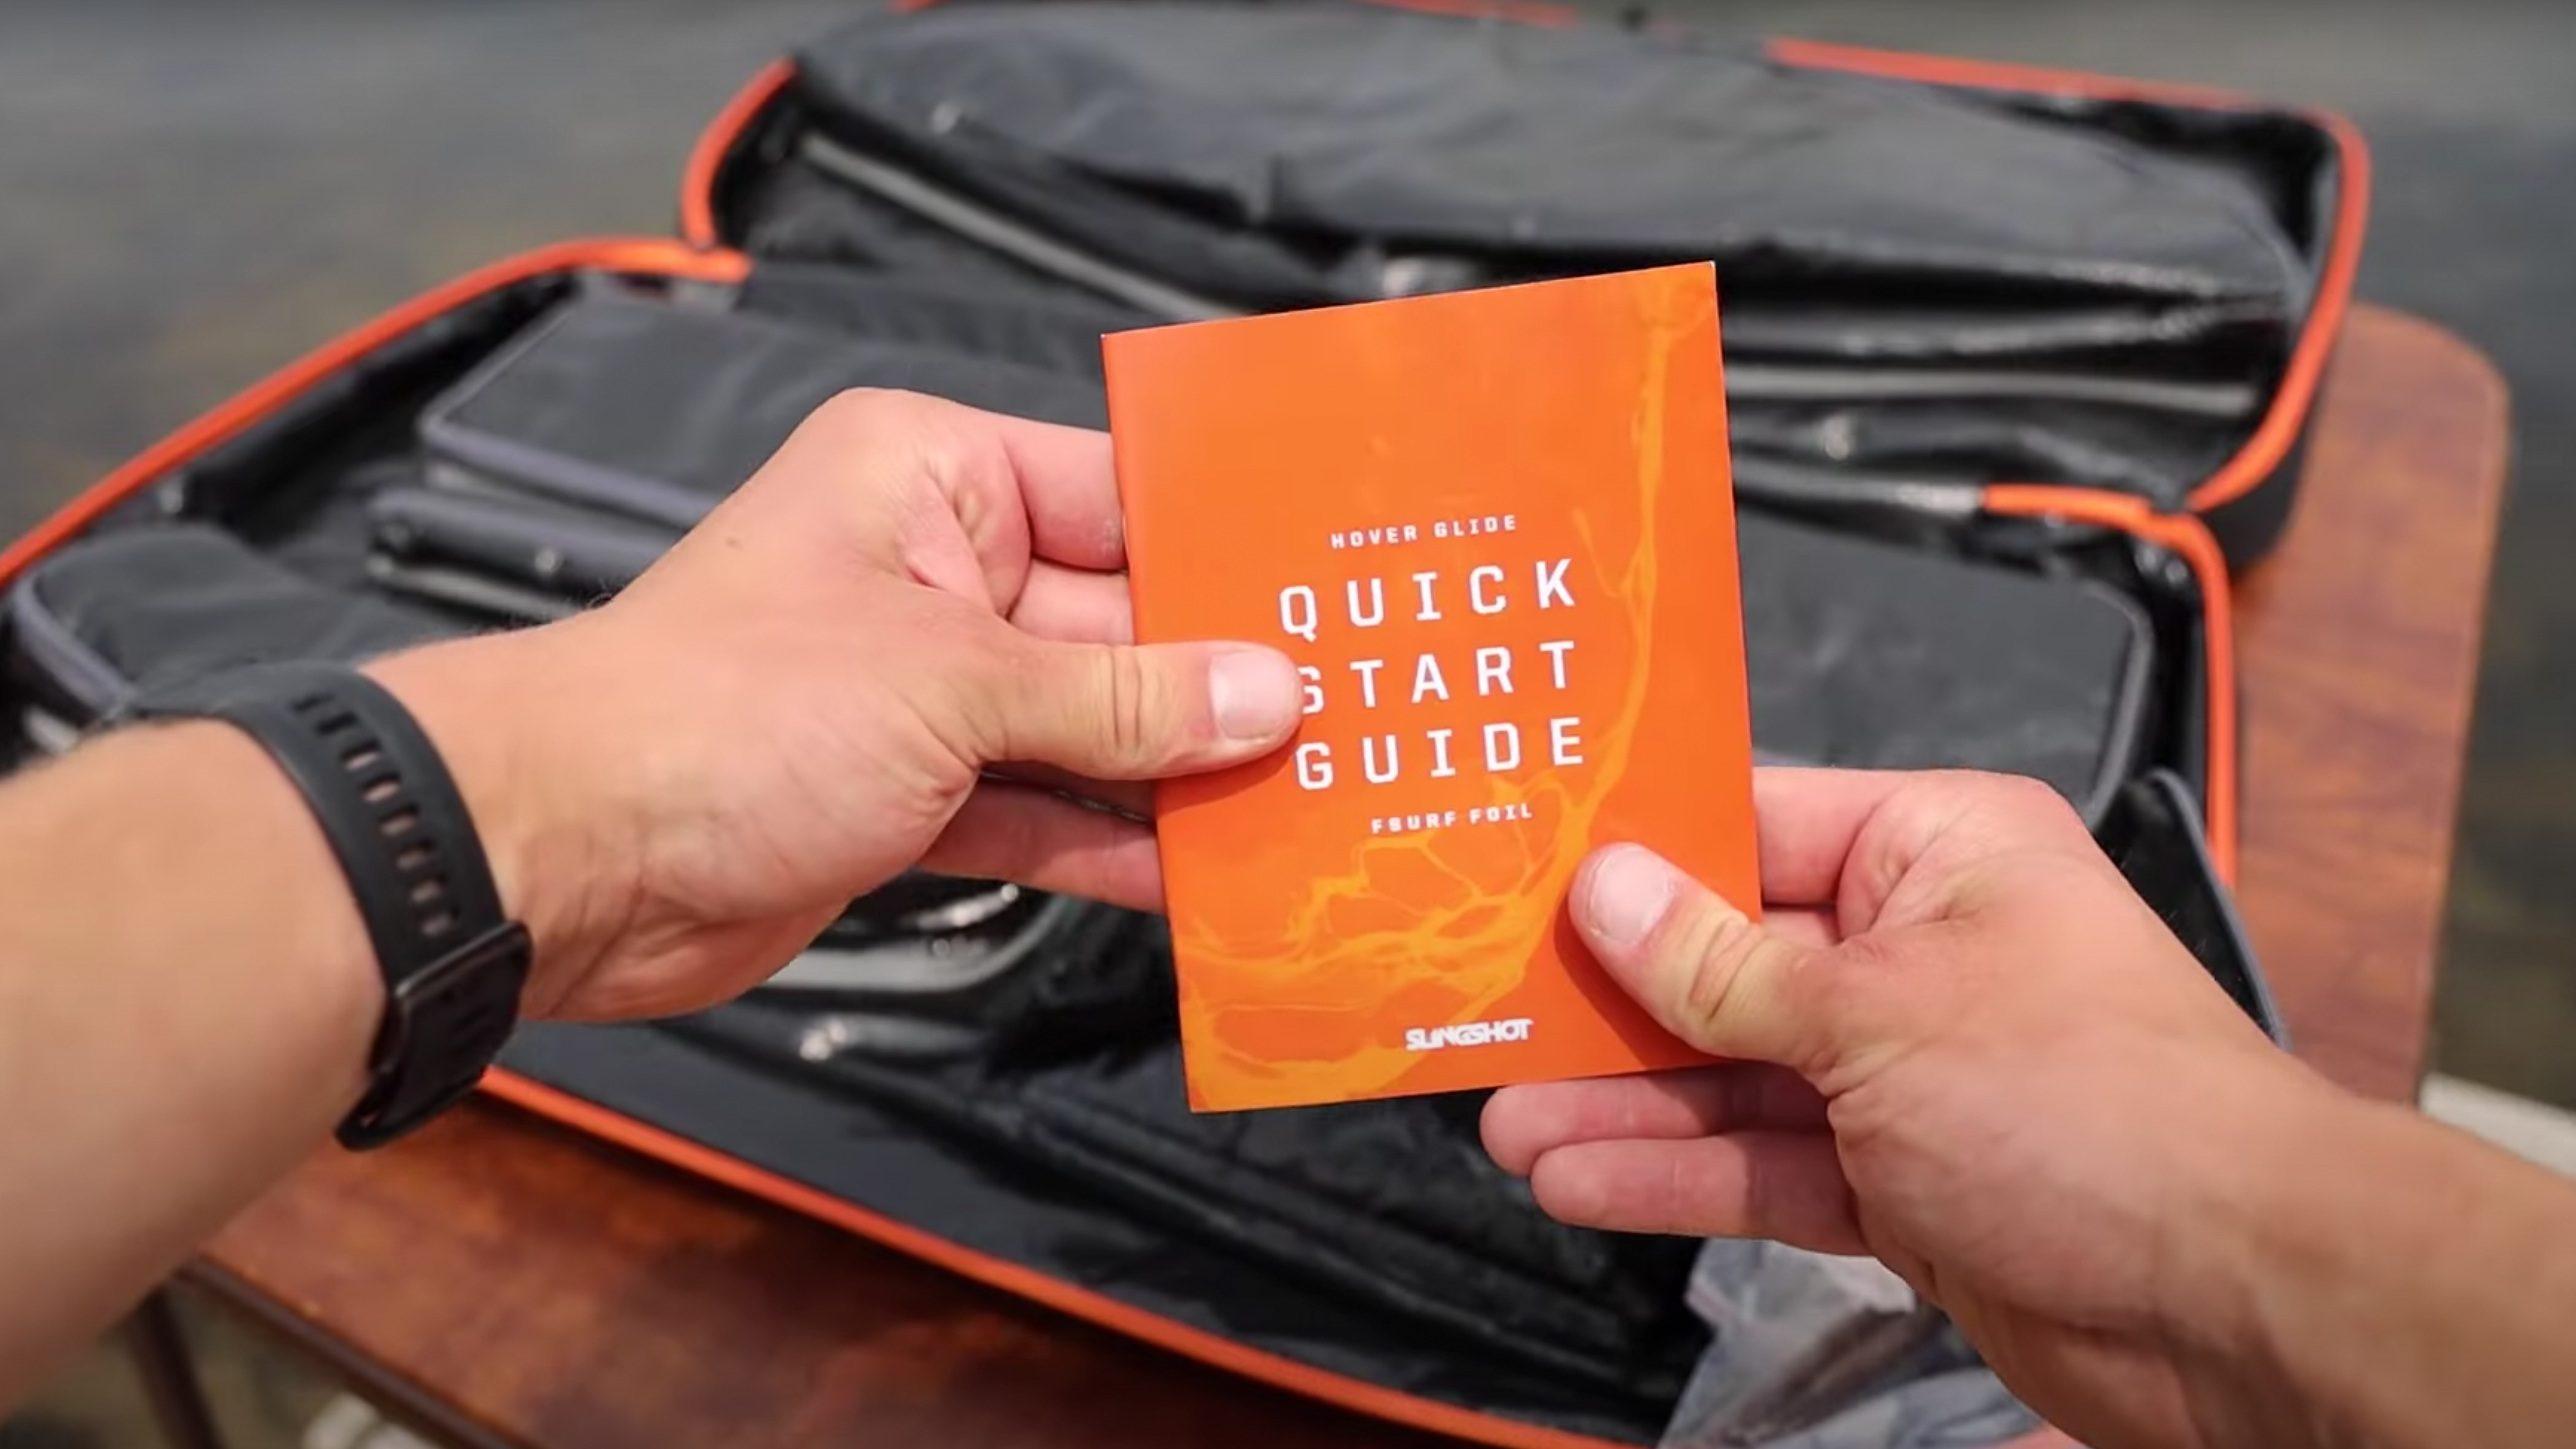
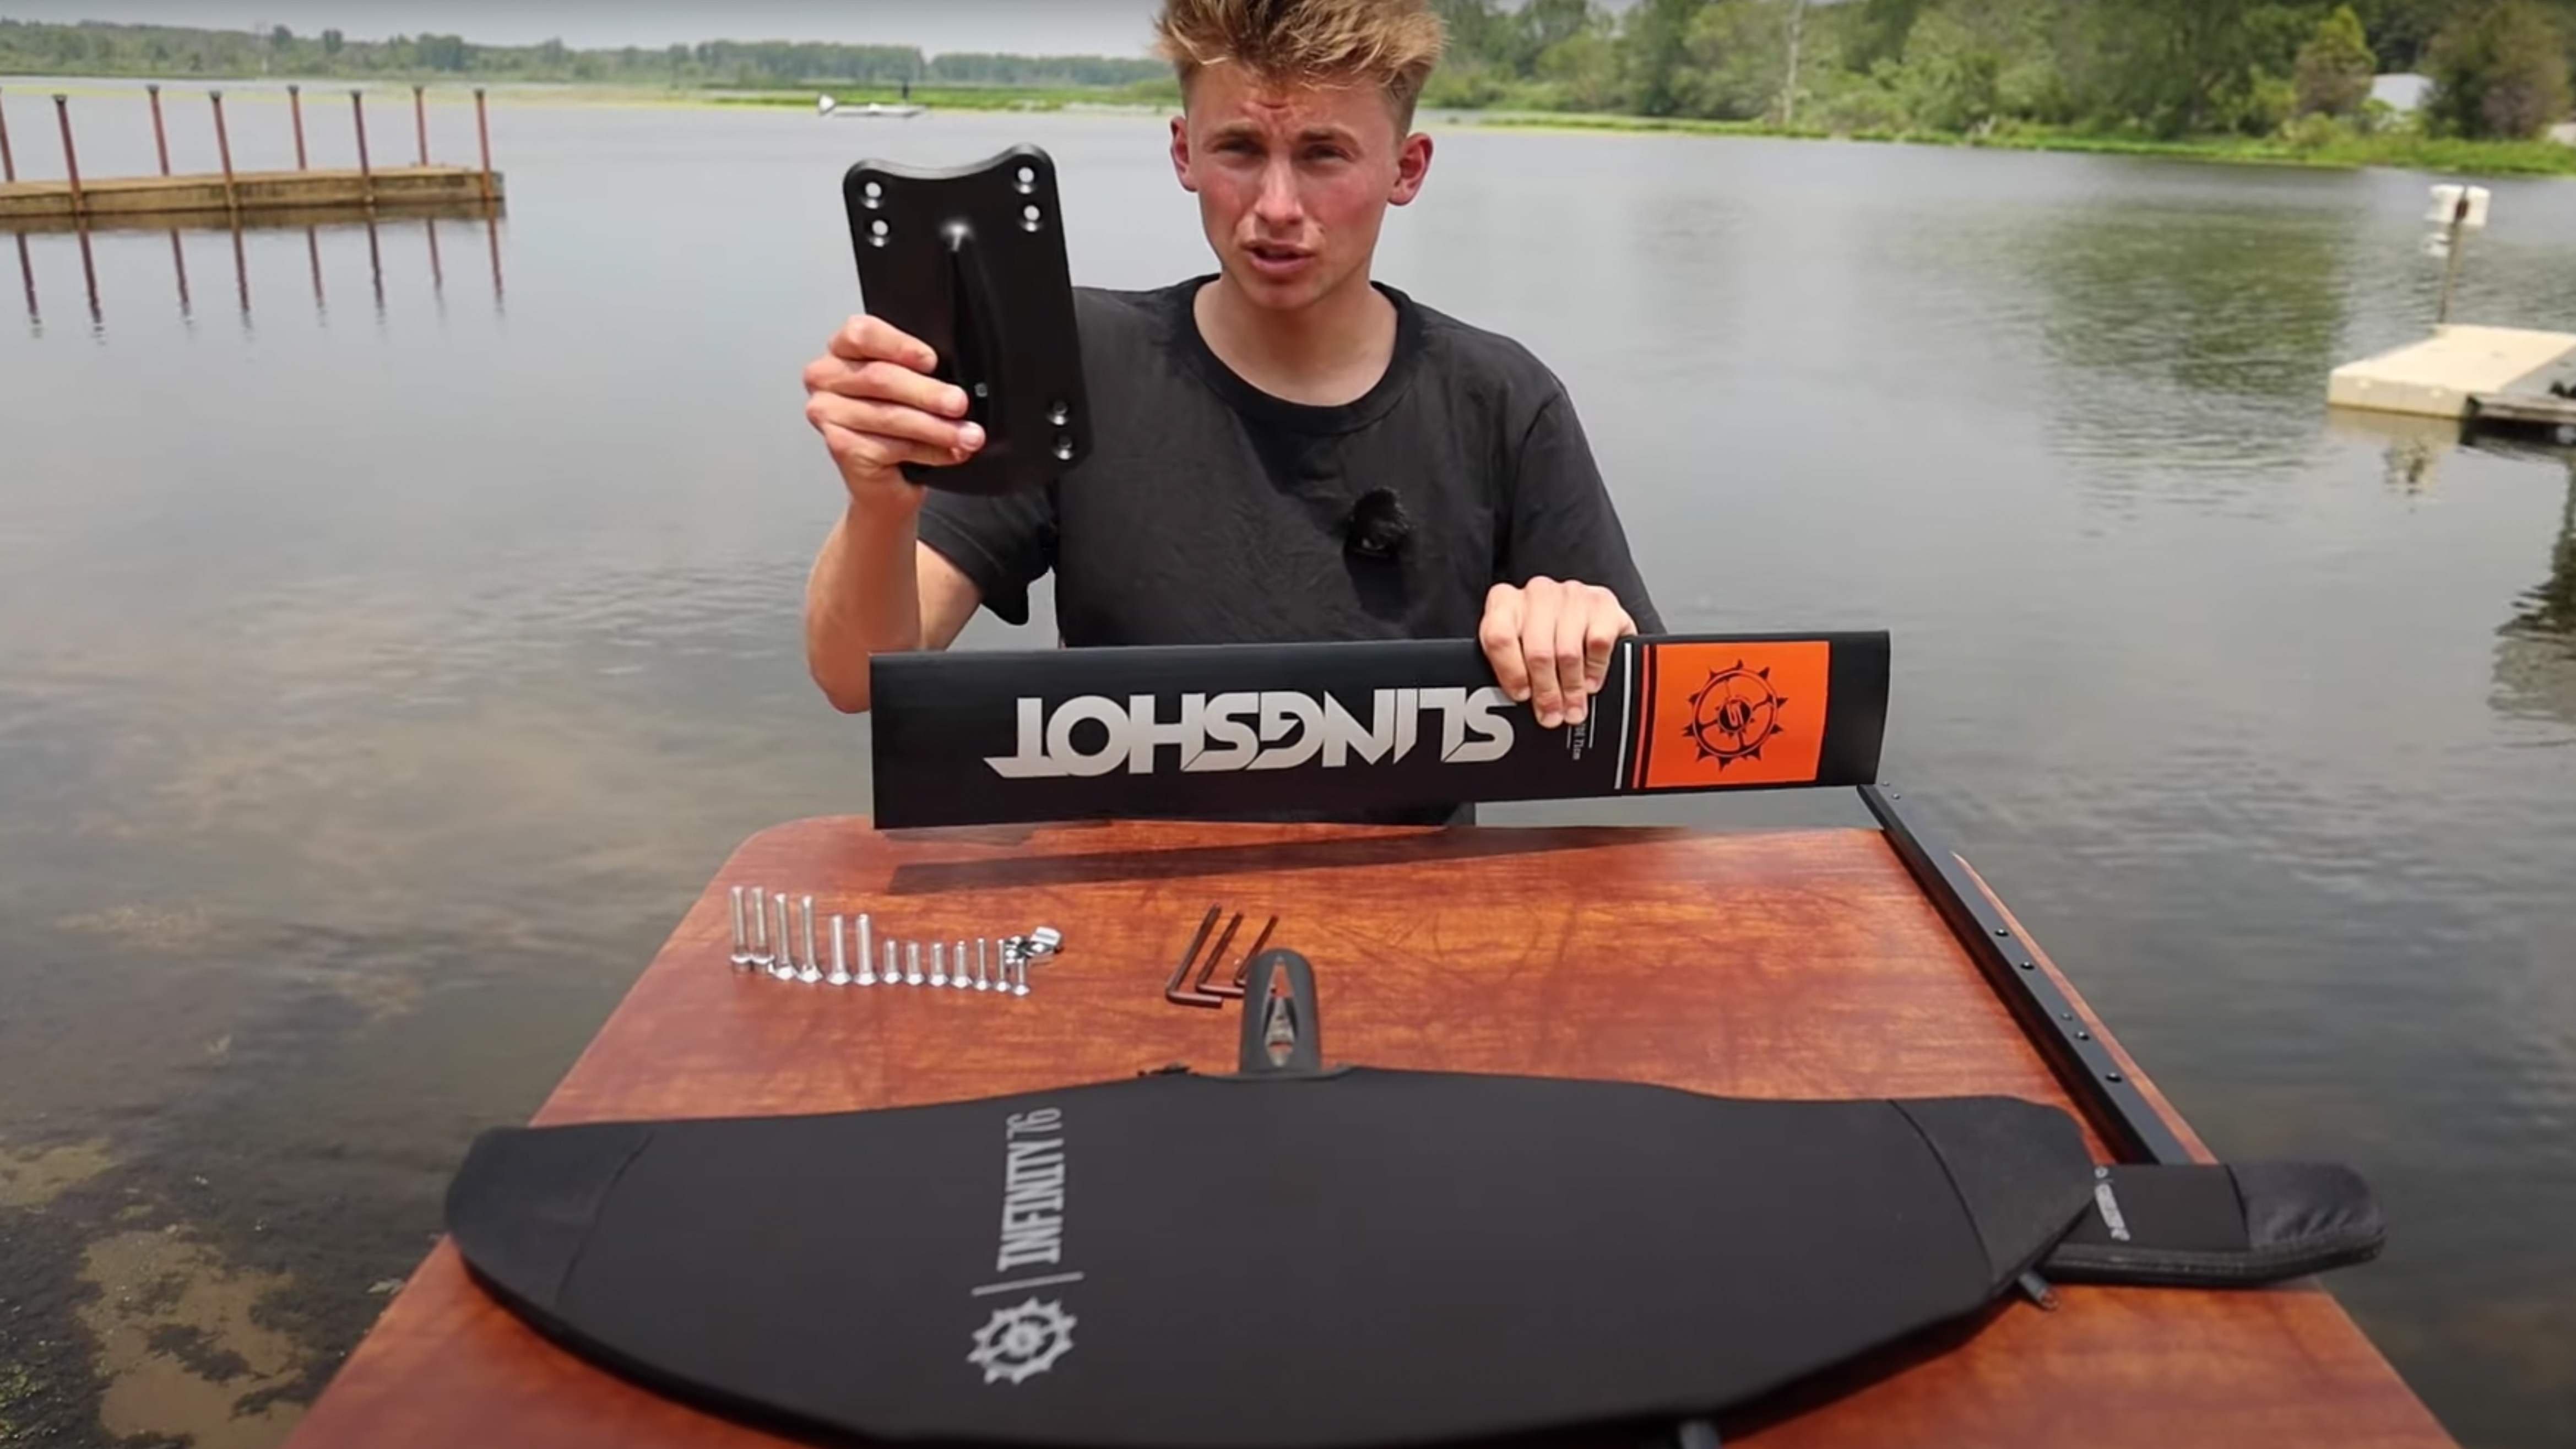
As soon as we ditch the box, we are greeted by our foil bag containing all the goodies we need for our adventure. The first compartment holds anti-corrosion tape for screws, Allen Keys for tightening our foil, and hardware for assembling our foil.
You'll also find a shim used for attaching our stabilizer to the fuselage. For time's sake, we won't be using the anti-corrosion tape in this tutorial, but it's good to know it's there, especially when wake foiling in salt or brackish water.
In the next compartment, we find an instruction guide and our foil plate. Before we start assembling, it's important to get our screws laid out, from largest to smallest. This pre-emptive organization will save us a lot of time.
Assembling the Mast and the Mast Plate
To start the assembly, we attach our Mast to our Mast Plate using the M8x40 countersunk screws. We insert the orange end of the Mast into our Mast Plate, flip it over, and insert our two M8x40 countersunk screws. Tighten these using the Allen Key from the kit until you start to feel the Allen Keys flex slightly.
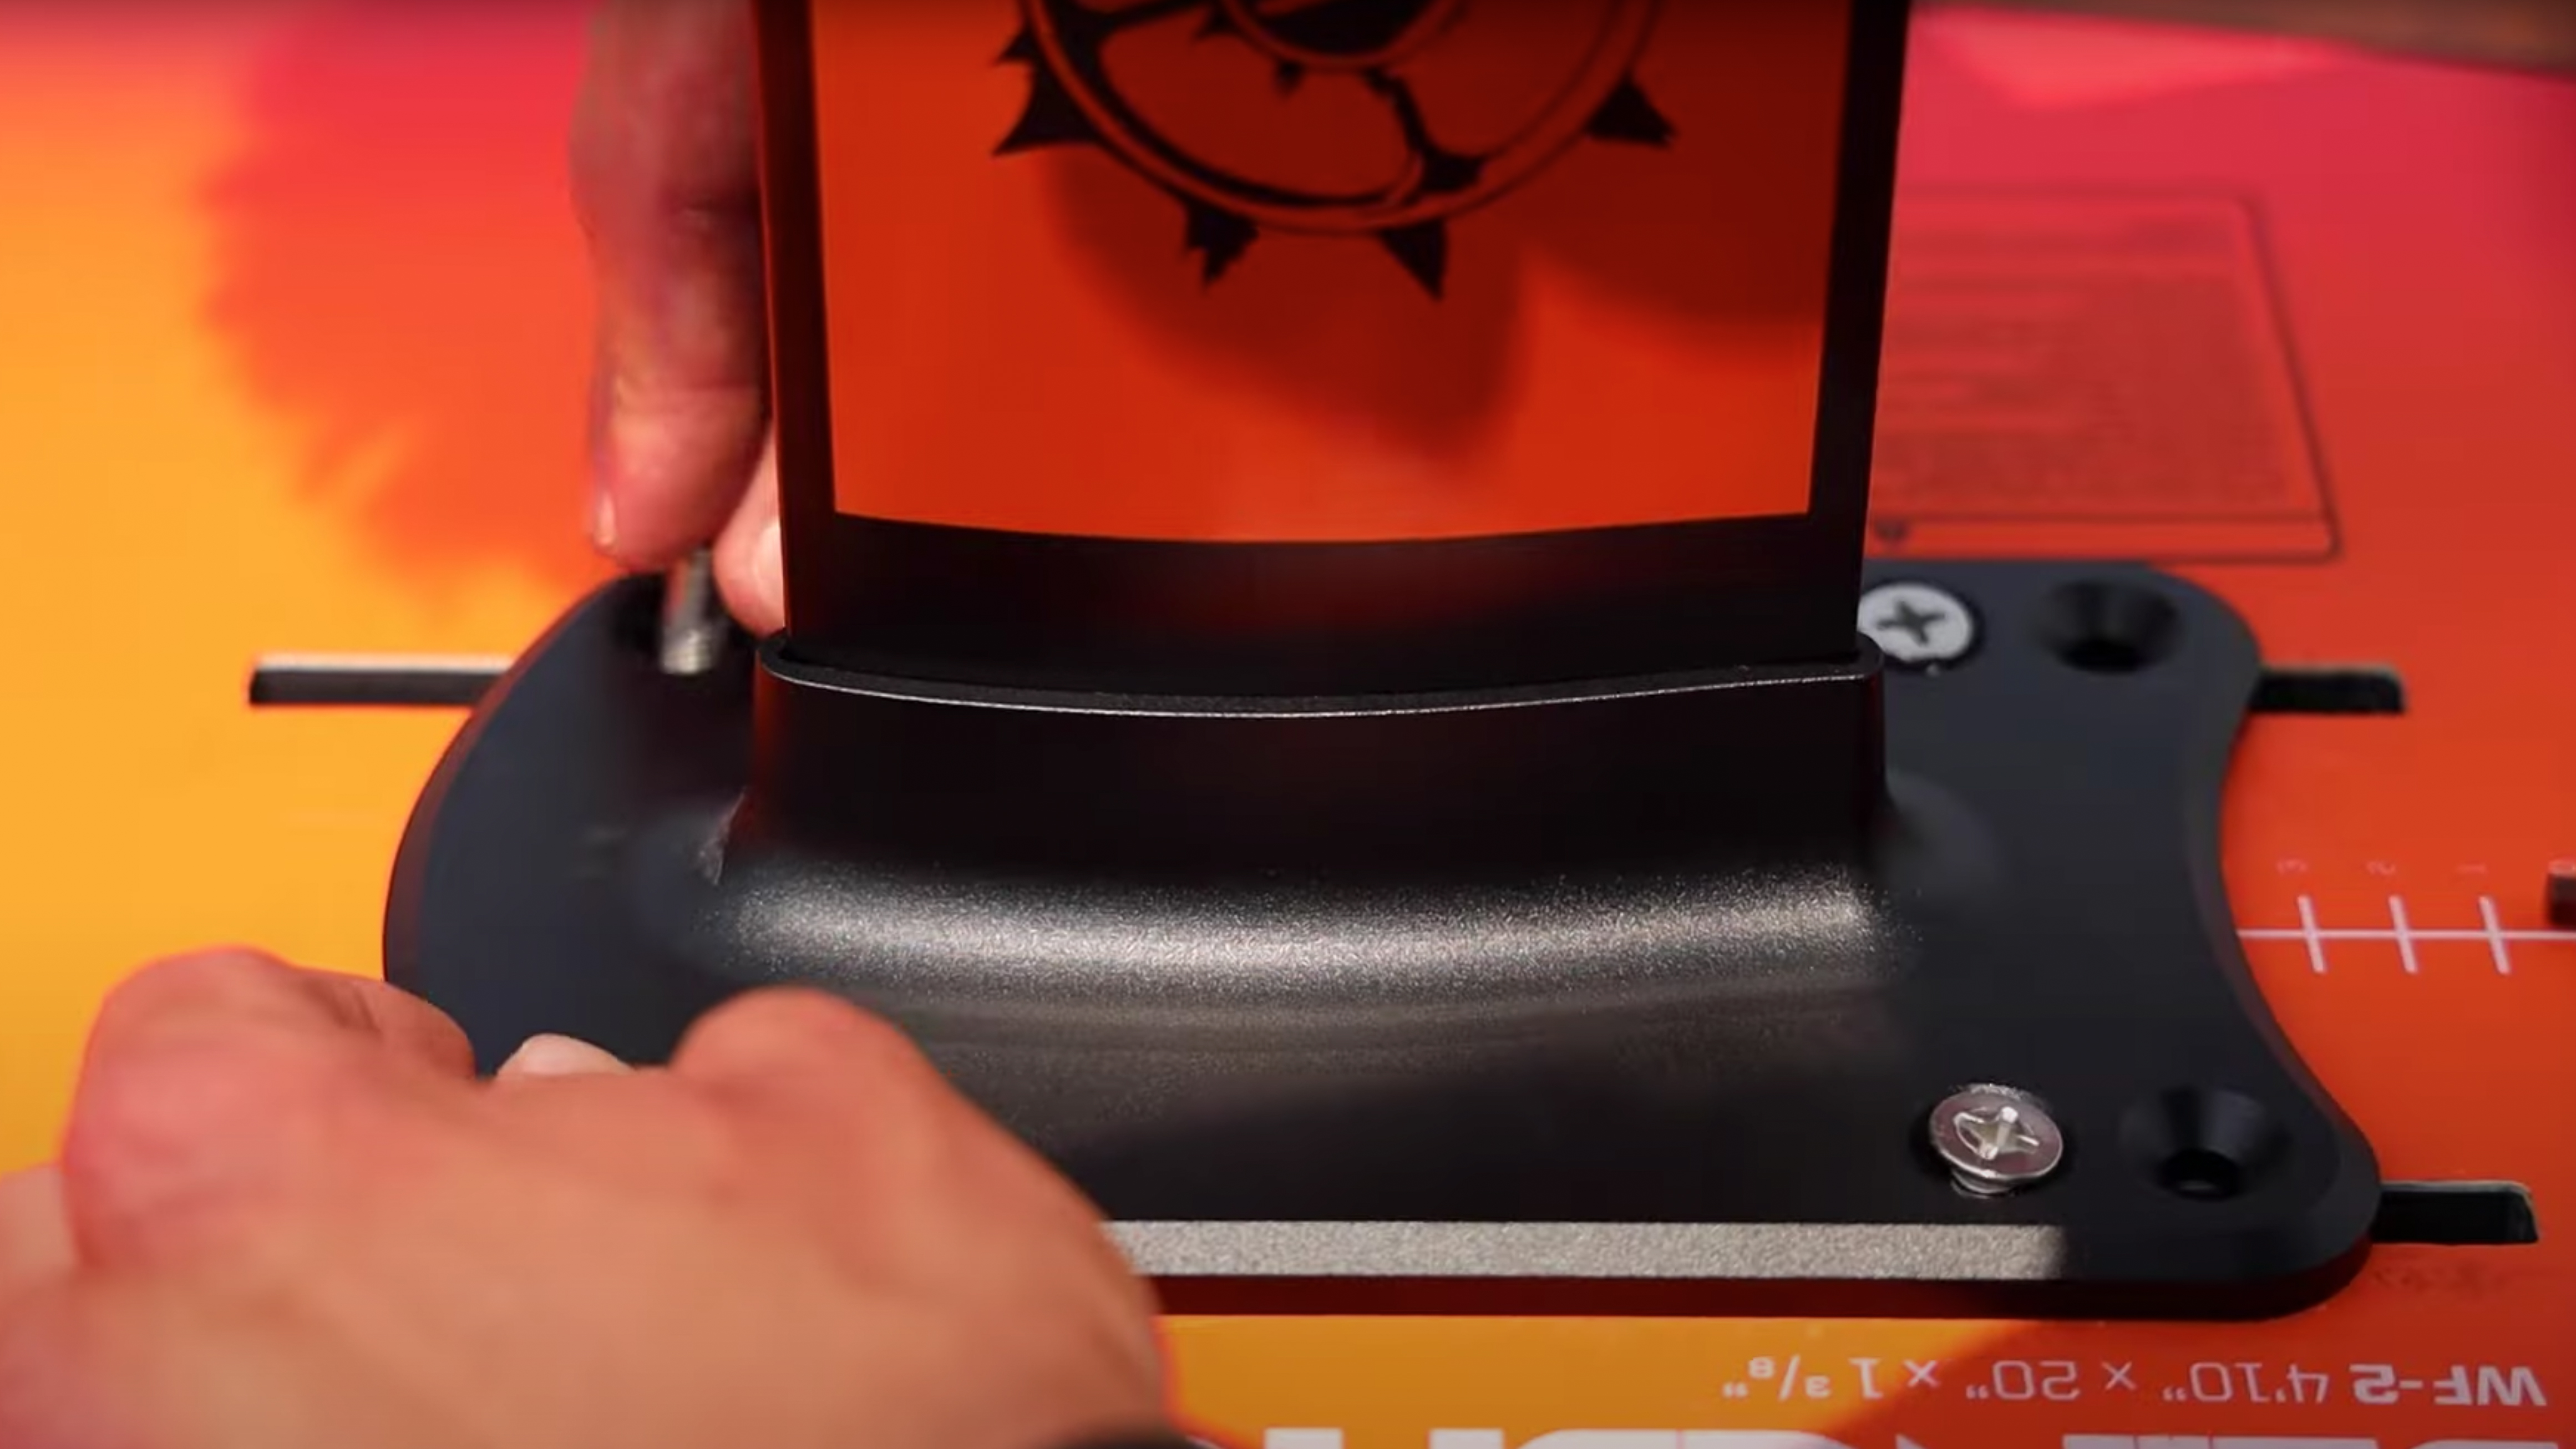
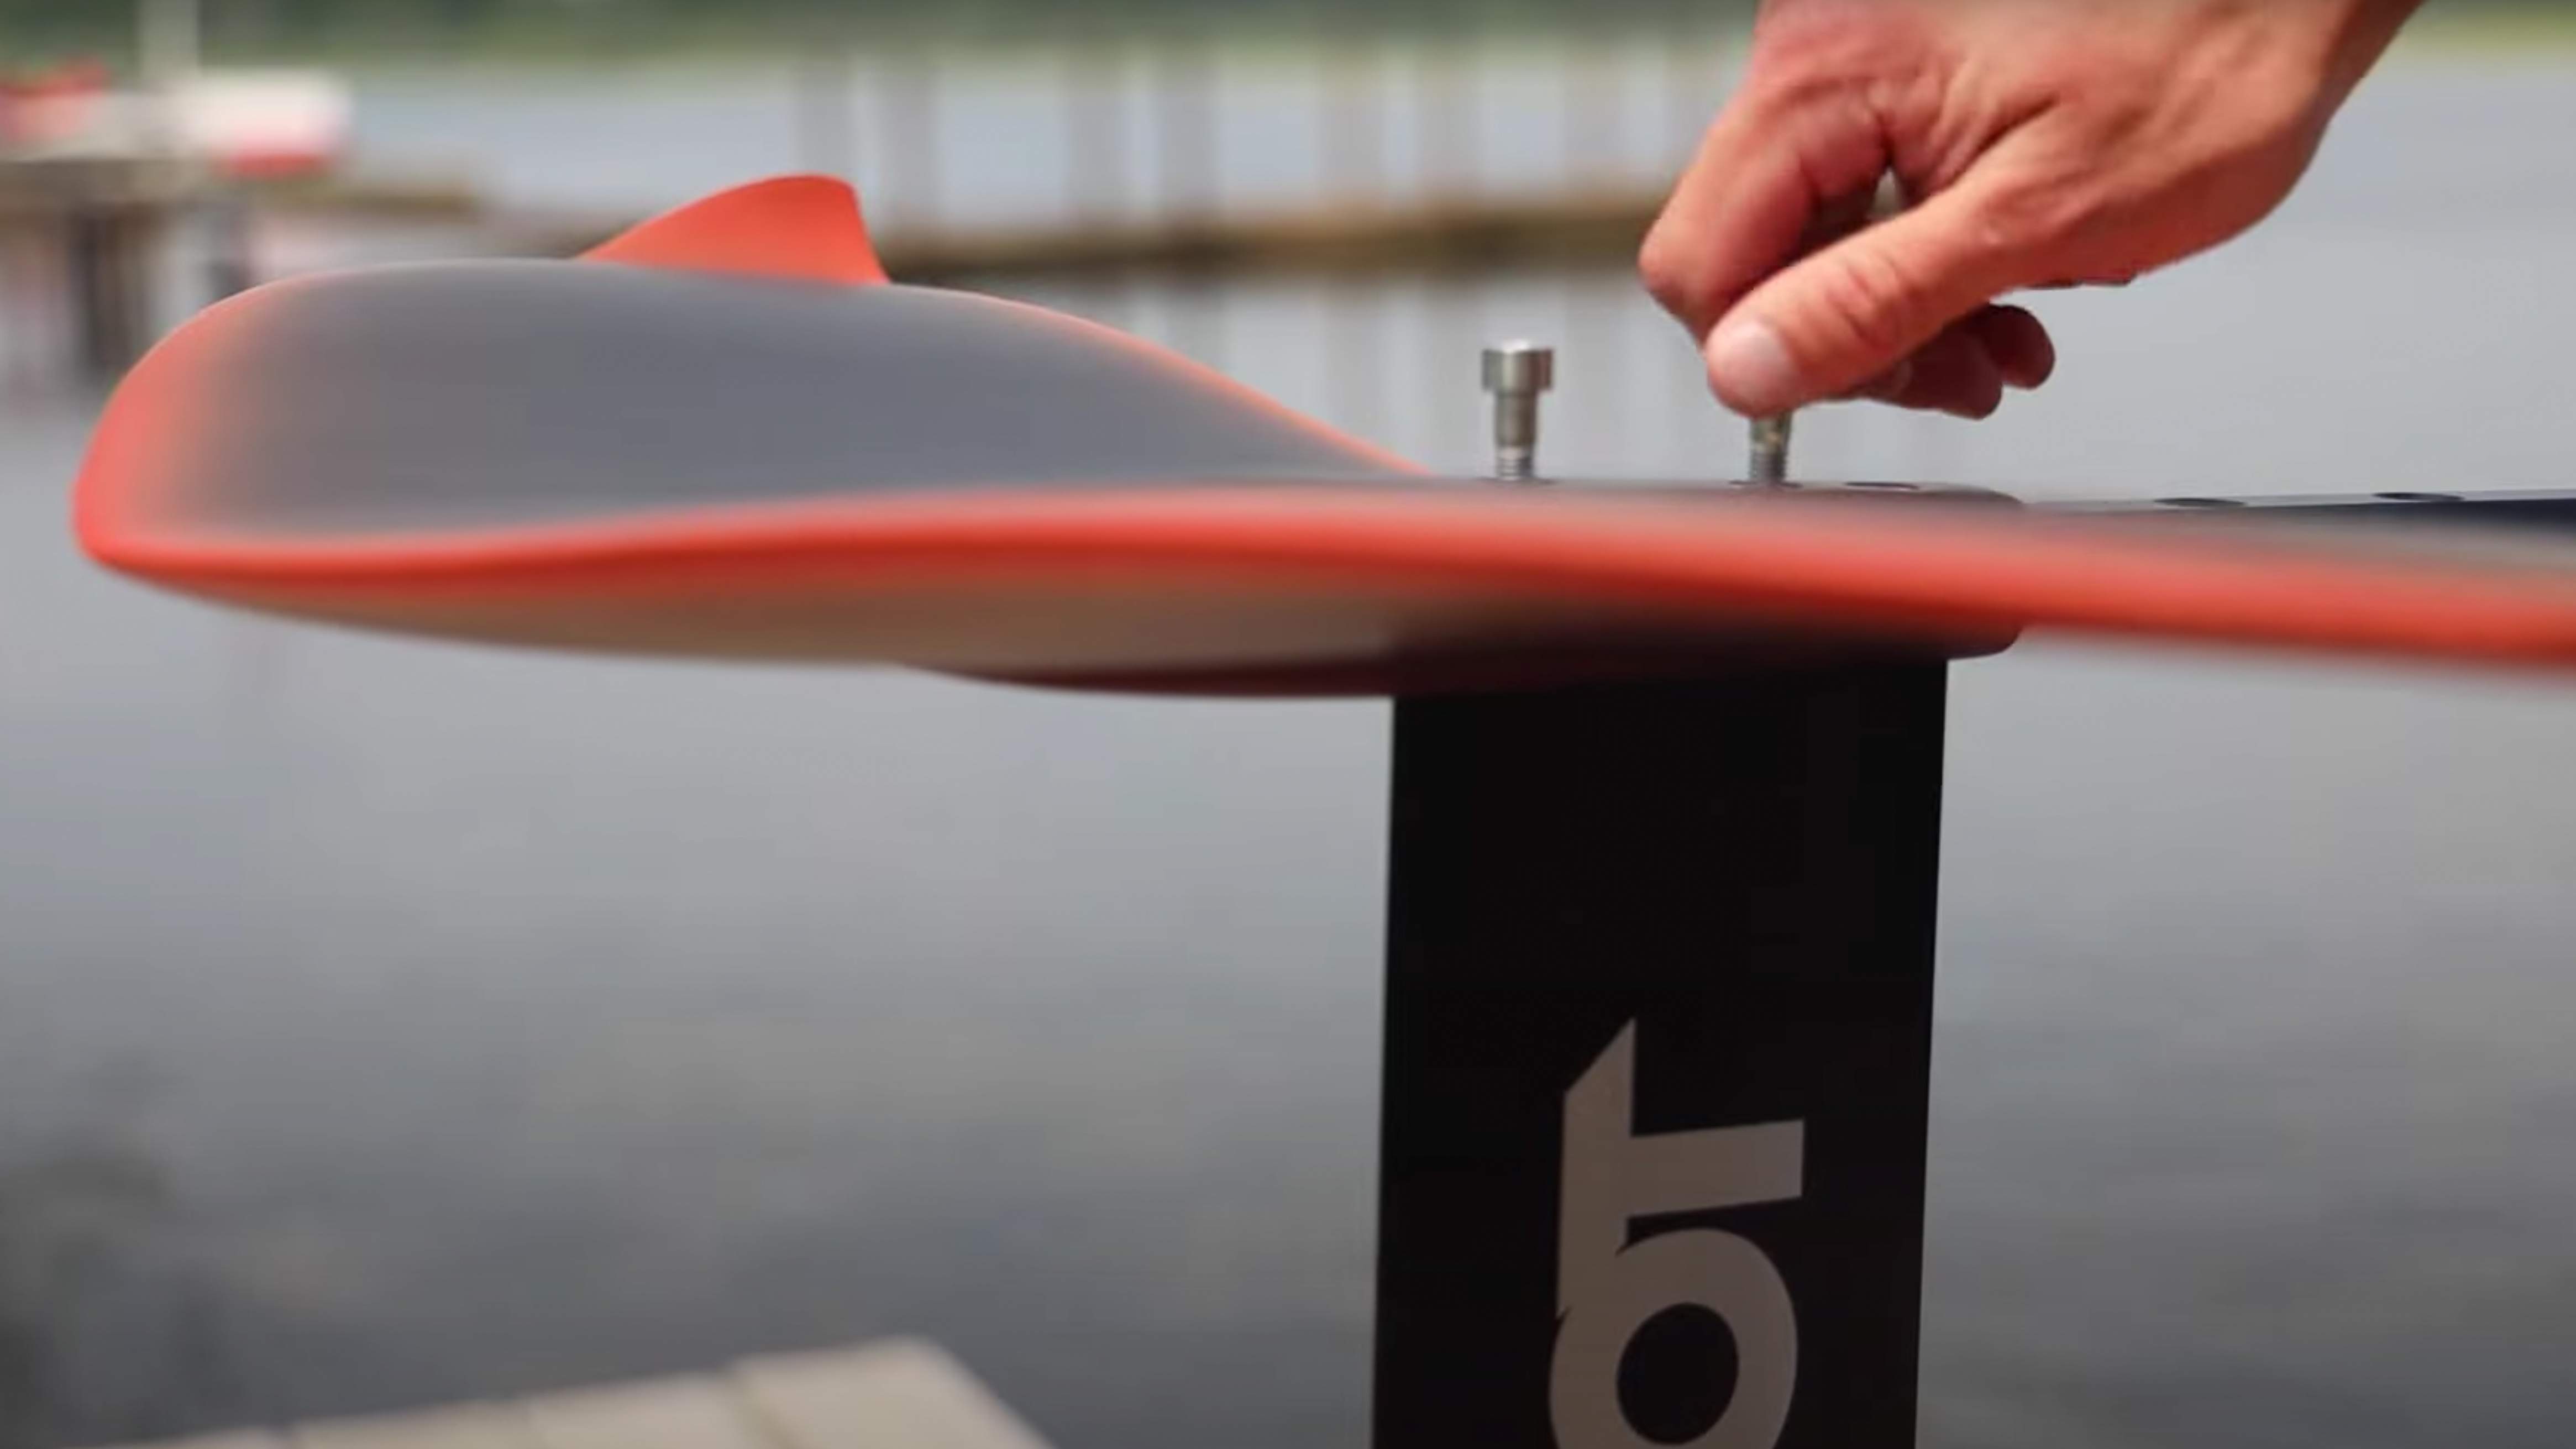
Attaching the Mast to Your Board
Next, we'll place the Mast Plate next to the board and use the four screws and respective track nuts to attach the Mast Plate to the board. To make this process smoother, place your track nuts onto your Allen Key and slide them into the track system. Line up your Mast Plate over your track nuts and start tightening them using a Phillips head screwdriver.
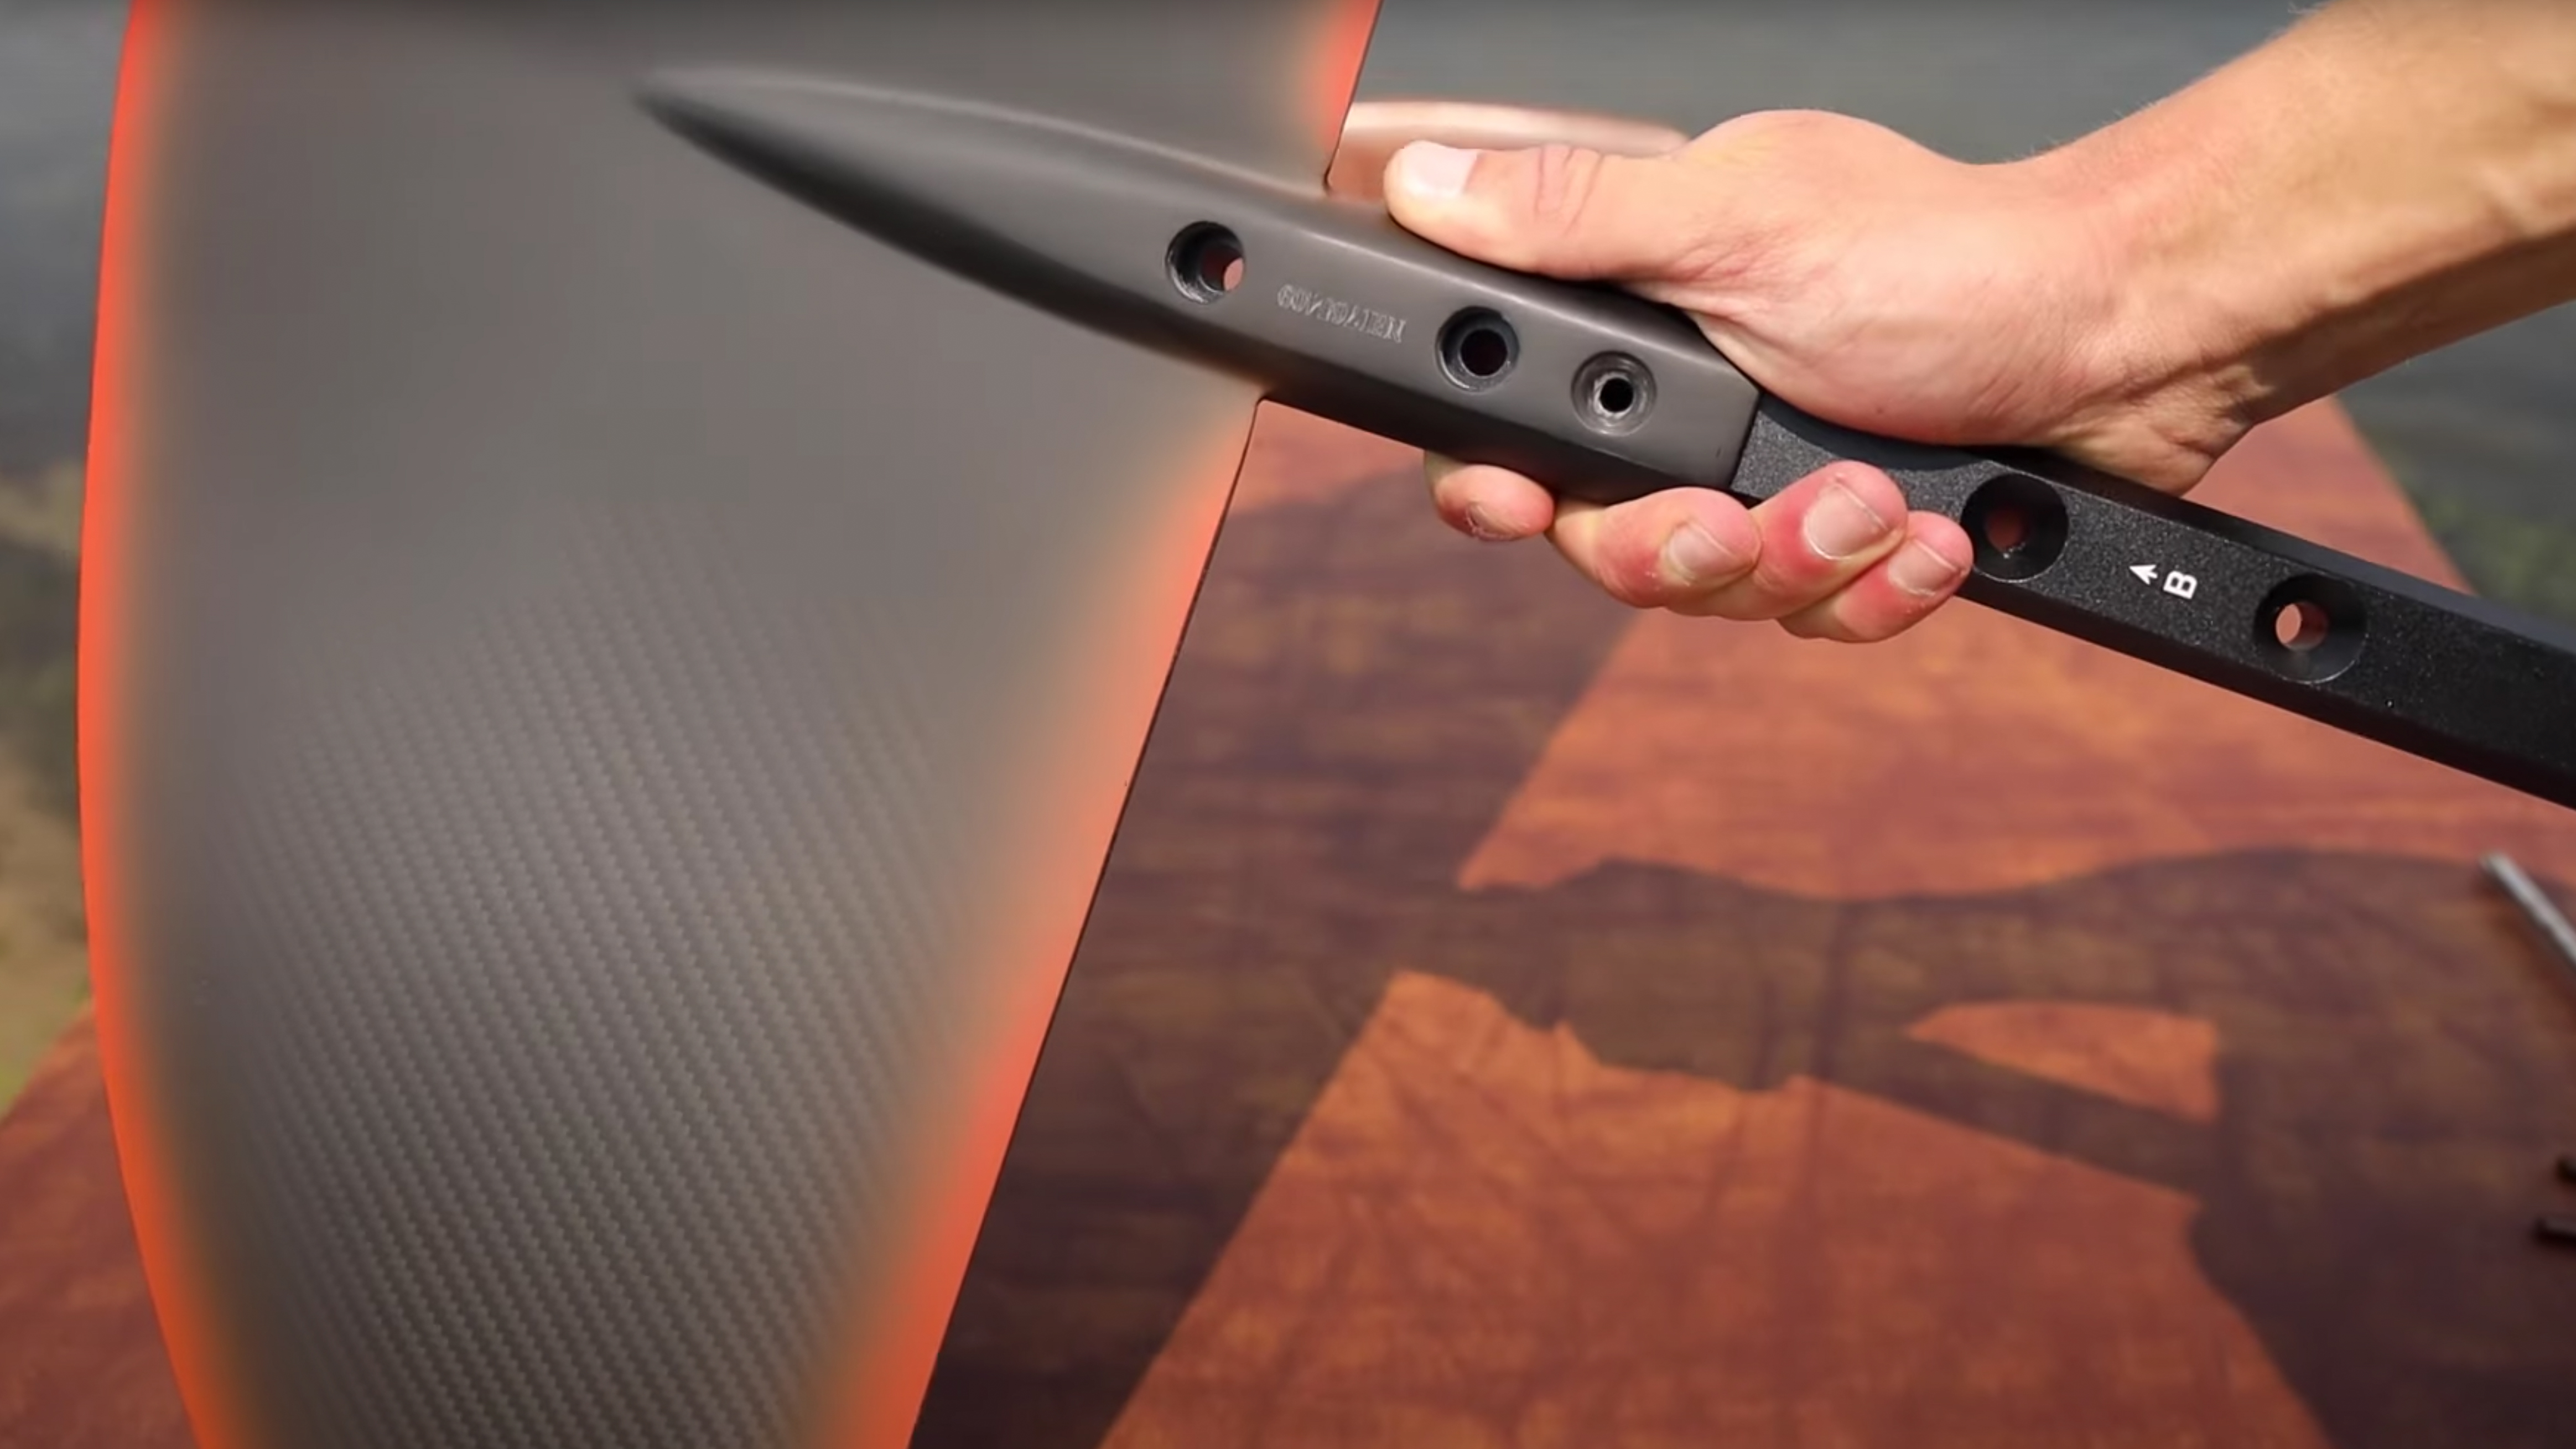
Connecting the Front Wing to the Fuselage
To attach the front Wing to the fuselage, we will be using a set screw. Ensure the letters on the wing face towards the bottom (the side without any lettering). Insert your screw in the final hole of the wing and tighten it using the smallest Allen Key from your foil kit.
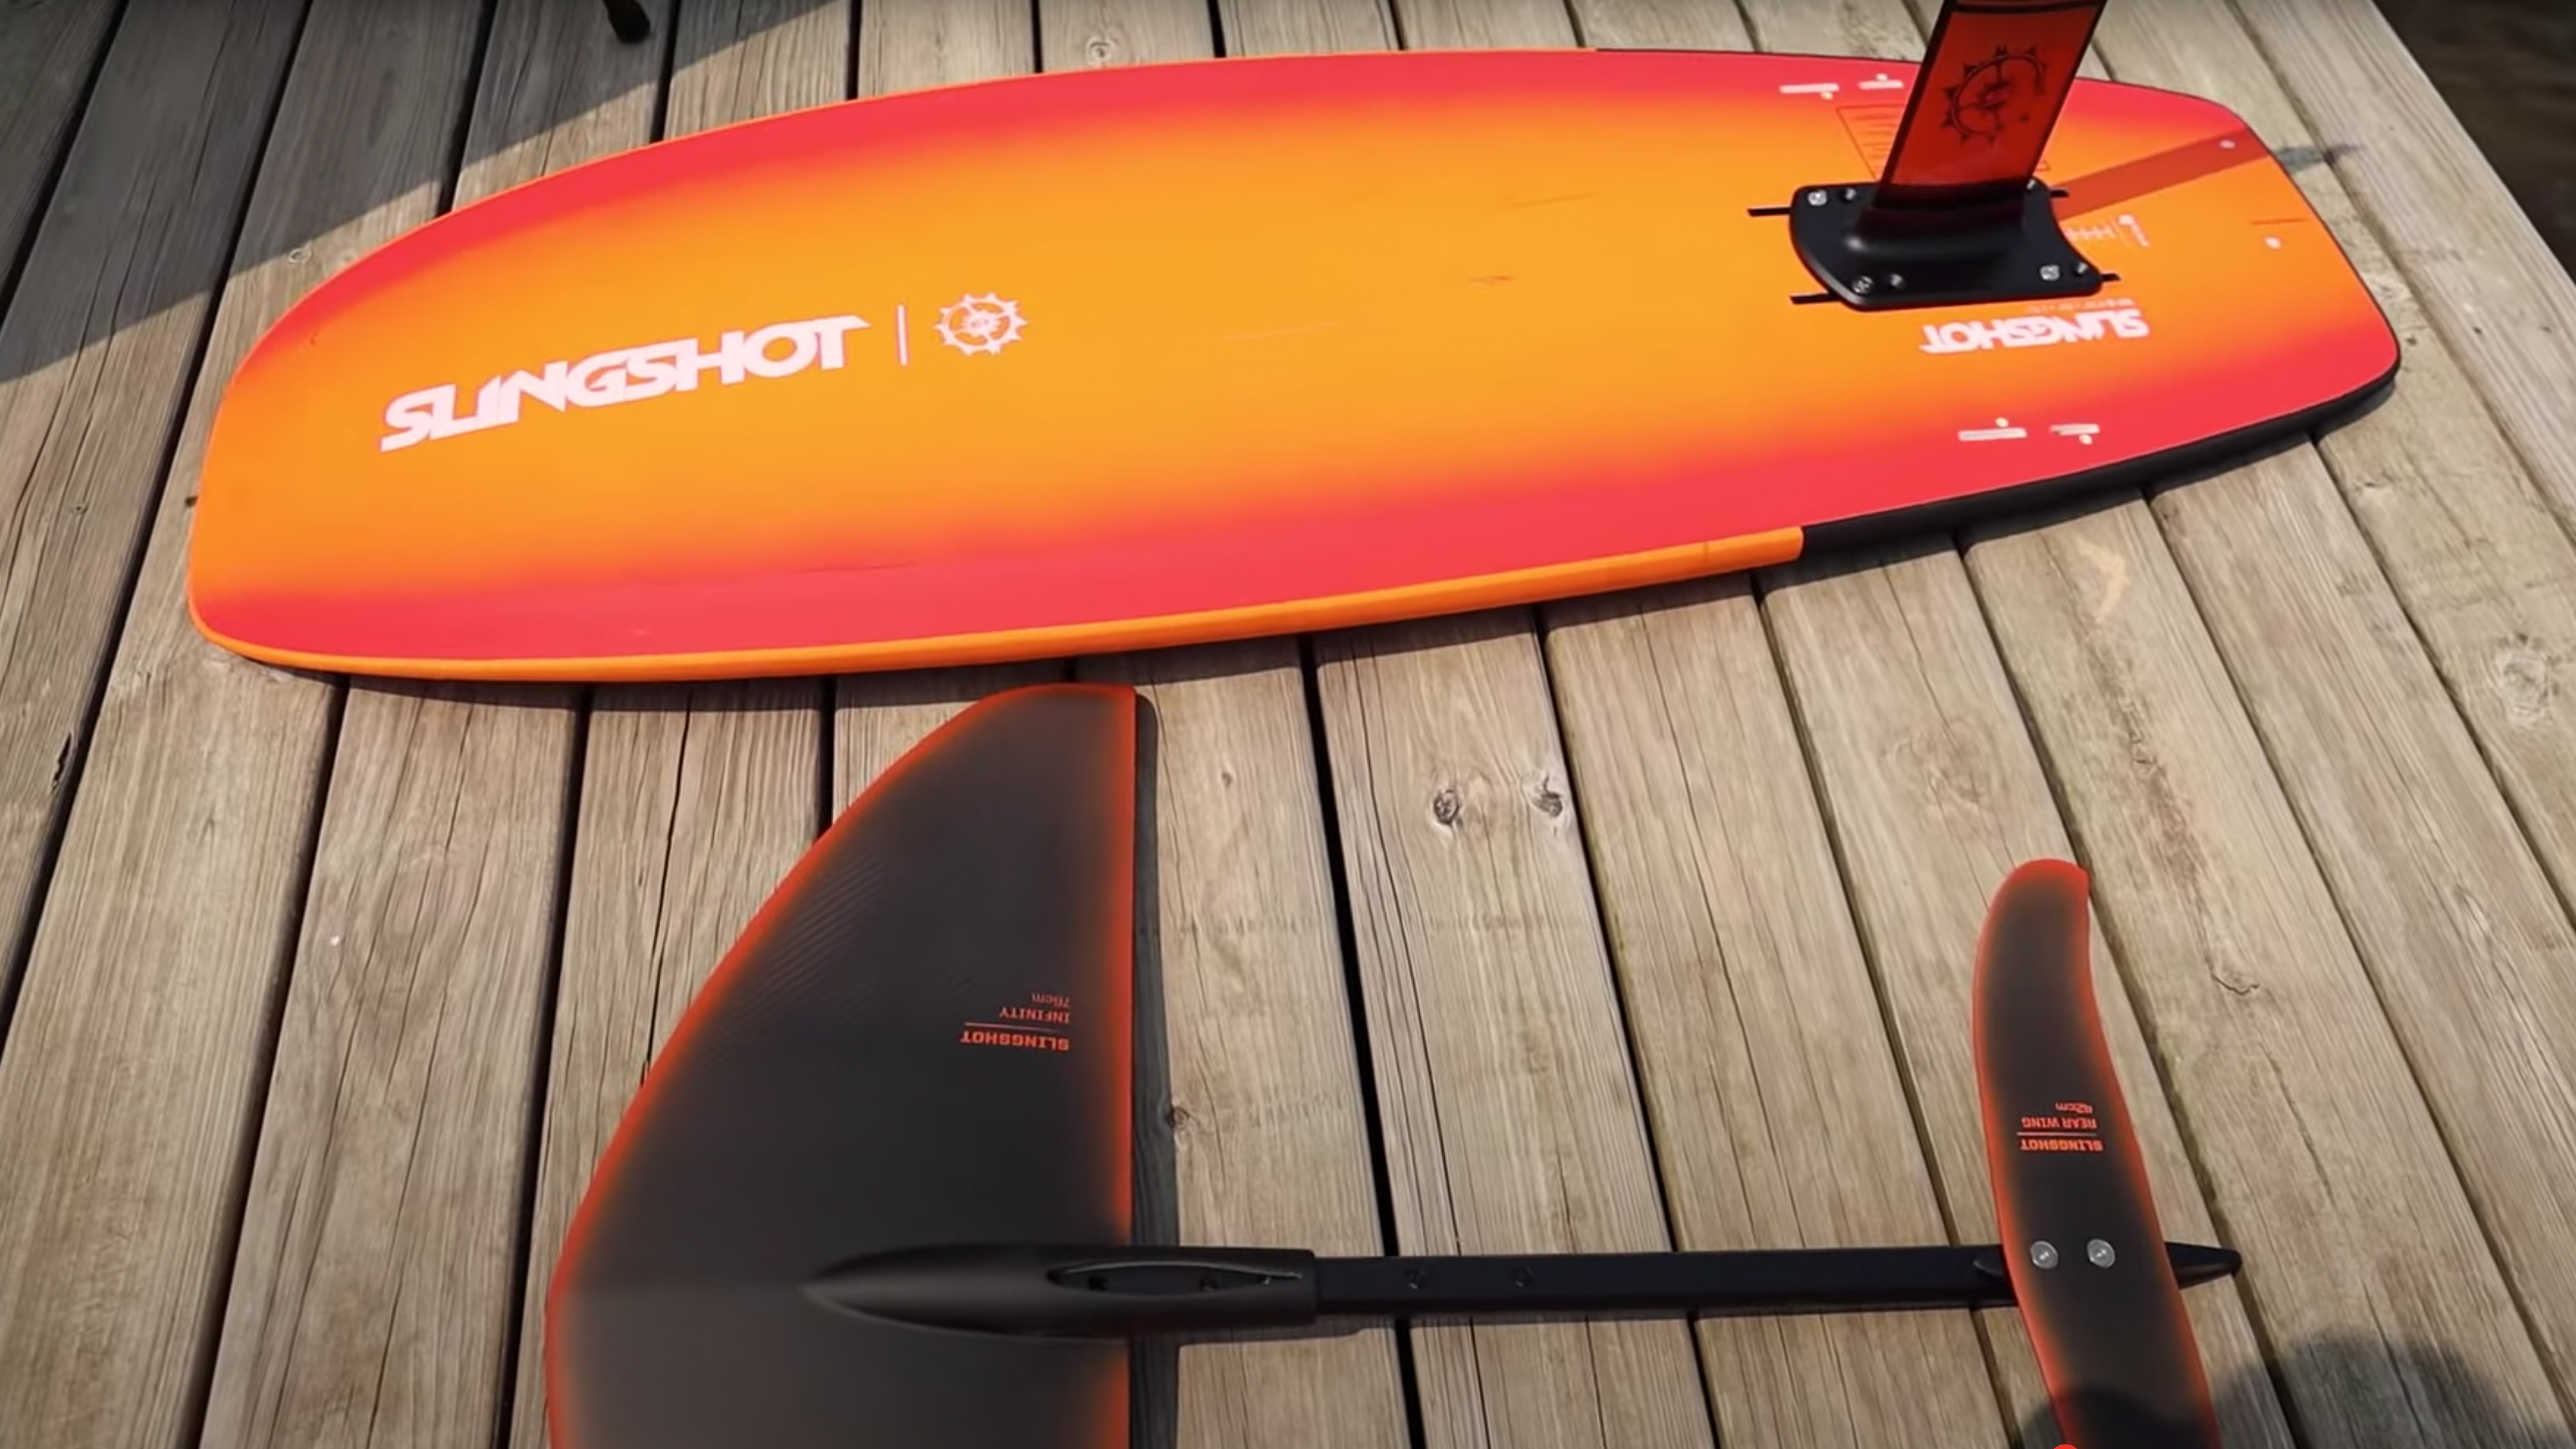
Attaching the Rear Wing to the Fuselage
The next step is attaching our rear wing to the fuselage using two M6x30 screws. Orient the wing so that the top with the writing is angled upwards. Place the Shim on the foil, hold it in place, and then attach the rear wing, ensuring the writing is flipped towards the sky. Finger-tighten the screws into the foil.
Combining the Wings and the Mast
After building the board into two different pieces, it's now time to bring them together. Place the part of your front Wing with a gap directly on top of your Mast. Connect the fuselage to the Mast using the M8x45 bolts. Screw them in using the second to largest Allen Key that comes with the set. Once these screws are tight, your foil is ready for action!
Finishing Touches
Once the assembly is complete, make sure to put the wing covers back on the foil. This helps to protect your boat and other people from the sharp edges of the foil.
That's it! You've transformed a pile of parts into a fully functional wake foil setup. For further learning, check out our other videos on our YouTube channel.
When in doubt—give us a shout! We're always happy to help.

Recent Posts
-

Light Wind Parawinging: Tucker's Top Tips and Favorite Gear
Tucker has been getting a lot of questions lately about light wind parawinging. He put together a …15th Jul 2026 -

How to Choose the Right Foil Mast Length
Jeff and Tucker dive into a majorly important part of the foil setup: the mast. With foiling exper …14th Jul 2026 -

Adam Bennets' Ideal FLUX Setup for Fliteboard eFoils
Tucker is joined by Adam Bennetts from FLITElab to walk through some of the FLITElab wings and how …13th Jul 2026