

Reedin Superwing X Wing Features Overview
Hey everybody, welcome back to MACkiteboarding Wing Wednesdays. I'm Tucker and today I'm going to talk to you about the Reedin Super Wing X.
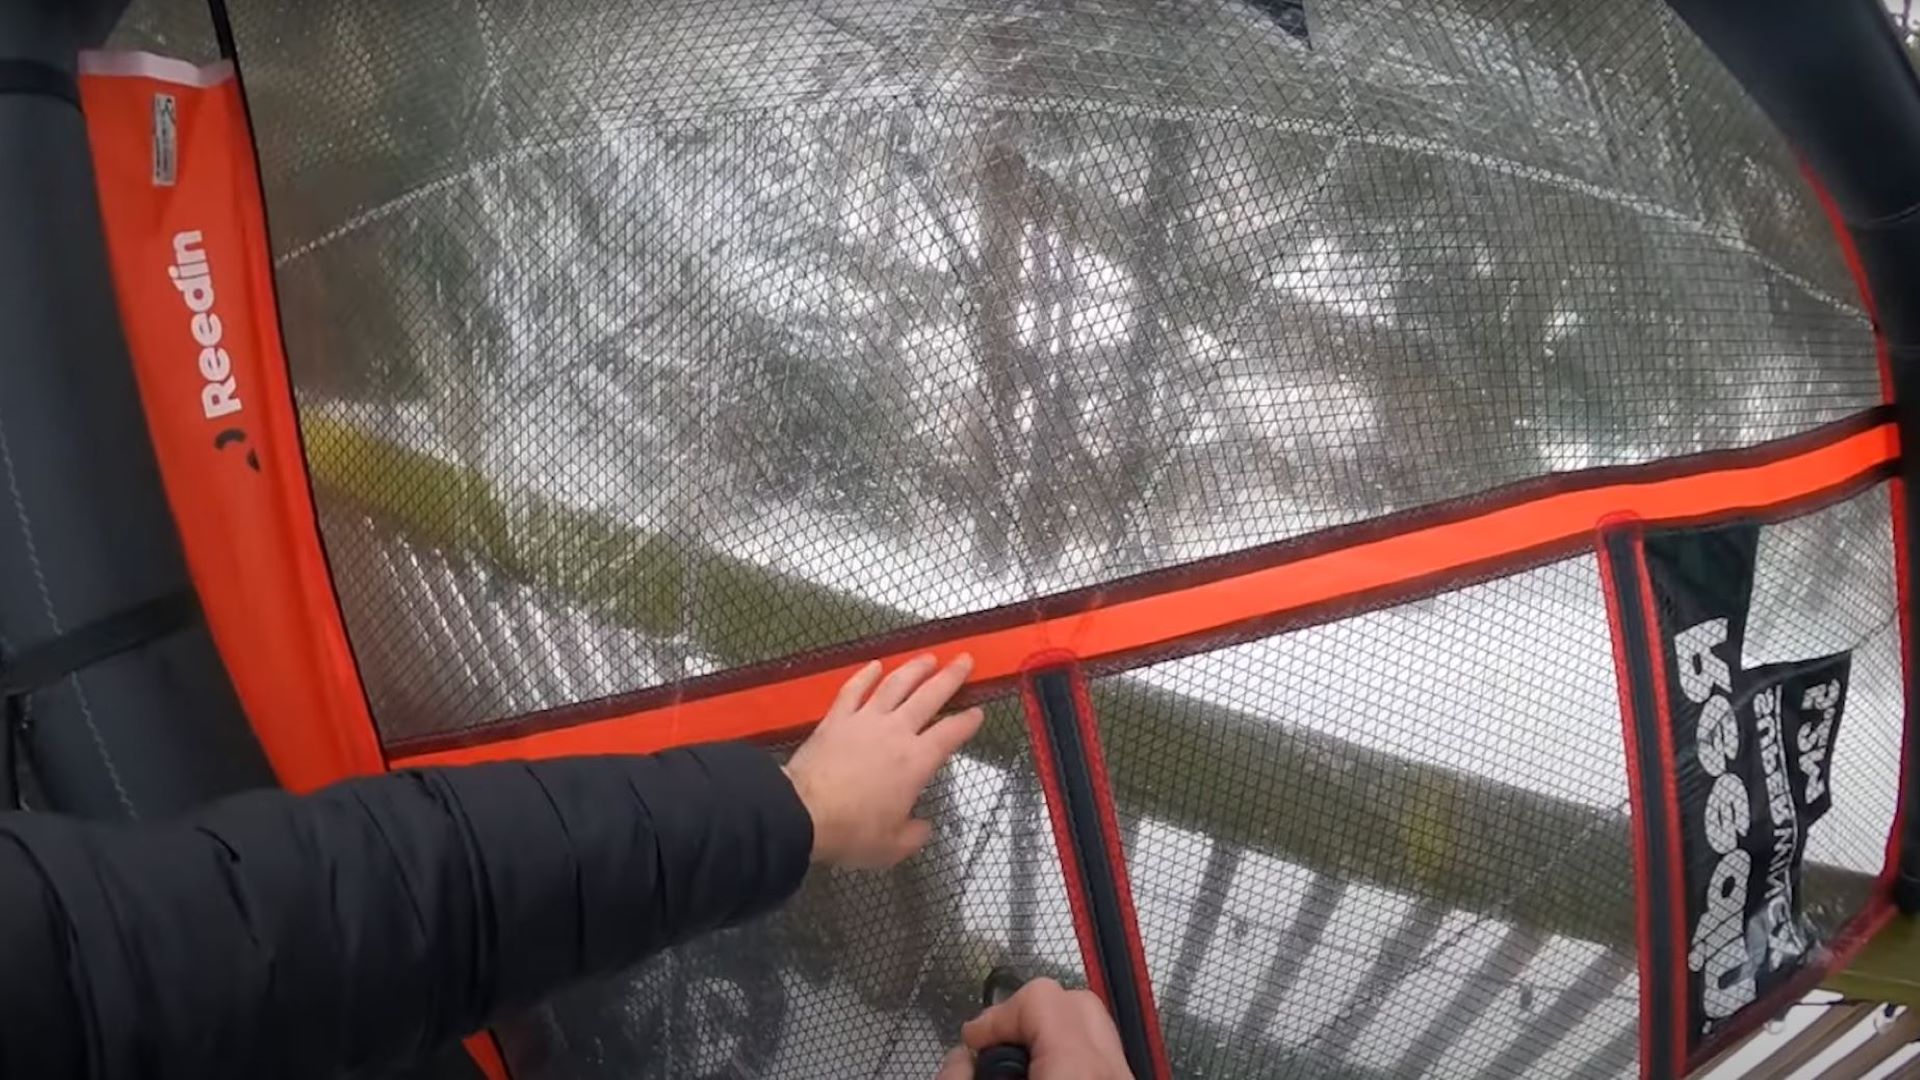
X-Ply Canopy Material
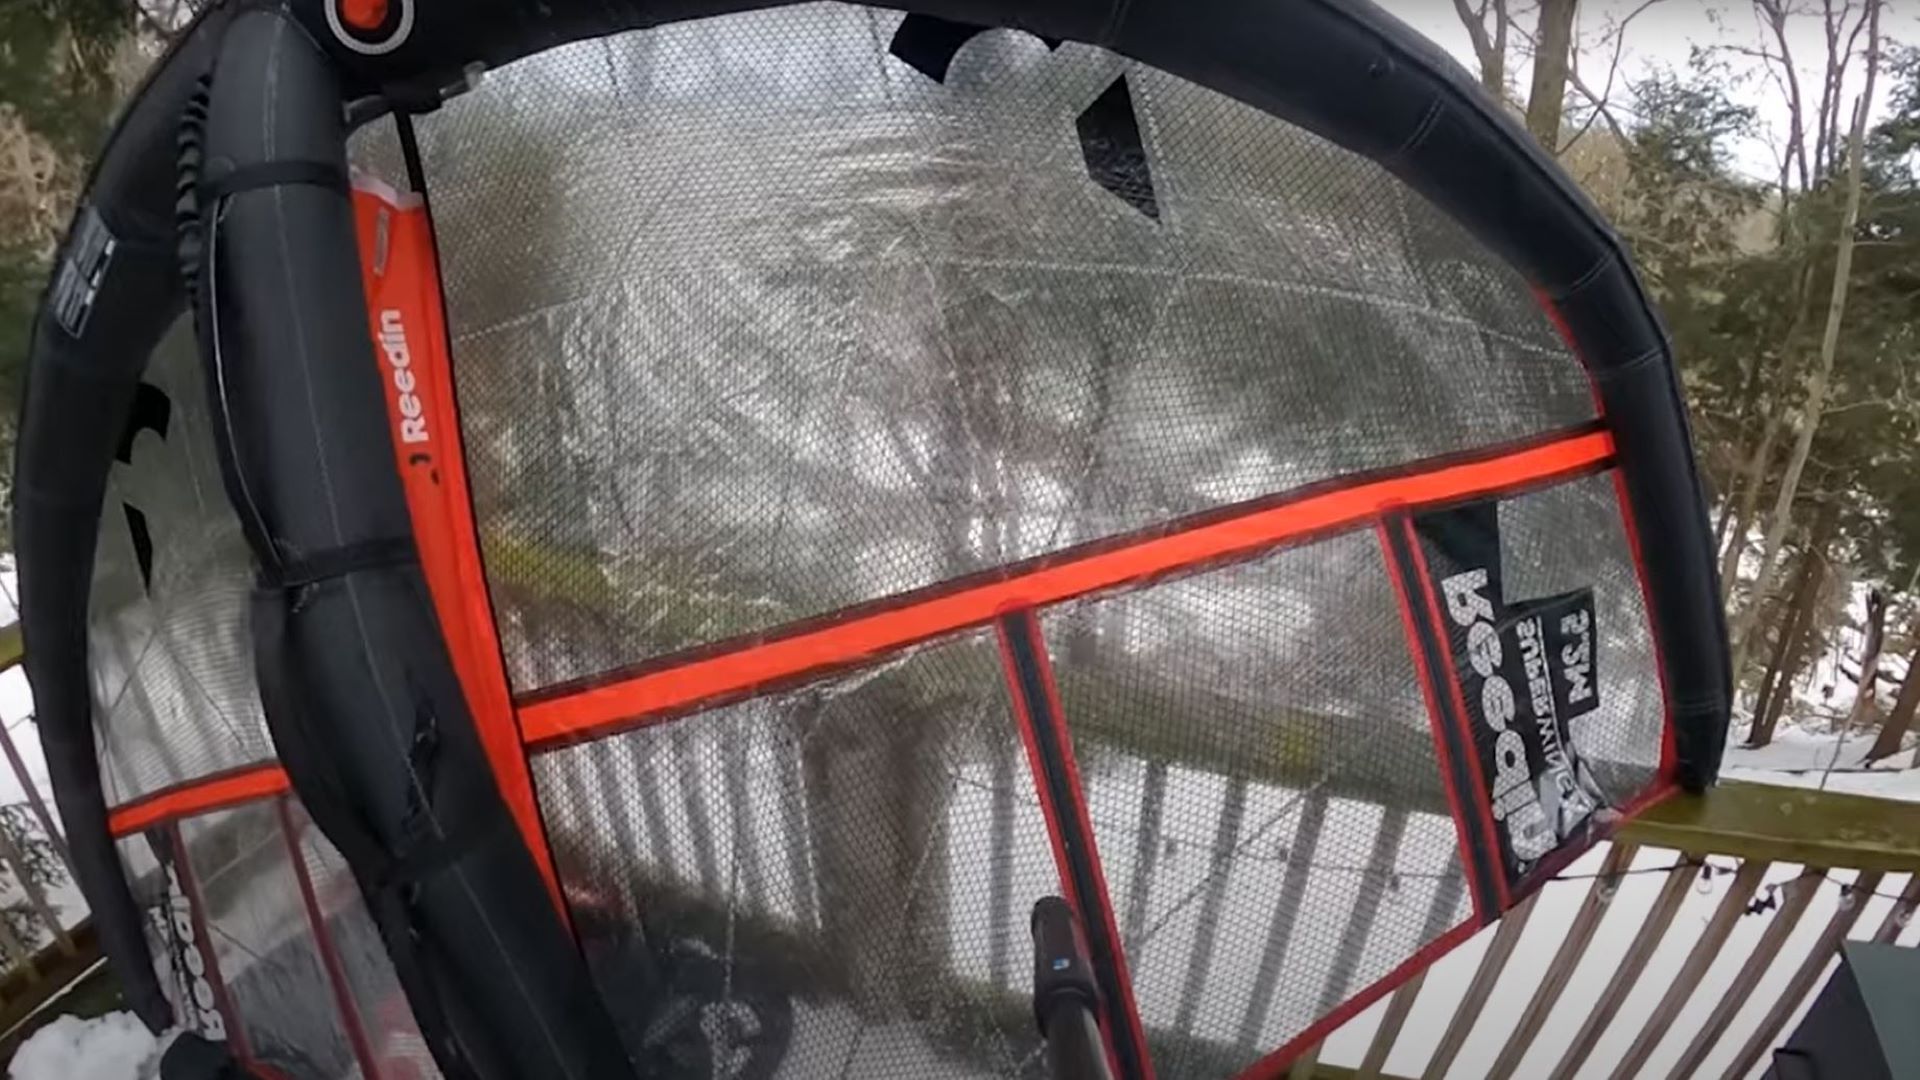
So here it is: the long-awaited Reedin Super Wing X, using that fancy new X-ply canopy material. Real neat stuff. Let me give you a close-up view so you can see that cross-hatch pattern in the canopy material here. That's the exciting new part about this wing compared to, say, the Reedin v2 Super Wing or some similar wings on the market that Damien's designed. This is really the highest level of construction and technology that he's put into his wings so far. This one, as the price would indicate, is the creme de la creme in terms of designs from Damien and what he's doing here.
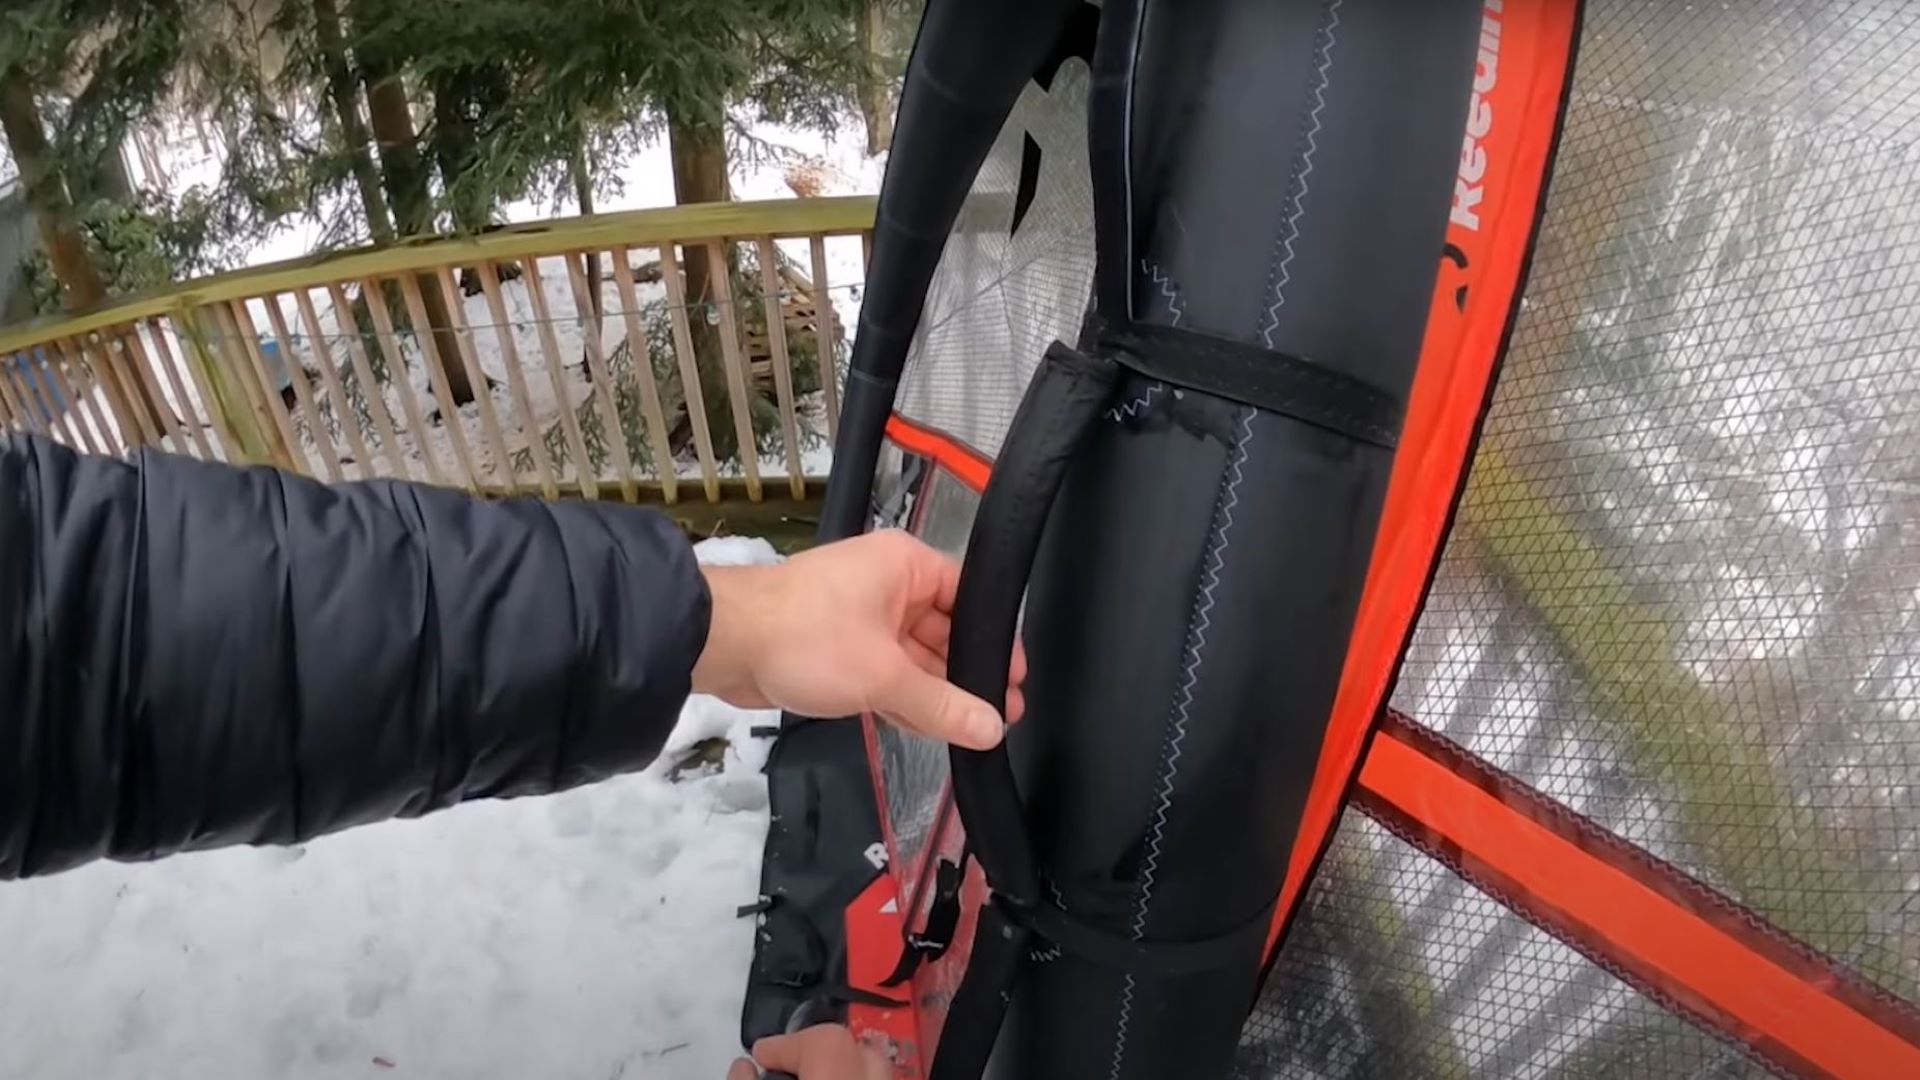
Let's do a quick overview of the wing and look at some of the features. Over here you can see the setup of the wing. We've got some battens here; these are hard battens. I don't believe they're removable unless you want to pop the stitching, so if you manage to break one of those there will probably be a bit more surgery than just replacing it quickly with some velcro, but really, you shouldn't be bending or slamming that on anything anyway, so you should have minimal issues. Here is the bag. I've unfolded it and it unzips into a changing pad or an inflation station if you're in a nasty area where you want to protect your wing, which is really neat, kind of a dual purpose for the bag. Looking at the outline of the wing, it is fairly compact for a 5.2 meter, and it's a nice medium aspect shape with a little bit of dihedral in that front profile. It's got a pretty beefy leading edge and strut, so it gives the wing a little bit of framework so that it's not flexing too much or deforming and helps to hold its shape.
Surf Handle & Max Flow Inflation

Now I'll start at the top and come down. It's got a nice, rigid surf handle here with some neoprene underneath. There's a nice leash attachment here. Going into our inflation, this is the Max Flow system. That uses a big fat tip that you shove into there and pump it up. It pumps really fast, probably the fastest system in terms of inflation, or at least in terms of volume going through the valve, so that pumps up really fast.
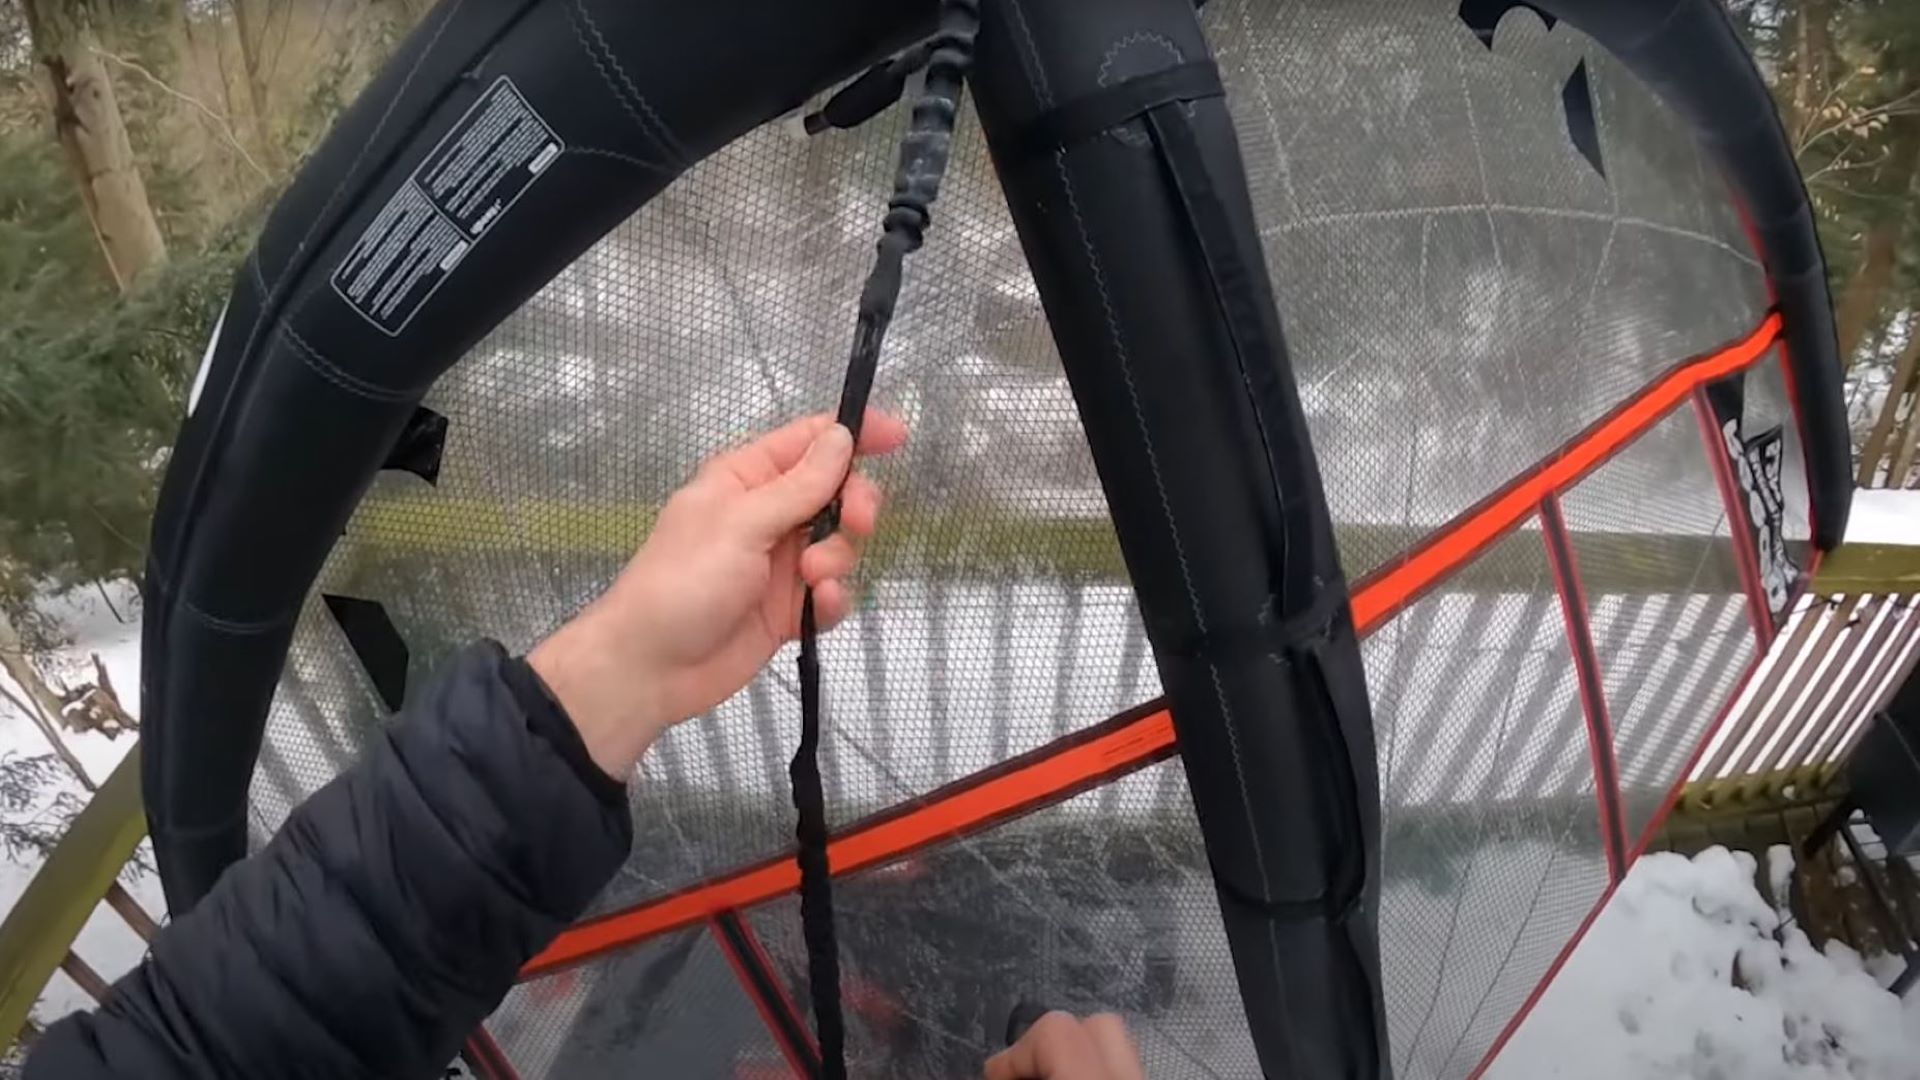
Oversized Strut Hoses
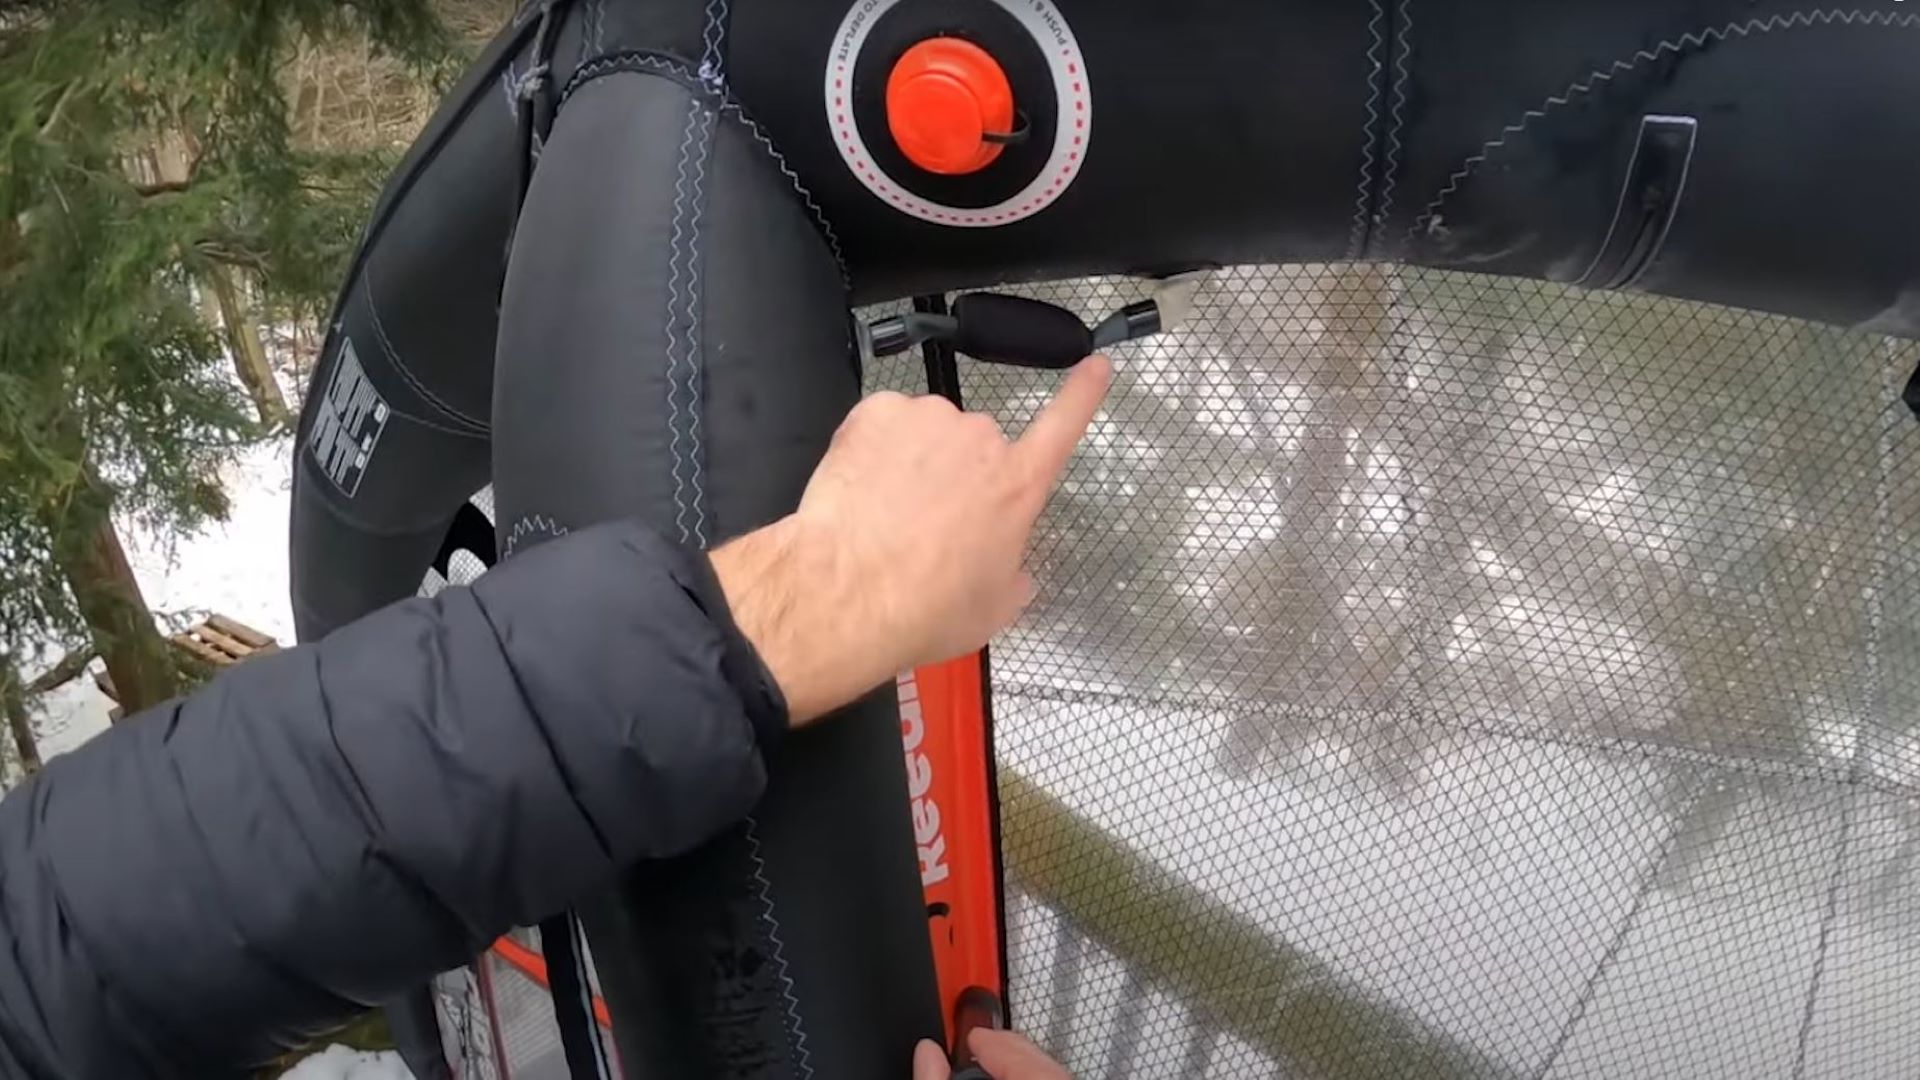
On each side of the strut, you've got two oversized strut hoses with a clamp on them, so that inflates quickly, pushing through that rubber material from both hoses. It does make a bladder change a little bit more complex if you should ever need to do that, and it adds a tiny bit of weight, but it does help inflate and deflate the strut more quickly than having a separate valve or a dump valve. Personally, I would like to see two valves to simplify things and make bladder changes easier with less maintenance. The more valve attachment points, the more points for failure, delamination, and other issues where you could accidentally rip one of these off while you're surfing. I just much prefer a dual inflation myself, but they've given some thought to it at least and used two oversized hoses so it pumps up pretty quick. Deflation leaves something to be desired. It does take a little bit to push all the air out of this big strut and out of the leading edge hole. Maybe I'm just nitpicking, but that's my two cents on that.
Handle System
Going down into the handle system, we've got three handles. The strut is like a wave shape, so you actually bend away from your main handles here to give you a little bit more room while still keeping those really rigid. They're super rigid handles and having a little bit more room in there for somebody with big hands or with mittens on is a nice touch without having to droop these too much and losing that rigid connection. On this front handle here, I did remove the handle cover. It's kind of a nylon handle cover, which adds some bulk and padding, but I did find I like this better, especially on the front handle. My hand was up here a lot when I was riding it, and I found that removing it gives me some more room to really choke up on the front of this wing and get a good grip up. Obviously, you can see it's cold here now with all the snow and we're wearing mittens, so having a smaller strap with less padding to grab onto really helps reduce fatigue, so you can always remove that. It's nice to have that option. There are no harness line attachment points so I was just using the handles, which works. It's not ideal; you've got to play around with it to find where you want to put it, and it does sometimes get in the way of where you're moving your hands, but it is what it is, I suppose. On an expensive wing it'd be nice to see some harness line attachment points, but they obviously didn't find that a priority in the design.
Baffle
Looking at the back here, we've got a pretty good size baffle, but it's very trim. You don't find a lot of forward curve on that, so it should be pretty fast and sleek but maybe not create as much lift or power from the get-go to create momentum and apparent wind.
Reedin Leash
I do really like the Reedin leash. It's got a bungee with a nylon cover. It does have the extension here so you can use this one leash on multiple different wing sizes, and I did find it is long enough for the bigger sizes, which is really nice. The wrist cuff is nice and big. I can fit it around even my thicker wetsuits, and it's got this double lock where you go through. I should mention this rope, which is going to be way more durable, especially in cold, versus the plastic d-rings, and then that doubles back and you can lock it in to make sure it's not going to accidentally come peeled off. There was really some good thought on the wrist leash cuff. It's lightweight, comfortable, adaptable, secure, and safe, so a big thumbs up to Reedin on that one. I do think they've got what will be the standard in a few years in this design.
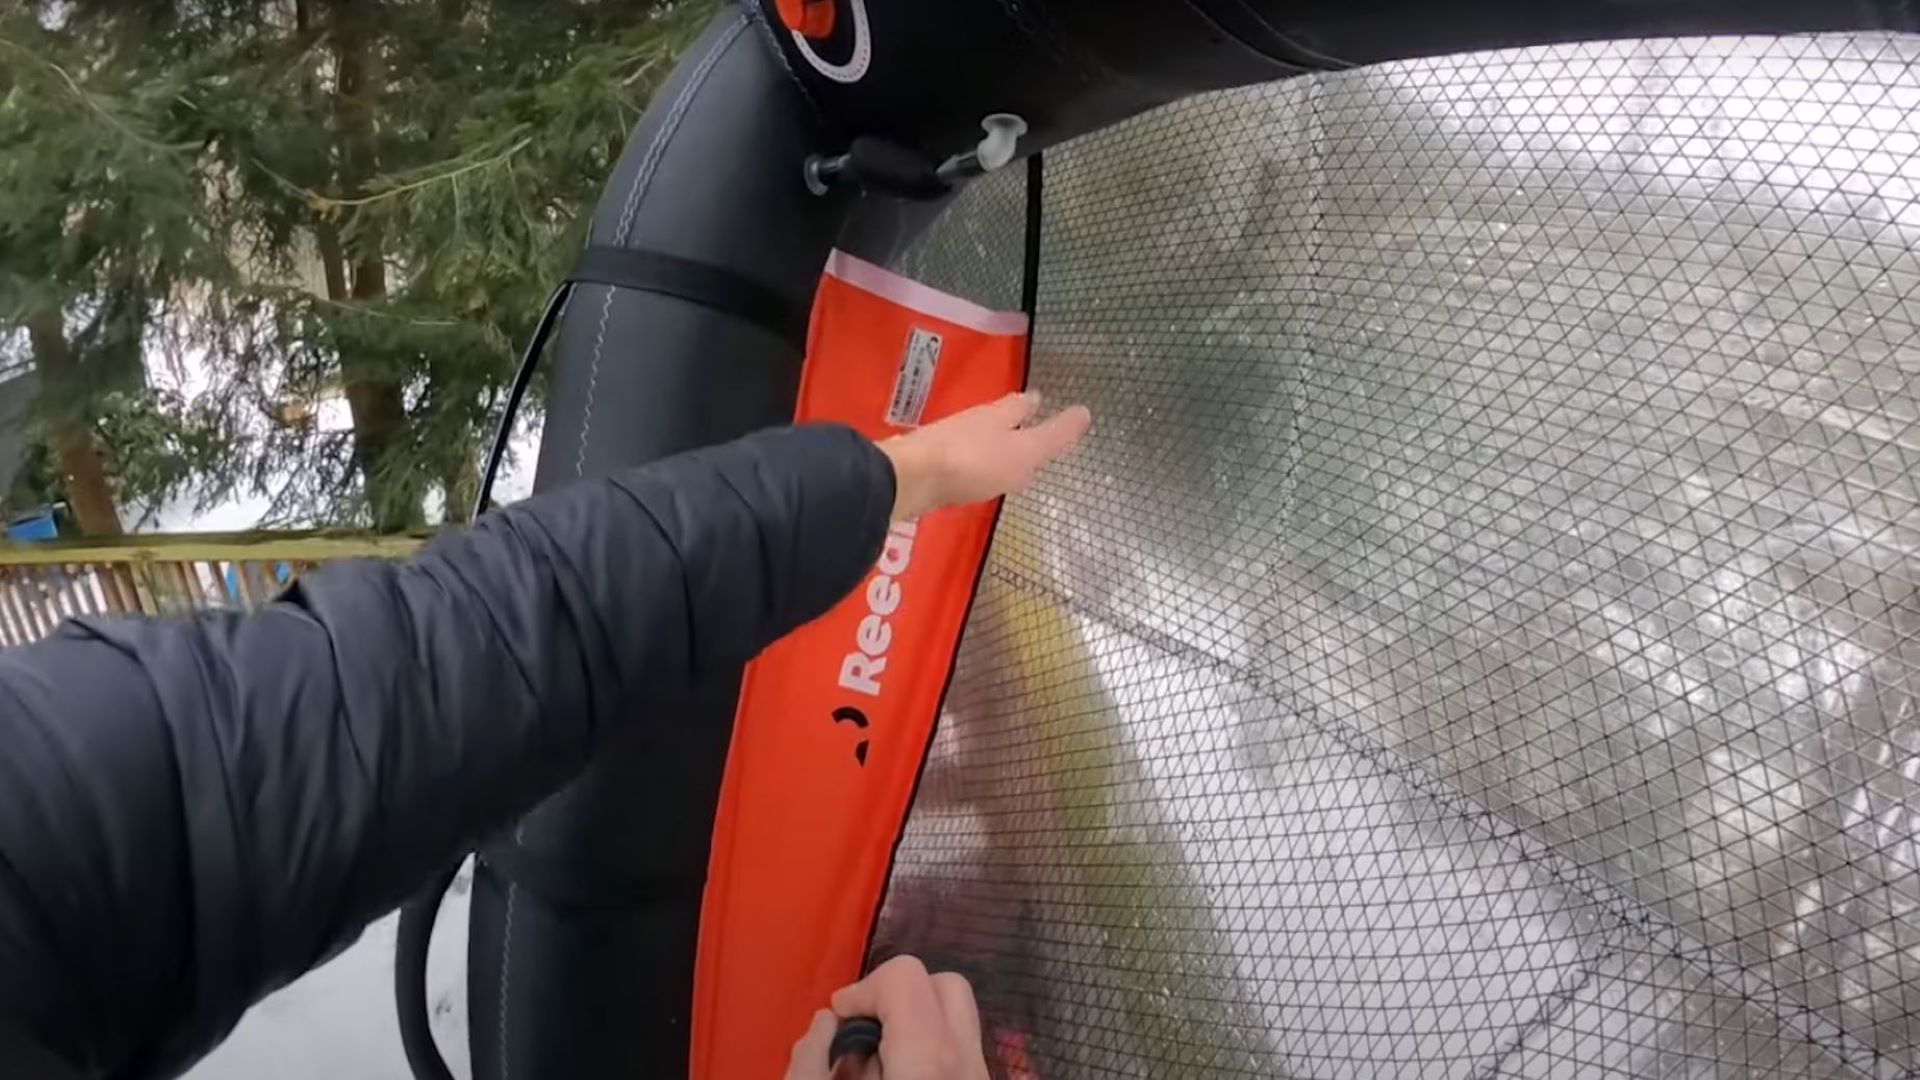
"Fold Strip" Patent Design
Now, this red strip through the middle of the canopy... notice it is a 3x3 ripstop; it's not the X-ply material. That is there on purpose. The idea behind this is a patent design from Reedin and is called a "fold strip". When you're done flying the wing and you go to fold it down, you want to fold along the ripstop material, not the X-ply because you don't want to crease the X-ply. You don't want to cause any kinks in it, so when you fold across this and then roll it up, it does roll up really nicely, nice and flat. It is rather cumbersome in the bigger sizes, as you can tell from the beginning of the video where you saw me with the backpack on my back. The thing is big. Once it's loaded, it's probably three-and-a-half feet long, so roughly double the size of a typical wing bag in terms of length. It's a bit more to pack, a bit more to travel with, but you could probably spend some time and really pack it flat and maybe get two wings in that one bag if you're traveling with a couple of wings.
So that's the Reedin Super X. As with all of our videos, if you have any questions or comments, put those in the comments section below. Give us a thumbs up if you liked the video and definitely be sure to share with a friend and subscribe to our channel for more videos like this. This has been Tucker with Wing Wednesdays and we'll see you next week.
Recent Posts
-

F-One Trigger V3 Review: Brazilian Brothers First Impressions
The Brazilian Brothers are stoked to get their first impressions of the F-One Trigger Brainchild V …22nd Jul 2026 -

F-One Trigger Brainchild V3 with Josh Gillitt
The Brazilian Brothers are back and joined by F-One international rider Josh Gillitt. Together, th …17th Jul 2026 -

GKA Mykonos Part 6: Round 1 Rolls On
The Brazilian Brothers are on the beach in Mykonos for the 2026 GKA Big Air Kite World Cup, and th …17th Jul 2026