
Wing Foil Knowledge Center

The Ultimate Guide to Wing Foiling
Learn all about wing foiling, a water sport that combines elements of windsurfing, surfing, and foiling. This guide is for beginners and intermediate riders looking to learn wing foiling safely. We'll show you how to get started, covering gear, techniques, and tips.
What is wing foiling?
Think of winging as wind-powered flight on water. You hold an inflatable wing and stand on a board or foil board. It's grown in popularity significantly and is now widely accepted as a sport in its own right.
If you’re using a foil, you use the foil’s lift to rise above the chop. The first time the board releases, everything goes quiet and smooth.
Wing foiling differs from windsurfing, kite foiling, surf foiling, or even SUP foiling because it uses both the forces of the wind and water. Surf foiling (also called "prone foiling") involves riding a hydrofoil attached to a surfboard and focuses on wave power. Wing foiling, on the other hand, combines the expertise of riding a board mounted with a hydrofoil and the excitement of holding a wing that's not attached to the board.
What makes wing foiling so popular? Ryan, Tucker, and Jeff have the scoop.
TLDR; Version
Not everyone has all the time to read. (Although, we do suggest checking out this guide.)
Here's the basics on how to learn to wing foil:
- Ideally, take a lesson
- Get the right gear (wing, foil, foil board, helmet, impact vest)
- Practice wing handling on land
- Transition to the water in flat water with steady wind (15-20 knots and away from obstacles)
- Use a large, stable board (general rule: your weight in kg + 20-40L)
- Start on your knees and then progress to standing
- Practice balance and before attempting to foil
Learning How to Wing Foil
Learning to wing foil request a comprehensive understanding of two main elements: water and wind. The best way to get started is by taking a wing surfing lesson or learning with your gear on the beach, ideally using a stand-up paddleboard (SUP).
If you’re taking a lesson, then you won’t need to worry much about gear. But, if you’re a lone wolf (not recommended) then you’ll basically need the following equipment (we’ll get more in-depth later):
- An inflatable wing
- Your first foil board
- A foil and mast
Ready to learn wing foiling? Take the leap and book a lesson with MACkite.
General Wing Foiling Progression
Learning wing foiling involves mastering wing control on land, progressing from knees to standing, and always using safety gear like a watersports helmet and impact vest. It's easiest to learn in calm waters, away from waves.
Before entering the water, it's highly recommended that beginners practice wing handling in a controlled environment, like your local beach, to develop muscle memory and get comfortable with the wing. Practicing on the beach in steady wind helps you master the basics before progressing to open water.
Eventually you'll be able to transition to standing on your board. This involves planting your front foot and using the wing's power to pull up into a standing position.
Now the reality: expect your first 5 to 10 sessions to be about balance and wing control. Land drills teach you hand placement, sheeting, and how to power and depower without getting pulled around.
On the water, plan small wins: stable knee starts, standing consistently, short glides, then first flights. We train on Lake Michigan a ton, so you’ll see tips for gusty inland wind and messy chop.
Below are a few of our favorite beginner-focused winging articles to get started:
Not sure where to start? Read all of our beginner articles.

Winging Gear Basics
The amount of equipment you need to get started wing foiling is pretty straightforward. Choosing the right equipment makes a huge difference in your learning curve and overall enjoyment.
Properly sized gear can make mastering wing foiling much easier and more fun, while the wrong setup can be frustrating. Now, let’s break down what you’ll need to consider when buying your first wing foil setup. A complete foil setup consists of a mast, fuselage, front wing, and stabilizer.
Need tips on your first wing foil setup? Tucker discusses the gear essentials to get started.
Wing
LIt’s called “winging” for a reason, right? Inflatable wings are designed specifically for wing foiling and come in a variety of sizes, typically ranging from 1.5m to 6.5m. Choosing the right wing size is important—larger wing sizes are recommended for beginners to help with lift and getting up on foil, while smaller sizes offer more maneuverability for experienced riders.
Not sure what wing size you need? Here's how to decide your quiver setup.
Some wings are designed to offer the widest range of performance across various wind conditions, making them versatile options for riders who want to handle different wind strengths without switching gear frequently. Many wings also feature wing windows for improved visibility and safety, allowing you to check your surroundings, especially in crowded areas.
After an in-depth explanation to how we choose the wings we want to ride? Explore Tucker's take on how a kiteboarder picks a wing.
Wing Foil Board
Selecting the right size board is crucial for learning and progression in wing foiling. Beginners should start with a bigger board for more stability, especially in lighter wind conditions. A larger board provides a stable platform and makes it easier to get up and ride. As your skills improve, transitioning to a smaller board can help with maneuverability and control. However, starting with too large a board can hinder progression once you become more comfortable, so finding the right balance is important.
Inflatable board? Downwind? Mid-length? Stand up paddle board? (Queue the spiral eyes.) While it’s up to you what to start with, one thing is certain — volume is key. Board volume should be selected based on your body weight to ensure stability and ease of learning.
A good rule is to choose a board volume 20-40 liters higher than your weight in kilograms. For example, say you’re a 180 lbs. rider (around 82kg). Add 20, and you have your starting board liter size (which would be 102L in this case).
Ready to get technical? Here's our take on mid-length vs. downwind wing foil boards.
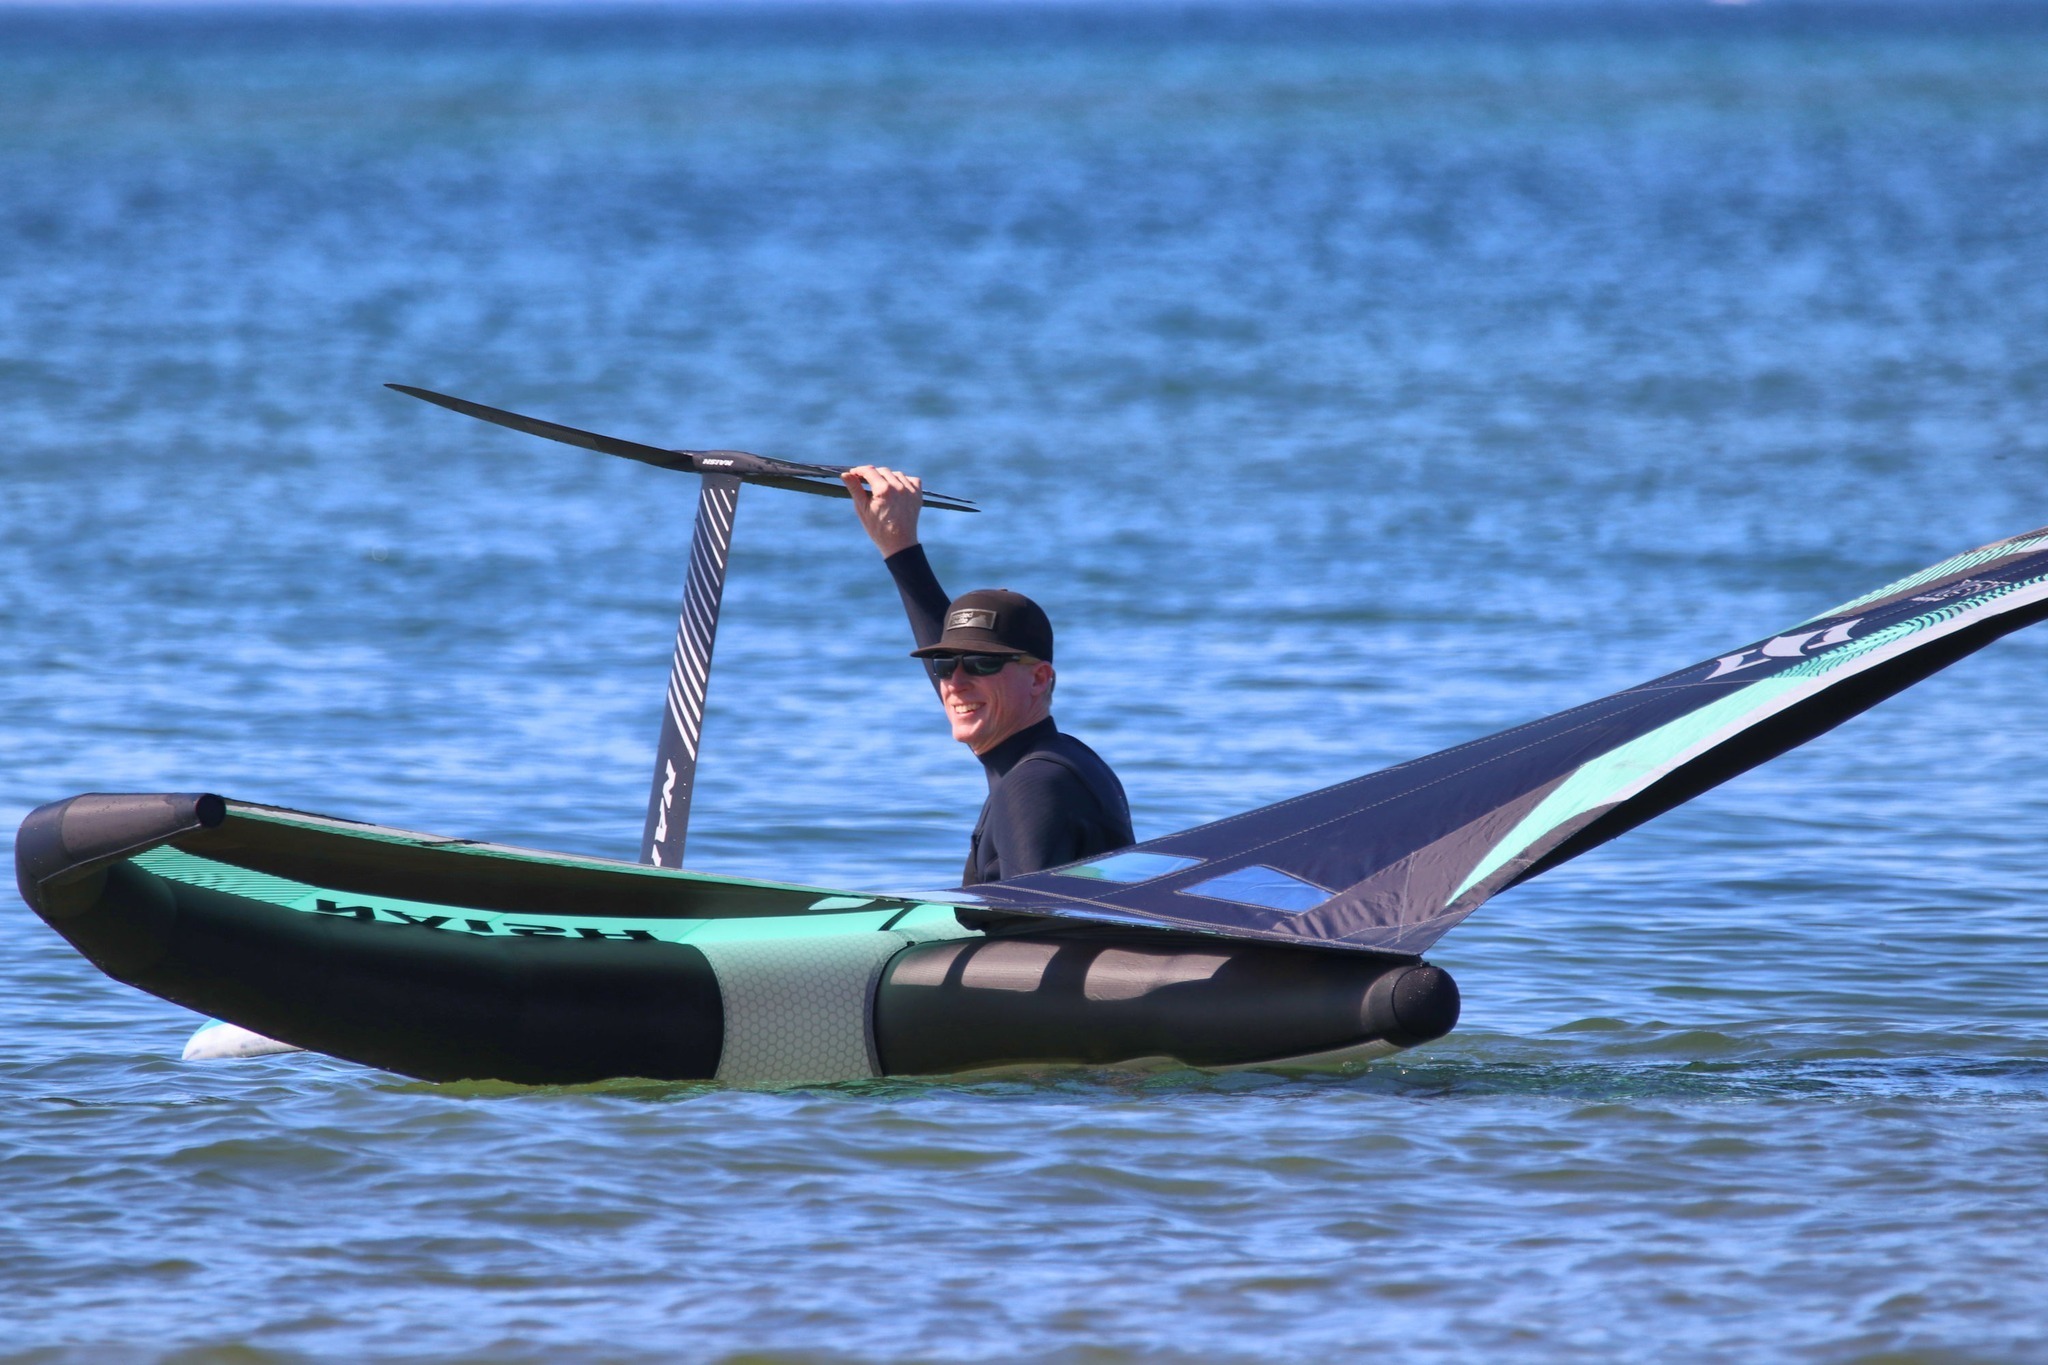
Foil Setup & Hardware
If you’re in pursuit of foiling, you’ll likely need to consider the aspect ratio (AR) and the front wing. The front wing is a critical component of your foil setup, and its surface area directly affects lift, stability, and control.
Low aspect ratio wings with a large surface area are typically beginner-friendly, providing more lift at low speeds and allowing you to stay on foil longer. Beginners should start with a large front wing for better control and easier speed generation. A common guideline for choosing foil size is to take your weight in pounds and add a zero for the foil size in cm² (for example, 170 lbs. = 1700 cm² front wing). You could also consider a mid-aspect ratio wing if you have solid board skills.
Your foil mast size will also affect your progression. While beginners often start with a shorter mast (60-70cm), a longer mast can be more forgiving as it helps prevent the board from catching the water and makes pumping easier. Additionally, a longer fuselage can provide increased stability and smoother riding, especially for beginners seeking more balance during foiling activities.
Wing Foil Progression Tips
Here are our top tips for wing foil progression to help you build skills and confidence on the water.
You’re stoked and ready to get out, right? Us too! Below are our recommended steps to progress from land to water. We also recommend developing drills for specific wing and board techniques—this will help you build consistency and accelerate your wing foiling progression.
Start on Land
We know it's easy to want to jump out the gate. A sport that is easy to learn, low impact, and a great workout? What's not to love?
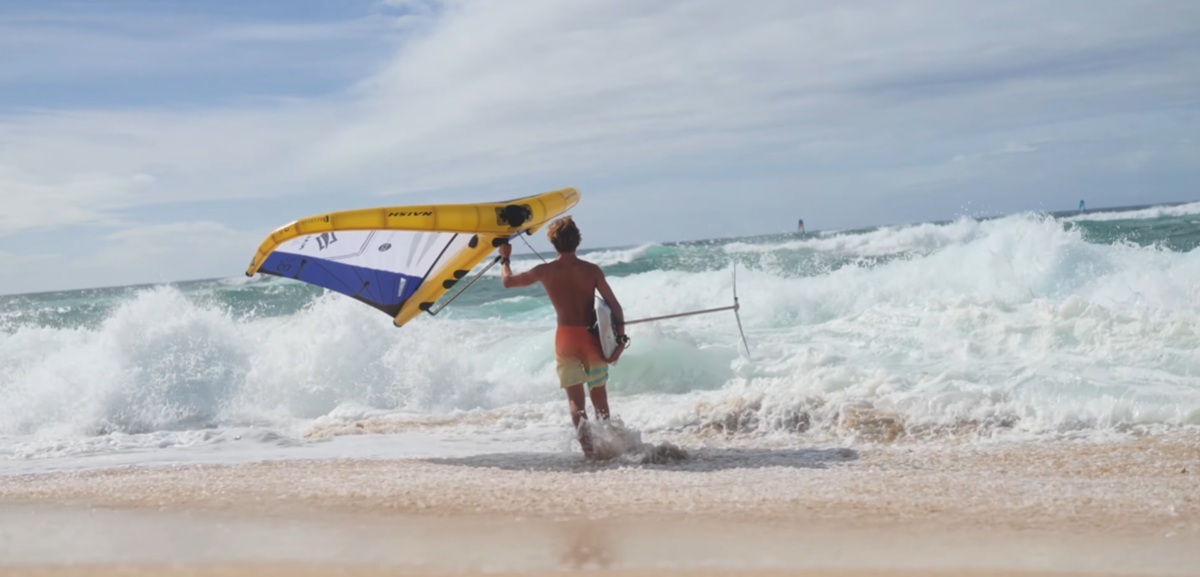
At the end of the day, winging is still a sport that requires learning some fundamentals. The best way to start for beginners is by practicing on land to get comfortable with the wing before entering the water. Head to a park, the beach, a nearby open field...something. You can start with some basic drills to learn how the wing reacts, how to switch hands, and how to flip your wing.
Move to the Water
When you’re ready to go out for your first water session, start with a stand up paddleboard. Rent one, buy one. It doesn’t matter. The main point is to have a sturdy enough base underneath you, so you can focus on understanding how the wing will maneuver on the water.
Before heading out, always check the water depth to ensure there is enough clearance for your foil and to avoid any underwater obstacles—this is critical for safety and ease of learning. With this being your first time out, you’ll have plenty to work on including angles, transitions, and pumping.
Tip: It's optimal to get some time tow-foiling to learn the foil part of the equation. Practicing with a boat or jet ski provides a stable and controlled environment, helping you build confidence on the foil before progressing to wing foiling.
Here's a series of videos to help you with drills and basic techniques to get started:
Biggest Advice? Stay Humble
We've all been there. Eager to move on to the next big step (and maybe cutting corners along the way). The result? You get hurt. Your ego is bruised. You're questioning your self worth (or is that just us?) Either way, we always recommend to start with a beginner's mindset. Stay curious, have fun, take the time to know your skill gaps, and you'll be in a much better spot. Even if you fell twenty times, if you come out of it with a smile, you're doing it right.
MACkite Tips
While wing progression has a general path, we’ve found a few tips and tricks from our sessions:
- You need wind to learn. Aim for strong, consistent wind around 15-20 knots, with flat water and away from waves, strong currents, or marine traffic for the best learning experience.
- Safety gear essentials include wearing a dedicated watersports helmet and an impact vest.
- Wear foot protection — you’ll save your feet from getting chewed up by the board pad or accidentally kicking the foil. (You could also consider bringing knee pads.)
- The ideal wind direction for learning is cross-shore, and the perfect location is a large, half-moon bay free of obstacles.
- Ride with others, and you’ll progress faster.
- As you become a more advanced rider, you can handle stronger winds and start riding in waves for more challenging and exciting sessions.
Ready to learn more progression tips? Discover all of our articles to get you ready for the water.
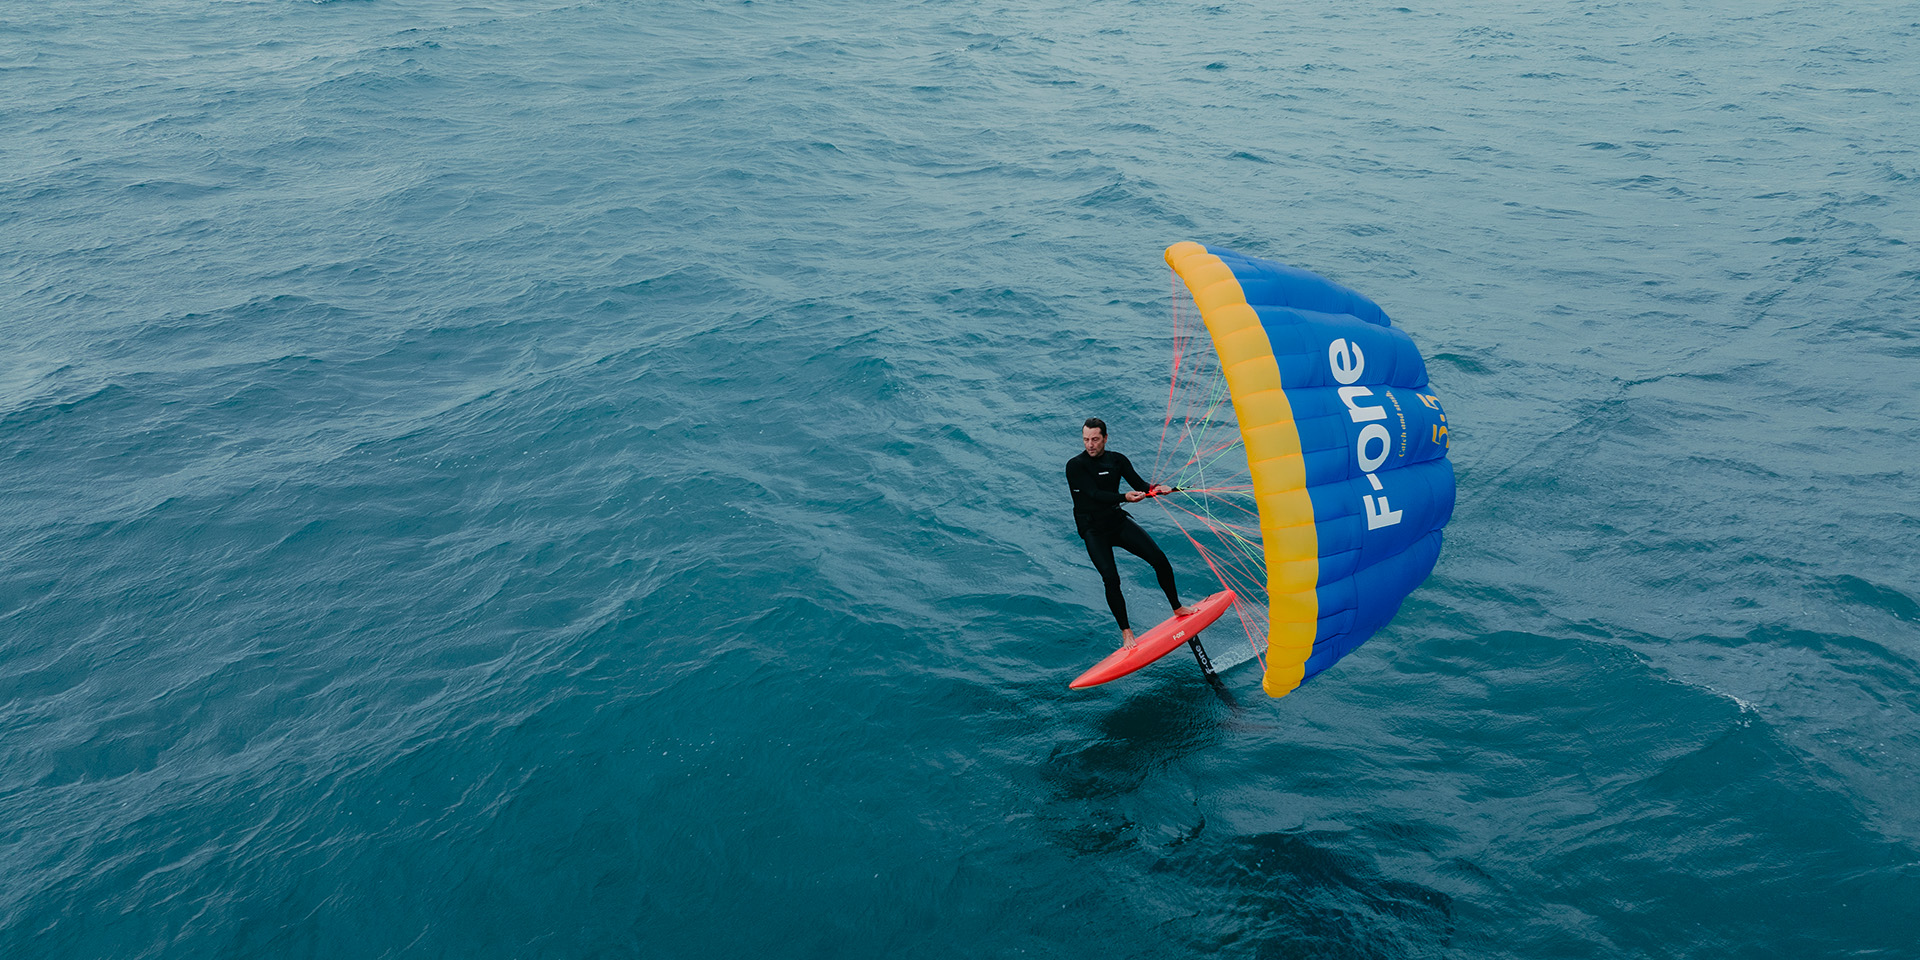
Wait...What's Parawinging?
Parawinging is one of the newer innovations in the wind sport world, and we're stoked about it. (It's not just a phase!)
Thankfully for you, we're obsessed with parawinging. (What aren't we obsessed with nowadays?) As a result, we've made a lot of content about the topic! In our new guide, we explore the basics, the benefits, safety tips, and common questions we've been asked.
Check out our in-depth guide to parawinging, built for those who already have some wing foiling experience under their belt.
FAQs
What size wing should I start with?
It’s really going to depend on your weight, experience, and conditions. If you have average speeds (say, 15-25 mph), you’ll likely start with a 5 to 6m wing (based on a weight of 180 lbs.) If you have lighter winds, you’ll likely bump up to a 7 or 8m wing; on the flip side, you might even downsize a tad if your conditions consistently rock 25+ mph. Your riding experience also plays a big role—beginners may want a slightly larger wing for easier starts, while more the more advanced can handle smaller wings for better maneuverability.
Is wing foiling easier than kitesurfing?
Enthusiastically yes. As the experienced kiters we are, we definitely saw the appeal when it comes to learning to wing foil. We find that wing foiling gives riders the ultimate freedom, since you can wing from just about anywhere.
What is a boom?
When choosing your wing, you’ll typically have the option to use handles or a boom. Basically, a boom lets you hand onto the wing nearly anywhere on the center strut. Beginners and advanced riders alike are switching to a boom instead of the traditional handle structure, mainly for the performance benefits.
That being said, handles have their place too. Your wing is more compact, and can be angled more for better ergonomics. Since handles are closer to the strut than the boom, you might also feel more connected to your wing, which can result in better responsiveness.
What if I want to upgrade my gear?
If you have a solid foundation wing foiling, the best next step is to focus on adjusting your foil size. You probably started with a larger, low-aspect setup to build some skills and confidence. You don’t need to downsize far, but here’s some general guidelines:
- If you started with a 1800 - 2000cm2, try a 1200 - 1400cm2
- If you’re on a 1500 - 1600cm2, drop to a 1100 - 1200cm2
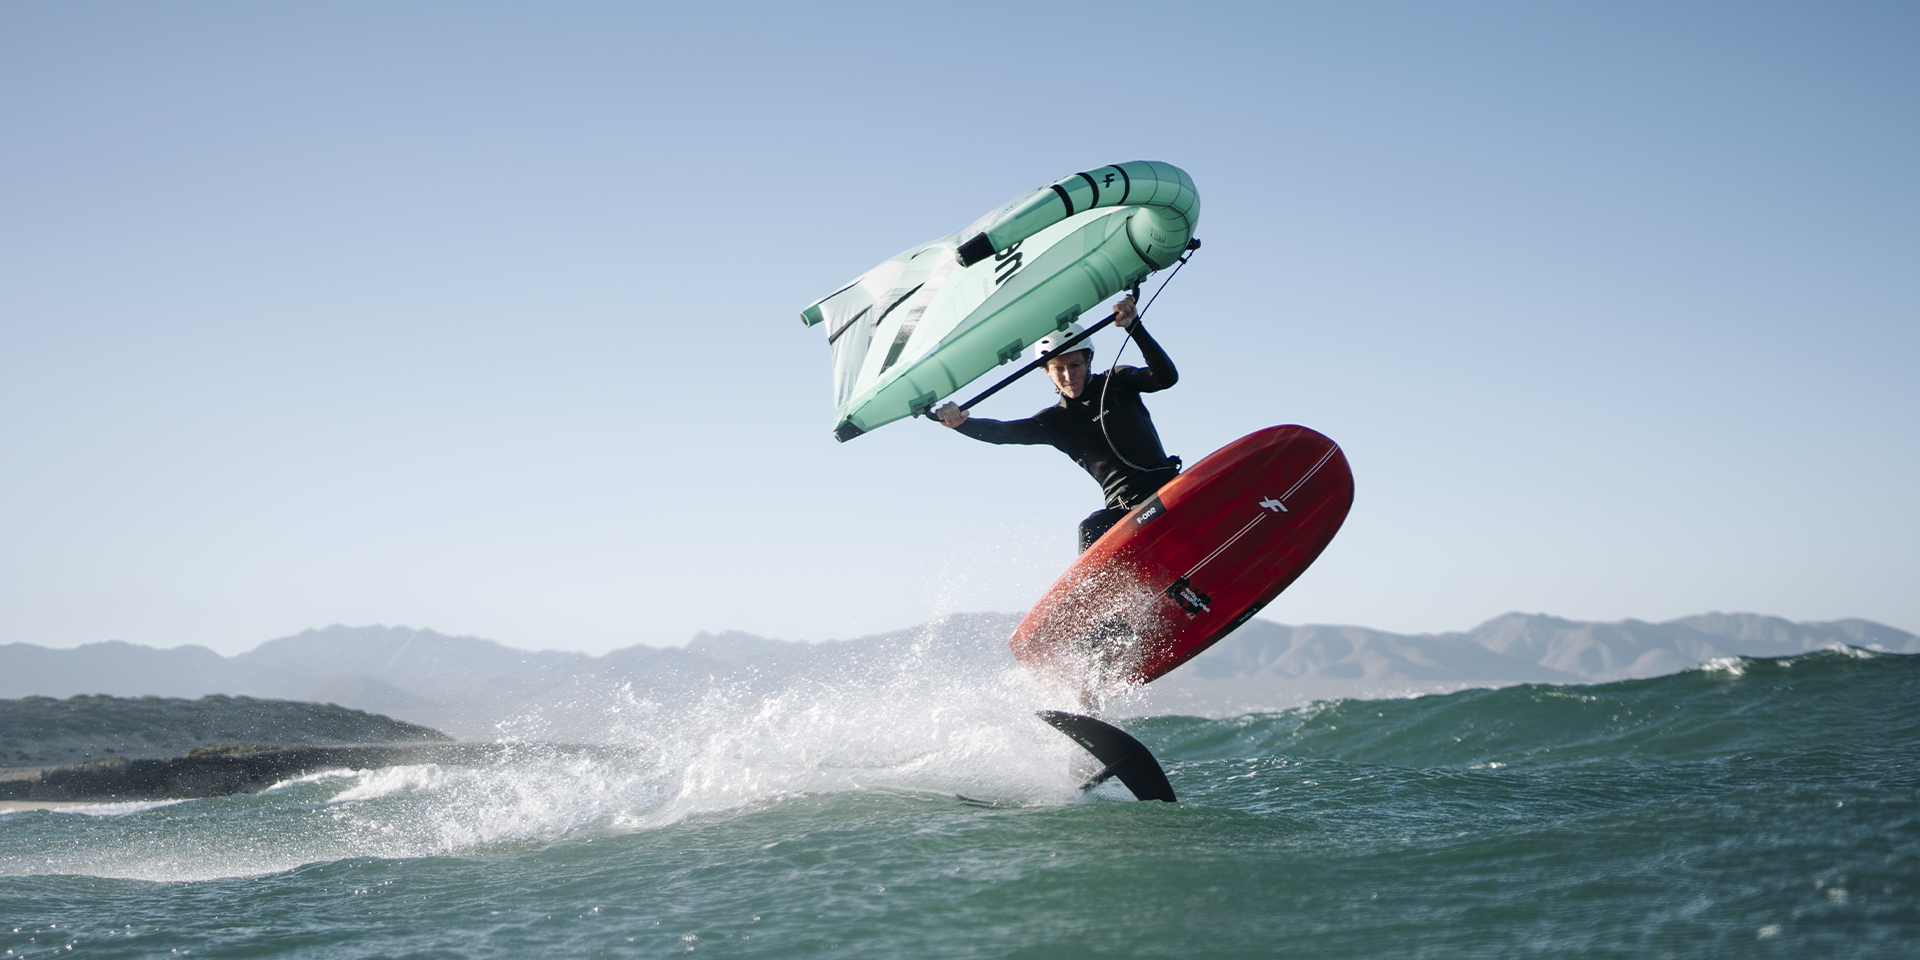
As you progress, more advanced wing foilers often look for more control by adding foot straps to their boards. Foot straps help with advanced maneuvers like jumps and flips, while riding strapless offers flexibility for stance changes and error correction—great for beginners. You can drop down even further than that, but it just depends on where you ride, your weight, your ability, and your wind conditions.
Stay Connected