

Liquid Force’s Last Video on Foilboarding With the Foil Fish
Final Liquid Force Hydrofoil Tutorial: Turning and Jumping
You've dominated the waters on your foilboard with the techniques given by the sultry-voiced Siskar and Sensi Graves in their first foilboarding instructional video. You've mastered commanding your board as seen in the second Liquid Force tutorial. Now you, the ever-vigilant-watcher-of-all-things-how-to, can check out Liquid Force's final installment of how to foilboard using the LF Foil Fish (it's sad, we know). This time they're kicking it up a notch with showing you heel-side turns, tacks, jibes, jumps, front rolls, back rolls, and more than you could possibly imagine could come from one video.
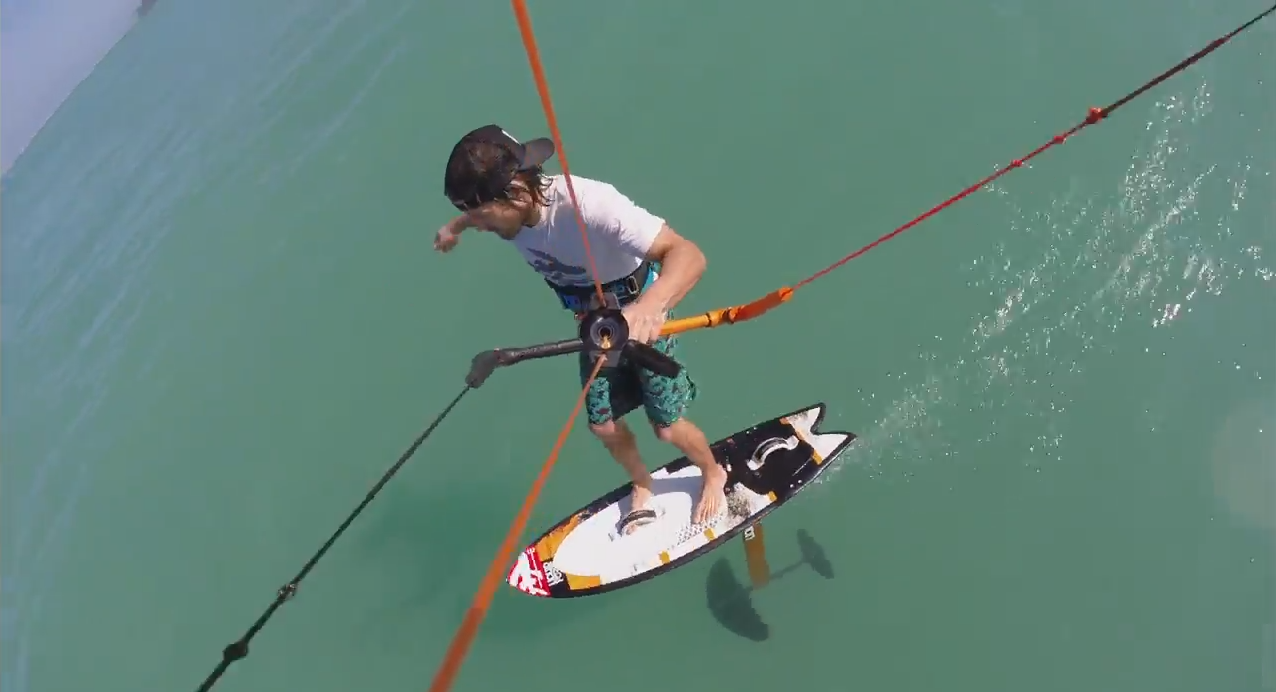
Heel-Side Turns
This turn is ideal for downwind, after you've mastered the toe-side turn. It's similar to the toe-side turn, the heel-side turn begins downwind with a carving "S" turn. Once comfortable, lead the turn with your kite transitioning it through the wind window. Be sure to follow the turn forward with your hip, keeping that much-needed front foot pressure. Then, you'll want to drive your foil through the arc of your turn. As you begin to get more comfortable with your body motions, you can begin to get more aggressive with the angle of the mast. By leaning, or heeling farther over the heel-side edge while turning, you can really begin to carve the hydrofoil with power.
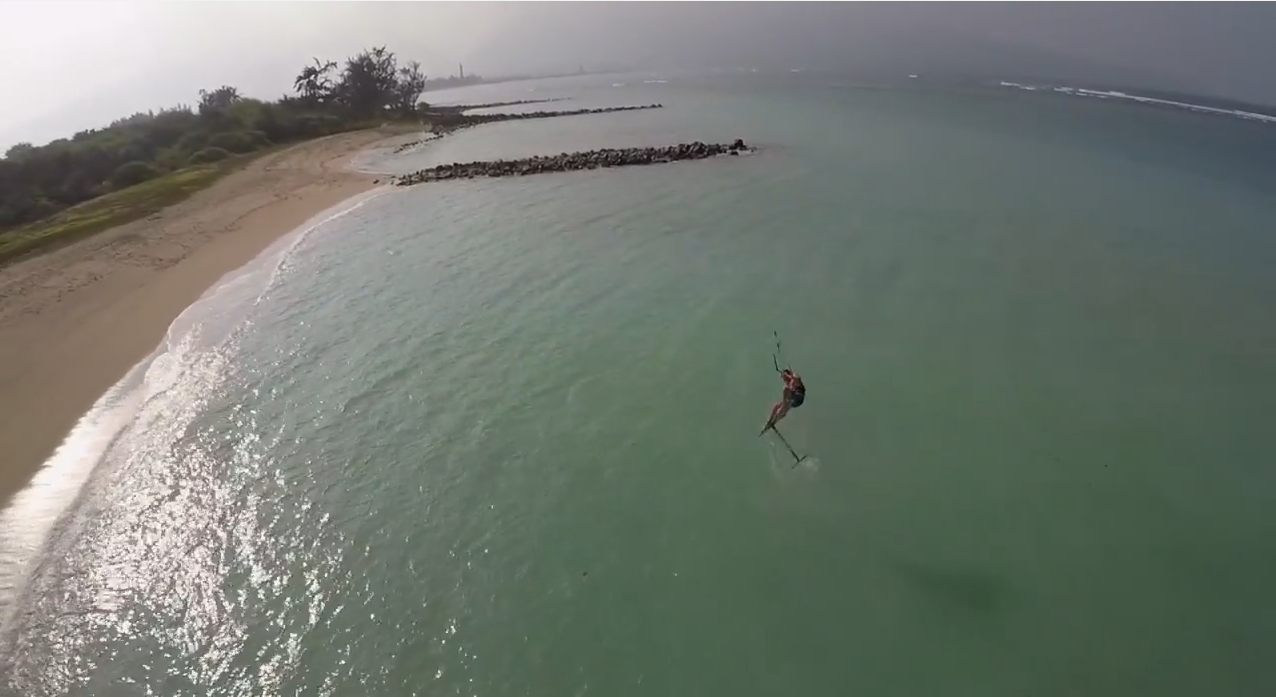
Another variation of the heel-side turn is the upwind version. Mastering this technique will allow you to unleash a whole new set of fun, carving turns. In this case, to initiate your transition, start bringing your kite upwards towards twelve-o'clock. At the same time, begin to carve your turn upwind using a circular motion. Once the foil rounds the upwind portion of the turn, re-weight your body over the foil. At this moment, you can decide to either diver your kite for full power and ride away toe-side, or continue the turn for a full 360-degree carve by following your turn all the way through the full arc of the turn. Getting acquainted with this turn will help you with tacks and jibes.
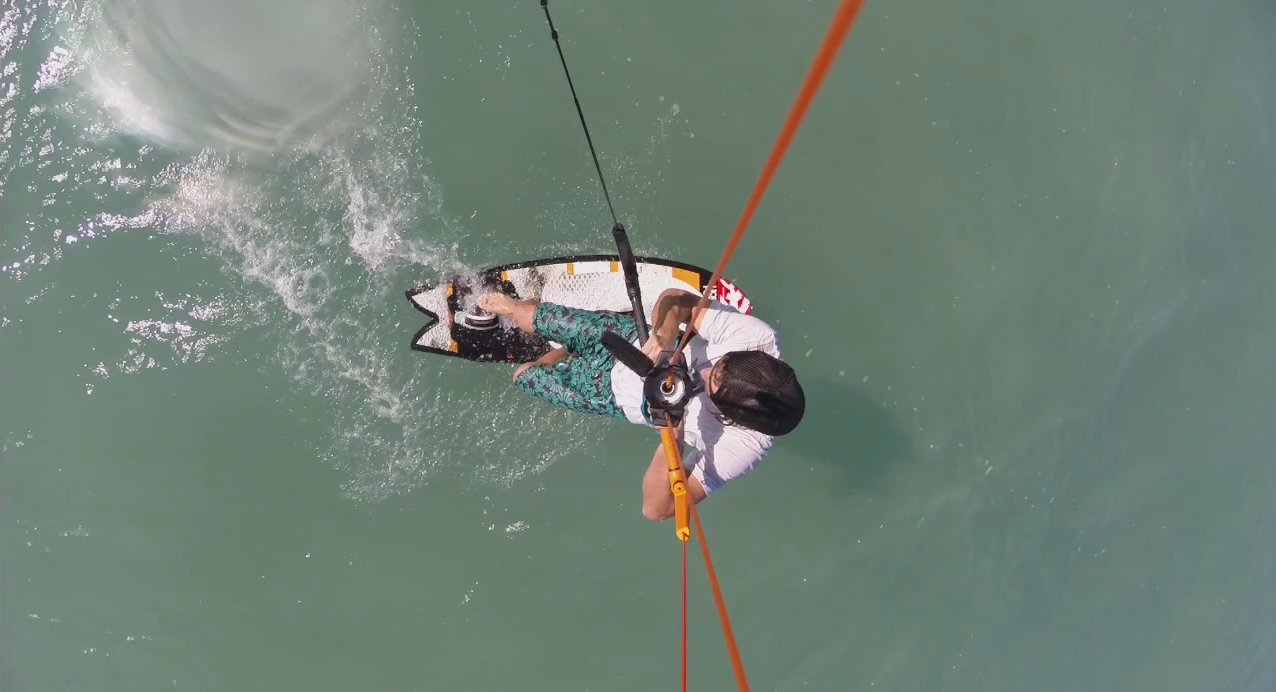
Tacks
The most basic foot switch is going to be a surface tack, similar to the surfboard version. The maneuver starts by sending the kite to twelve o'clock with an upwind carve of the board. Using the moment of weightlessness, remove your feet from the straps to push the board through the turn as you dive your kite, put your feet into your straps, and ride off in your new direction.
Jibes
The first step of the jibe is being able to smoothly remove your back foot from the strap while foiling. After removing your back foot, slow down the board to the water's surface. Once down, shuffle step your feet while rotating your hips into your toe-side body position, dive your kite in the new direction, while riding away heel-side with speed. The ultimate goal is to eventually be able to stay on a foil while jibing.
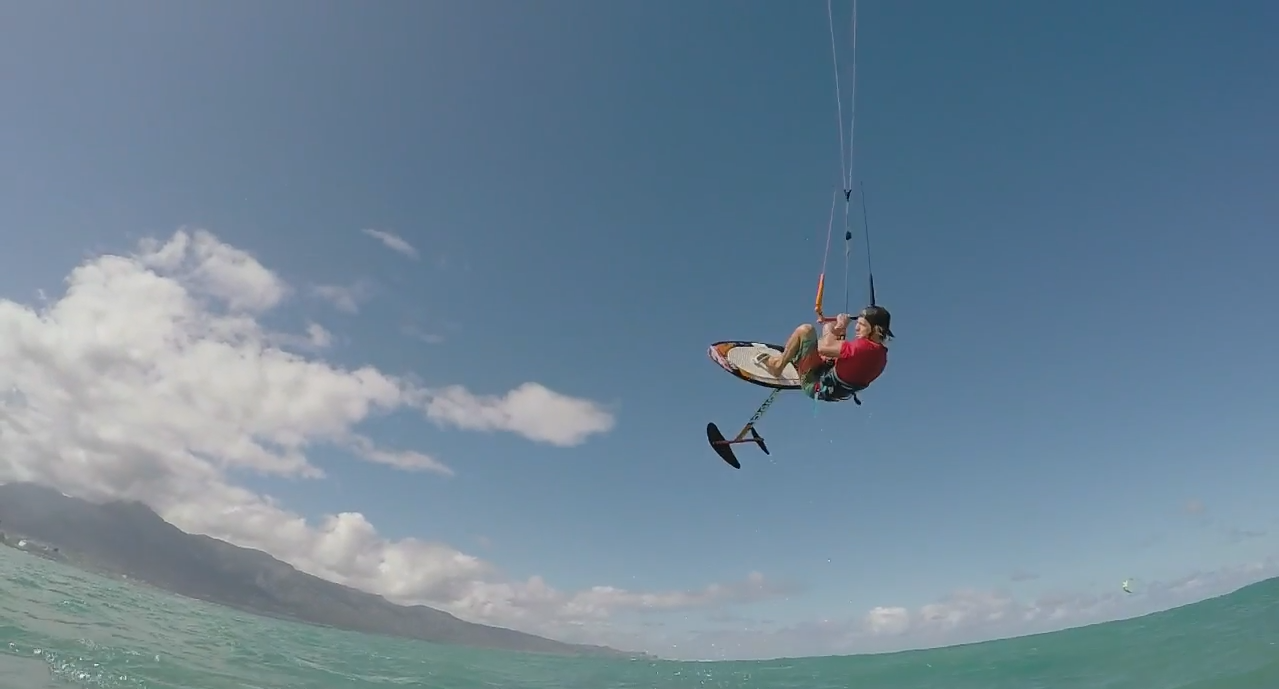
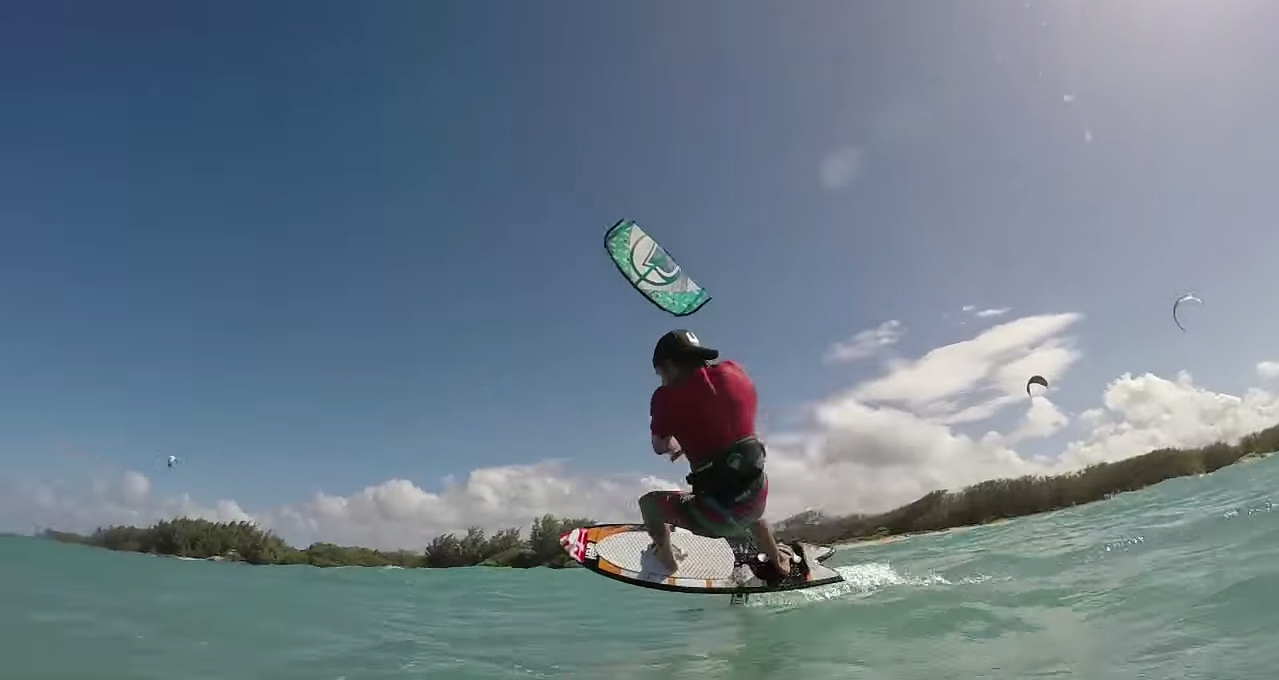
Jumping
Similar to a twin tip, loading and popping off of the foil will give you the most control. By carving the foil upwind you can control the release of the wing and get a better hookup with the kite.
Back Roll
Learning the back roll can help you dial in the feeling and the motion of the load and pop. Ride with a moderate speed, carve upwind, and pop off with your back foot. Continue the carving motion into the air. Looking over your shoulder, spot your landing and focus on getting your foil underneath you.
Tips and Tidbits:
- When carving more aggressively on your heel-side turn, be sure to dive your kite when exiting the turn to maintain constant, smooth speed.
- When practicing your jibes, be sure to make your foot switch fast and as light as possible. Also, the front footstrap is a great tool for keeping the board off of the water.
Recent Posts
-

AFS Stow Parawing Review: Value and Performance
Tucker from MACkiteboarding has been riding the 4.5m AFS Stow Parawing for a number of hours and s …24th Jul 2026 -

Best Wing Foil Upgrades to Level Up Your Riding
With the massive boom in wing foiling over the last three years, a lot of riders now have a couple …24th Jul 2026 -

Buying Your Next Wing: Top Questions Answered
Jeff and Tucker from MACkite dive into the questions they get asked every single day by riders loo …23rd Jul 2026