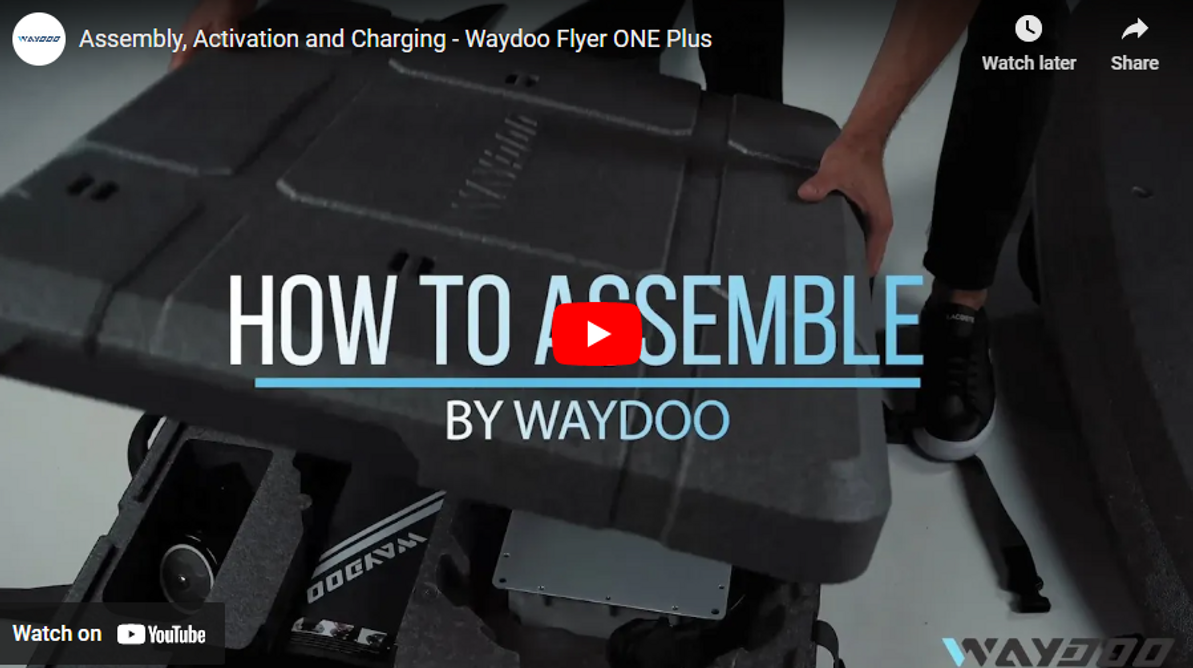
Assembly, Activation and Charging - Waydoo Flyer ONE Plus
Assembly
- Place your board flat on the ground or a table, top side down.
- Open the mast case by unclipping the four straps securing it and removing the lid. Besides the mast, this box also contains your charger, accessory kit, and the wheels for the case.
- Remove the mast from the box and place it into the hole on the bottom of the board.
- Secure the mast to the board with two fast tightening nuts from the accessory bag. As each nut gets tight, lift it up and continue tightening it. Once it's fully tightened, make sure it's aligned within the groove so it can't come loose while you're riding.
- Remove the two screws that are in the front of the fuselage, then place your front wing on and replace the screws, tightening by hand until they thread in. Use the included allen wrench to hand tighten the screws until they are secure, being careful not to over-tighten.
- Install the rear stabilizer in the same way as you did the front wing.
- Set your board upright on its foil.
- Place the battery into the top of the board, tapping it down gently. Turn the locks by hand, then finish turning them with the key tool included on the strap of your remote so that the battery is locked into place.
Activation
- Using the magnet on your strap, turn on the battery. Place the magnet onto the battery power button for 1 second, remove it, then place it there again for three seconds. The lights will illuminate and you'll hear a beeping sound as your board powers up.
- Turn on the remote by pressing and holding its power button until you see the Waydoo logo appear. You'll see that the Bluetooth icon is flashing on the remote.
- To pair the remote with the board, you'll first put the board in pairing mode. Place the magnet on the battery's Bluetooth button for 1 second, remove it, then place it on the Bluetooth button again for 3-4 seconds. You'll hear a beeping sound. The board is now in pairing mode. On the remote, press and hold the power button and - (minus) button down together until the Bluetooth icon stops flashing, and your remote and board will be paired. The next time you power up your board and remote, they should automatically pair, so you won't need to repeat this step.
- Be sure your phone's Bluetooth is on. If you're using an Android phone, be sure your Location service is turned on in your pull-down settings menu as well. Open the Waydoo Flyer One app on your phone. It will search for the powered up board and remote.
- When the controller connects to the app for the first time, a four-digit verification code will pop up on the controller's screen. Enter this number into the app, and the device will be connected successfully.
- If your Waydoo is not activated, the Waydoo app will have a "Device Activation" prompt pop up. You can tap "Activate" and your remote, board, and battery will be activated. Alternately, you can tap "Cancel", then tap the board icon at the bottom of the screen. On the Board page, tap each device (Waydoo Flyer Handheld, Waydoo Flyer Foil, and Battery) to expand its information page, then tap "Activate". Be sure to do this for each of the three devices.
- If activation is successful, the activation prompt will disappear from the remote's screen and you can set the gear level to 4 and higher. If the controller still prompts you to activate, close the app completely, then open it and try again.
- When you power up the remote, it will be locked. To unlock it, press and hold the - (minus) button for one second. The remote will lock after a few seconds of inactivity or if you fall in the water, but you can unlock it by pressing and holding the - (minus) button again for one second.
- The screen of your remote will show the remote's battery level at the top left and the board's battery level at the bottom left. The center of the screen will show your speed in kilometers per hour, and your gear level is on the bottom right.
- The + (plus) and - (minus) buttons are used to increase or decrease your gear level (speed), and the trigger on the back of the remote activates the propeller.
Charging the Battery
- Remove the battery from the board and flip it upside-down.
- Plug the charger into a wall outlet, then firmly push the cable from the charger into the port on the back of the battery.
- Flip the battery back over, and using the magnet on your remote strap, press it onto the Bluetooth button for one second, remove it, then hold it there until the lights illuminate and the battery enters charging mode.
MACkite Subscription Links:
YouTube | Instagram | Spotify Oddcasts
Contact MACkite Below:
800.622.4655 | efoils@MACkite.com | LIVE Chat Messenger
3rd May 2023
Recent Posts
-
Duotone Ventis 2025 | What's New?
If you're familiar with Duotone's Ventis, you know its specialty is freeriding in light wind …23rd Apr 2024 -
Duotone Ventis D/LAB 2025 Overview
If you ride in an area with multiple light wind days and need a wing that'll let you get o …23rd Apr 2024 -
Foil Drive | Essential Maintenance Tips to Help Enjoy Your Ride
Ryan from MACkite takes a few minutes to chat with Ben from Foil Drive and pick up some ti …22nd Apr 2024


