

Foil Drive | Unboxing and Overview With Co-Founder Ben Jamieson
Ben from Foil Drive is visiting all the way from Australia. He and Ryan from MACkite are taking a look at everything you get when you open up your sweet new Foil Drive unit.
Case
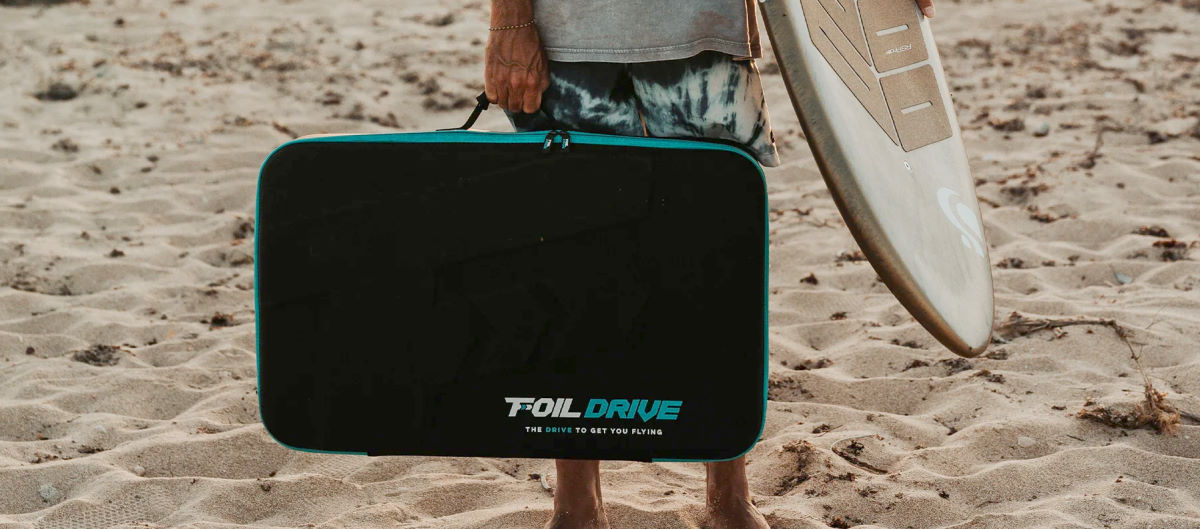
The whole thing comes packed in a very nice semi-hard shell case with shaped foam compartments to keep everything securely in place. You won't need to find and budget for a separate case to keep your gear together.
Quick Start Guide
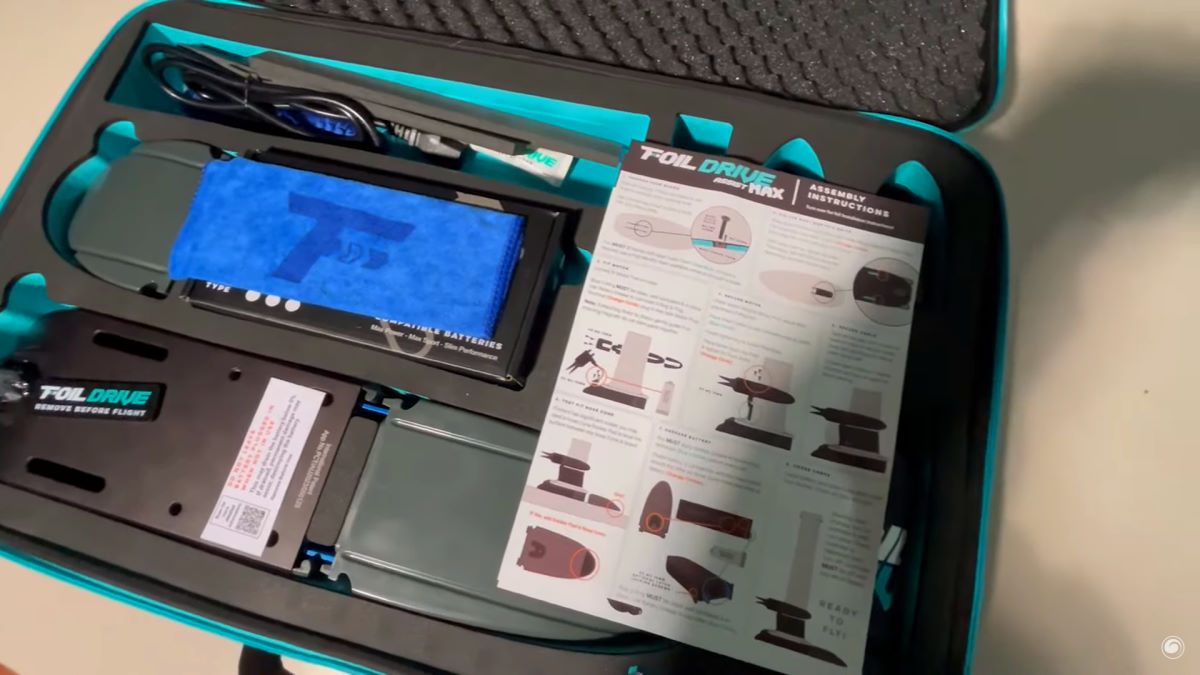
The first thing you should grab when you open it is the Quick Start Guide. It's just three sheets of paper, but it includes some nice illustrations to get you going, and there are also QR codes to quickly link to you to videos and other information on how to get everything assembled and into the water.
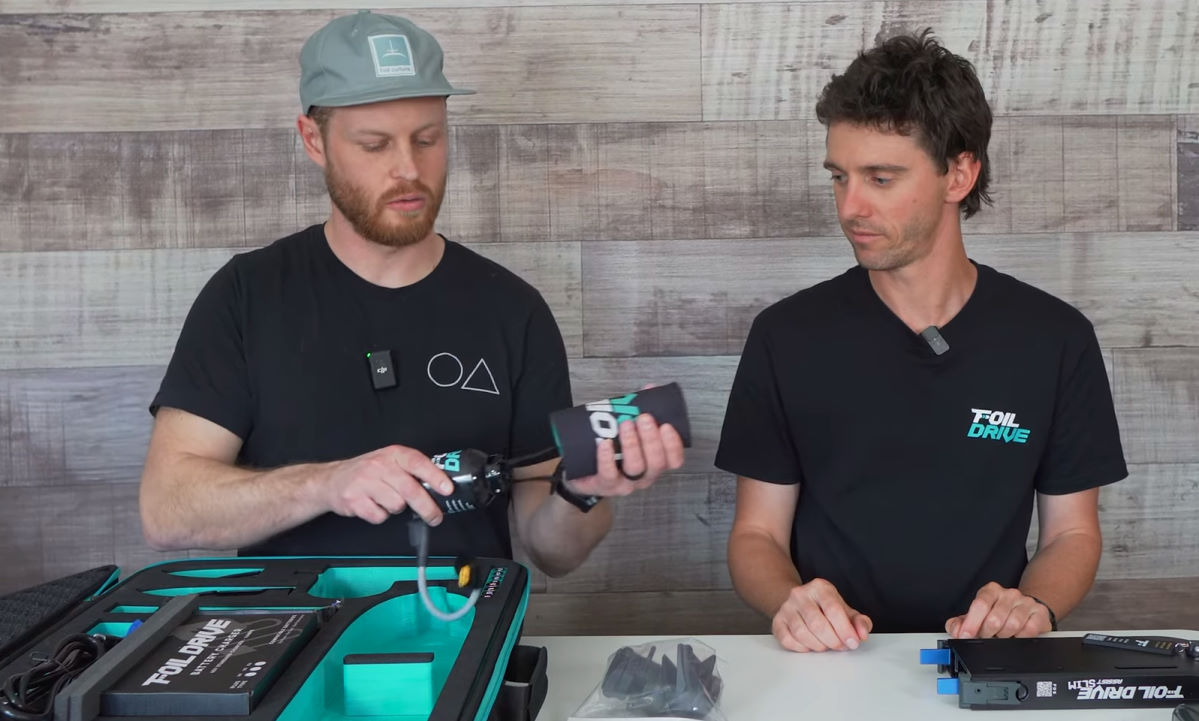
Electronics Box and Nose Cones
The electronics box is in the bottom compartment, along with two nose cones. The nose cones fit the two battery options for your Foil Drive model. (This unboxing is for the Slim model, but the Max model will contain similar components packed in the same way.) You'll see a letter "A", "B", "C" or "D" molded on the nose cone, and that corresponds to the letter printed on your battery, so you'll always know at a glance which nose cone to use.
Attached to the electronics box is a plug with a lanyard. It's labelled with a QR code with more information about precautions to take since it is an electrical system, and ways to protect it from salt water and prolong its life, so do be sure to scan and follow that link.
You'll also see a QR code printed directly on the side of the box. Go ahead and scan that to download the Foil Drive app, which will let you change some of the settings.
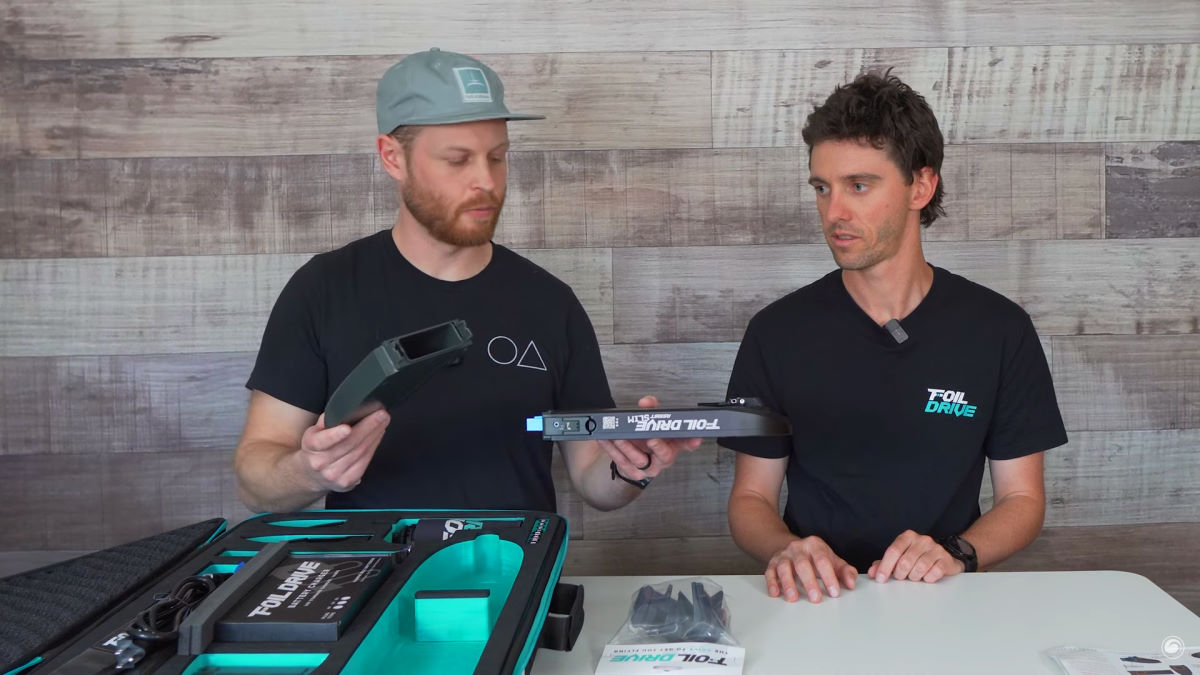
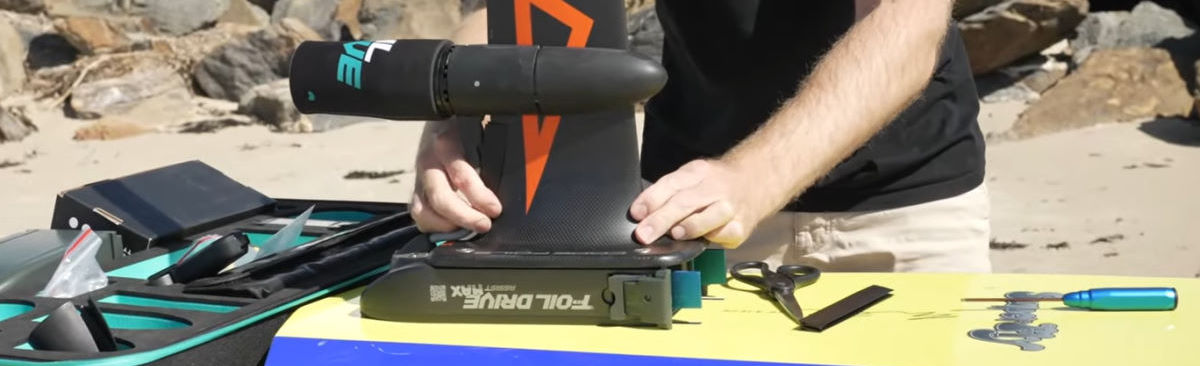
Motor
At the bottom right of the case is the motor. A cover protects the blades from damage, and also yourself from the blades as they are a bit sharp. The two-blade propeller comes standard, but there is a three-blade upgrade available for more torque when you're a heavier rider or are riding smaller gear and want the extra drive.
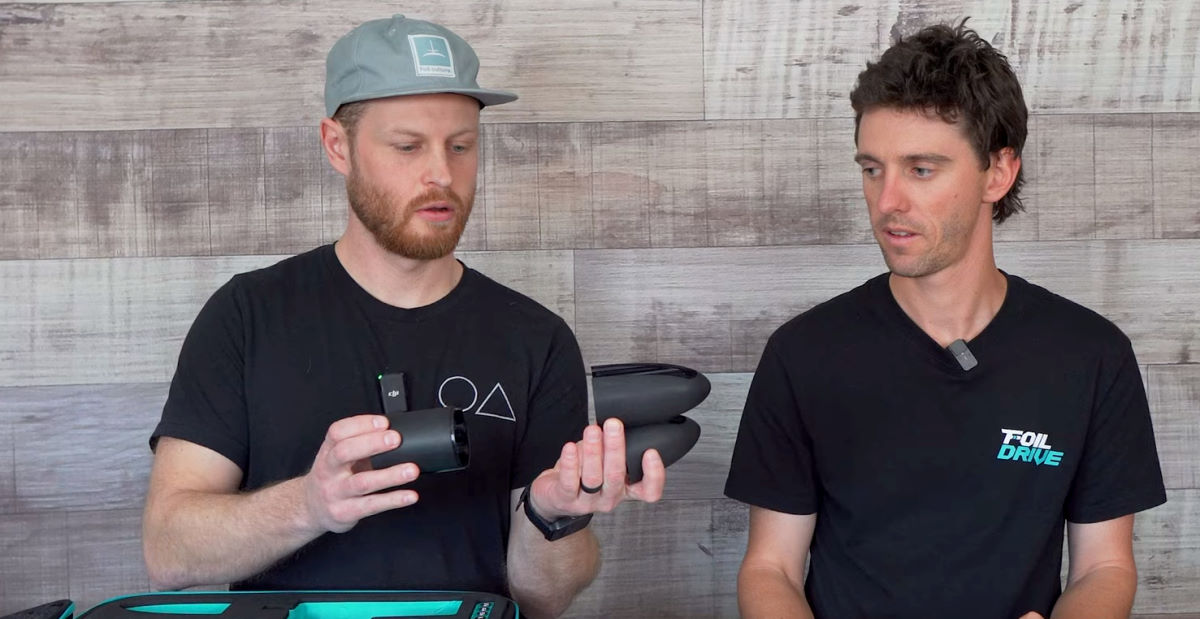
Mast Pod and Nose Cones
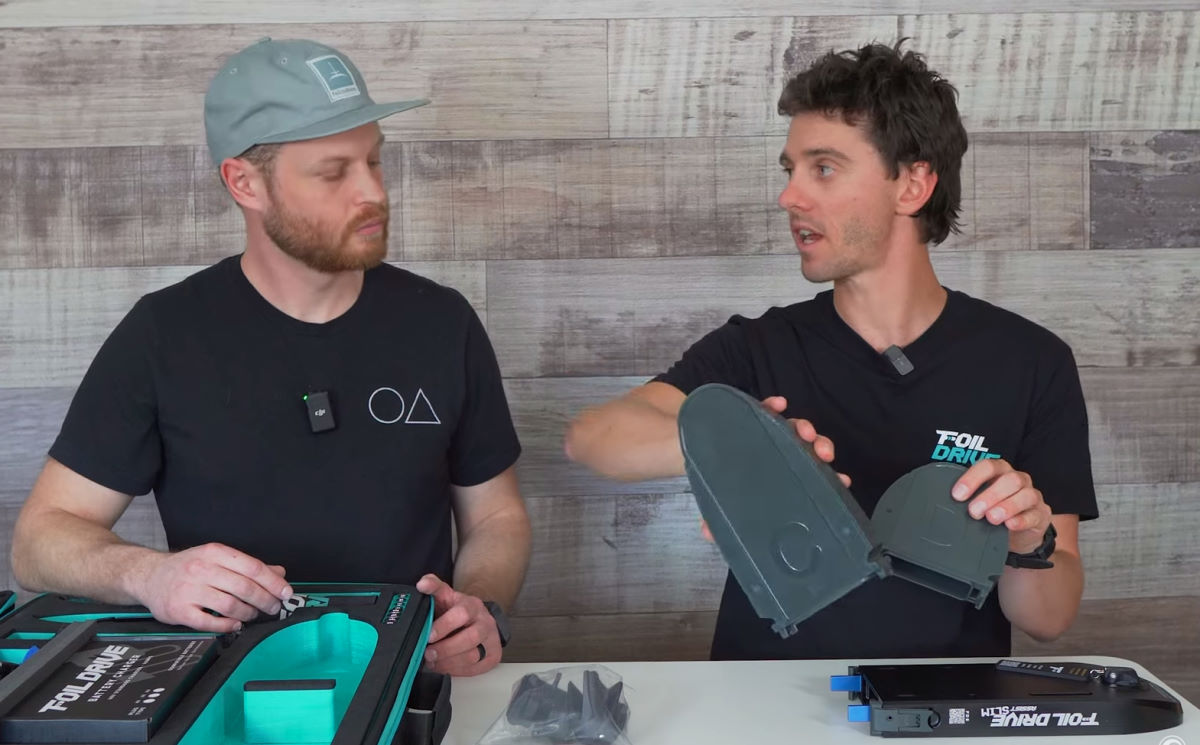
Right above the motor you'll find the universal mast pod with two nose cones. Some masts have a wider chord and will need the longer nose cone, but if yours doesn't, the shorter cone is included to cut some weight and drag. You'll need to select the adapter for your specific mast separately, and once you insert that into the universal mast pod, it will be obvious which nose cone you should use. The motor attaches to the other end of the universal mast pod and secures easily with three screws.
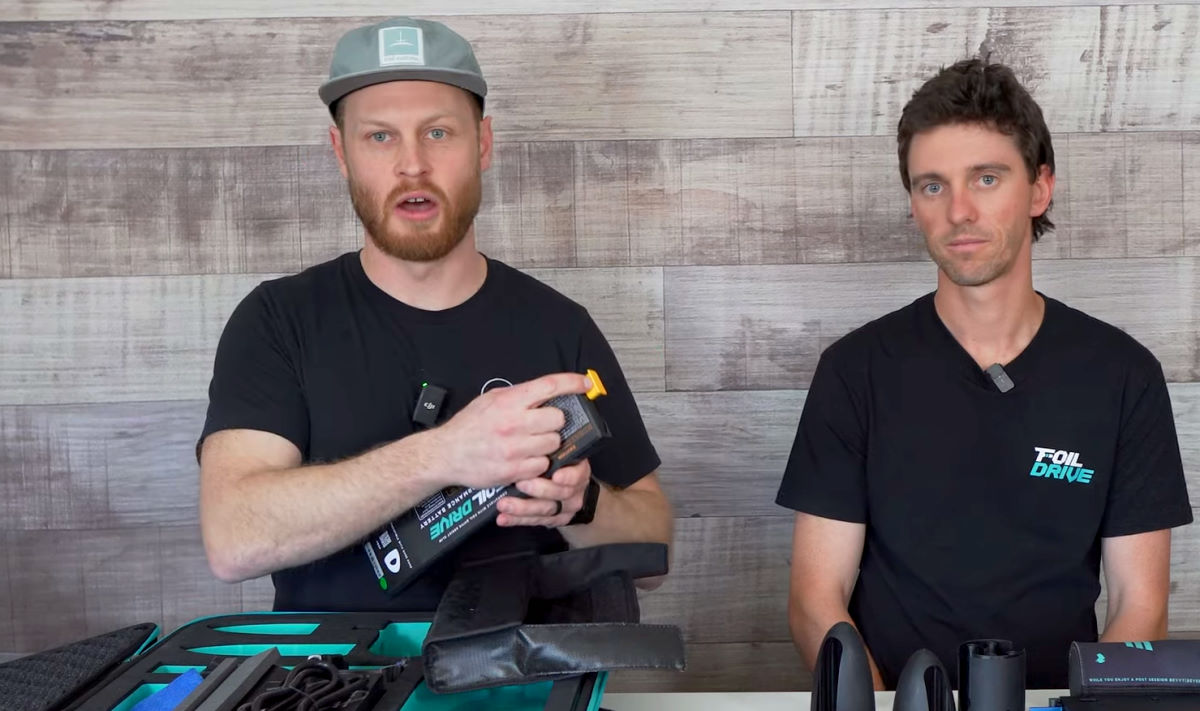
Battery
You'll find the battery packed inside a fire-resistant fiberglass case. Not only does the case help keep your battery clean and free of sand, but it also provides some protection against the fire hazard that is inherent to all batteries. On the battery terminal is a cap to keep the contacts clean and free of debris, which is very important. You'll see a large letter printed towards one end of the battery, and that corresponds to the nose cone you'll use with that battery.
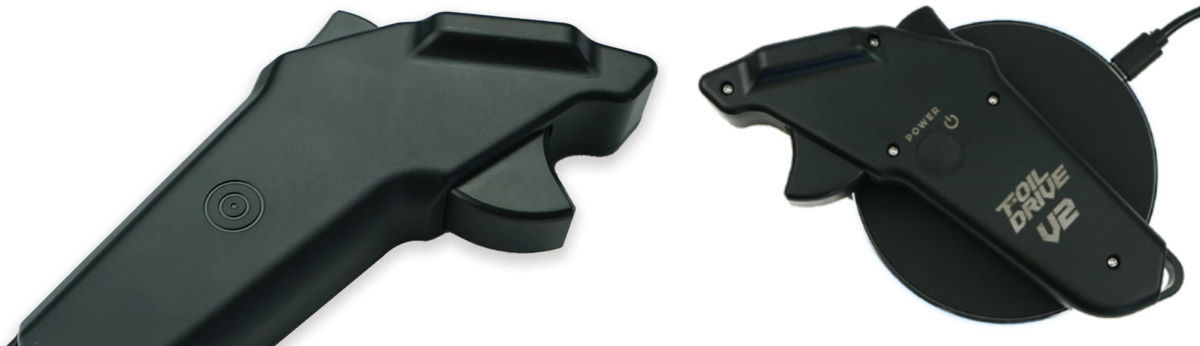
Remote and Charging Pad
The remote includes a deluxe wrist leash, and operation is fairly straightforward. The main trigger goes from 0 - 100% depending on how far you squeeze it, and there's a trigger with a cruise control function as well. The remote uses an induction charging pad, and that's included with a USB cable. (You will need to use your own wall plug, though.) Look for a bullseye molded into the side of the remote, and make sure that is centered and facing down on the charging pad. The screen will light up and say "charging" when you've got it positioned correctly.
Track Plugs
You'll also find two strips of high-density foam. This isn't packing material; they fit into your board's mast tracks to keep the water out. Water is great at blocking the RF signal from your remote to your Foil Drive unit, and if there's water trapped in your tracks, that can make the Foil Drive less responsive. It's especially helpful with carbon fiber boards, but any board can benefit from doing this.
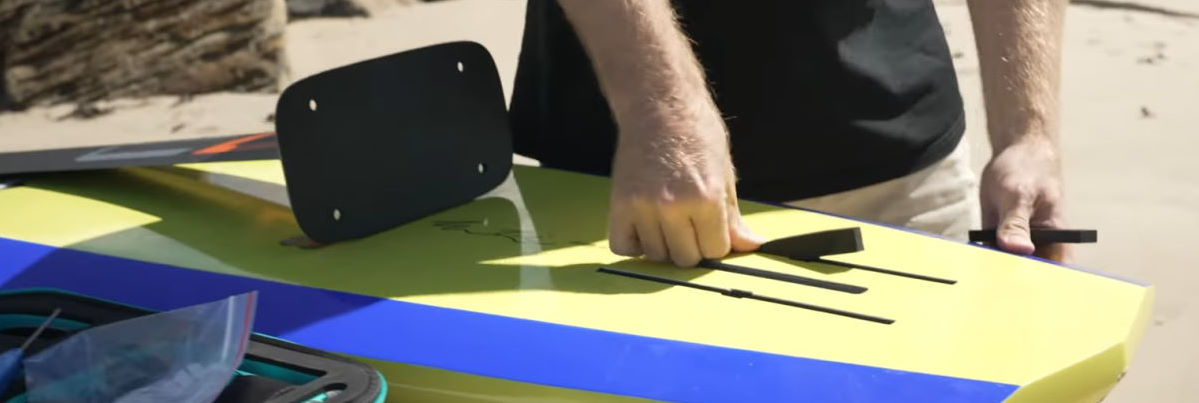
Cable Guide
The rubber cable guide helps you to center the motor cable on the trailing edge of your mast. The guide can be cut to length and secured with electrical tape, and then your cable will be as hydrodynamic as possible without flopping around and creating drag. Be sure to check out Foil Drive's installation video for some tips for the cleanest installation.
Hardware
Both M8 and M6 bolts are included in the case to attach your Foil Drive Unit. While different lengths are provided, be sure you're using one that fits your setup correctly. Track depth and mast plate thickness play a role in the length you'll need. If you have an Armstrong Performance mast, you'll need M7 hardware, which is not included but is available.
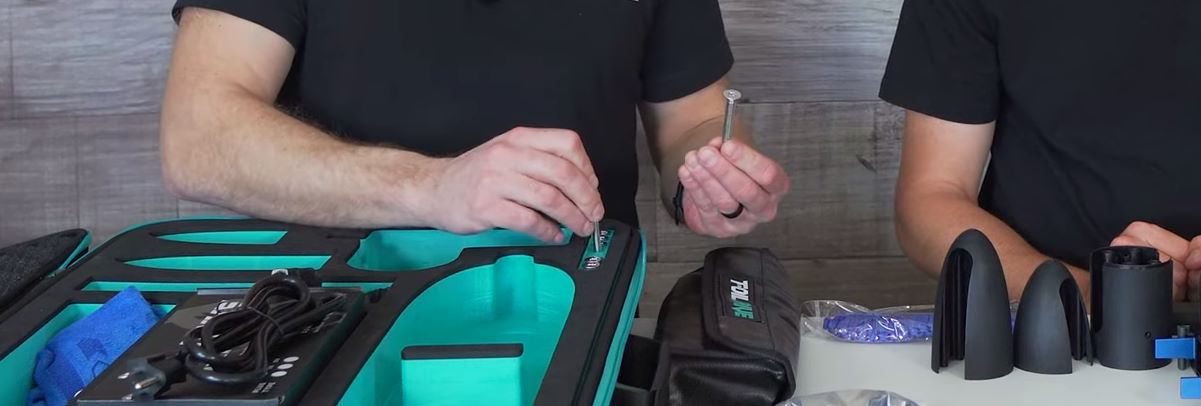
In a little pouch are the track nuts. You can use these, or the ones you already own. These have set screws so that you can leave them in your track and set up more quickly the next time, with your mast in exactly the same place. If your current track nuts don't have this feature, this will be a nice upgrade for you. That same pouch also includes the screws to assemble your pod and motor.
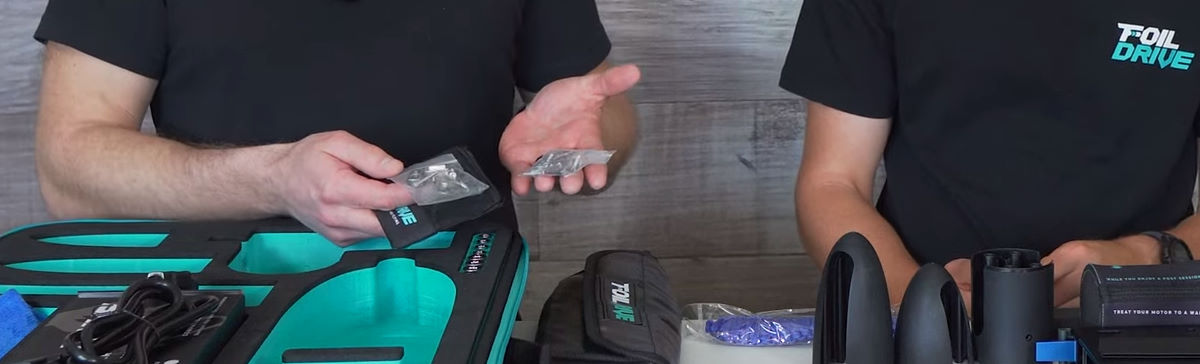
Spare Parts
The Foil Drive guys ride too, and they have felt the sting of a session that ended before it began due to a screw dropped in the sand or a part broken in the back of your car. That's why a baggie with several spare parts is included. You'll find one of each screw, a spare locking latch, and a spare gasket to make sure your session goes as planned.
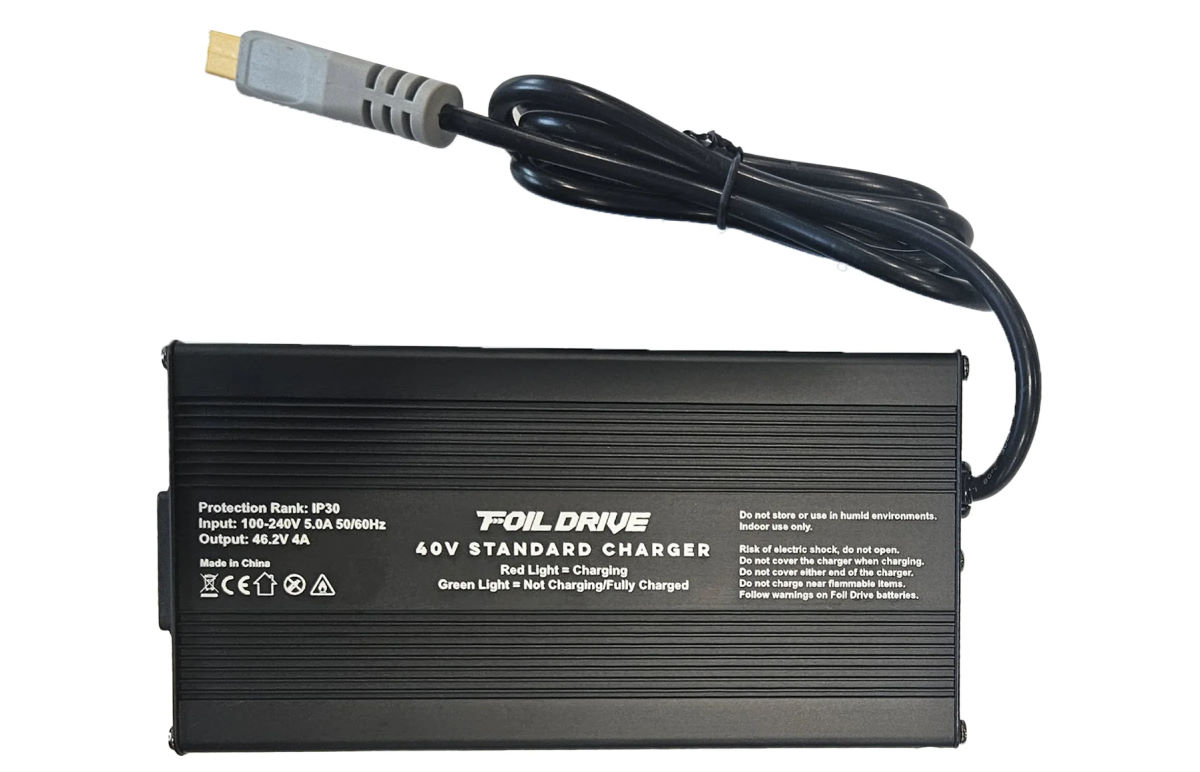
Battery Charger
The battery charger includes a cord with a plug for the country in which you purchase your Foil Drive. Simply plug the charger into the wall, then into the battery. A red light will come on while the battery is charging, and then a green light when charging is complete. Try not to leave the battery on the charger after it's done.
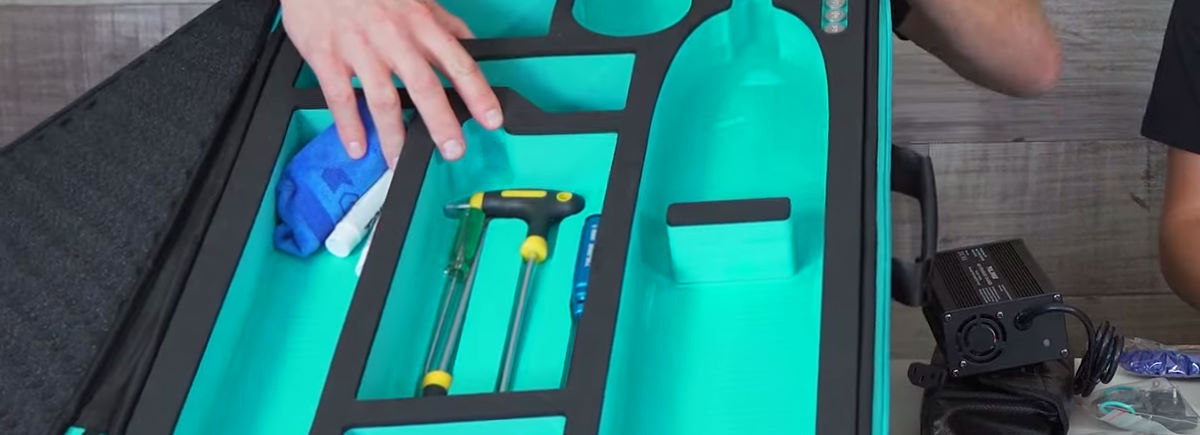
Tools
Lifting the charger out of the case will reveal some tools tucked underneath. Everything you need is here: a 2.5mm driver for most of the screws, and T-handle tools for the rest of the screws. There's also a pick tool to help you carefully remove the O-ring for cleaning. It's important that it remain free of sand and other debris to ensure a watertight seal.
Nose Cone Shims
If you have a board with a lot of rocker, there are nose cone shims to help keep the nose cone from flexing at its connection with the electronics box. The metal pins do provide a very strong connection, but if you get into some gnarly waves, you'll want to support the nose cone so water can't seep in.
![]()
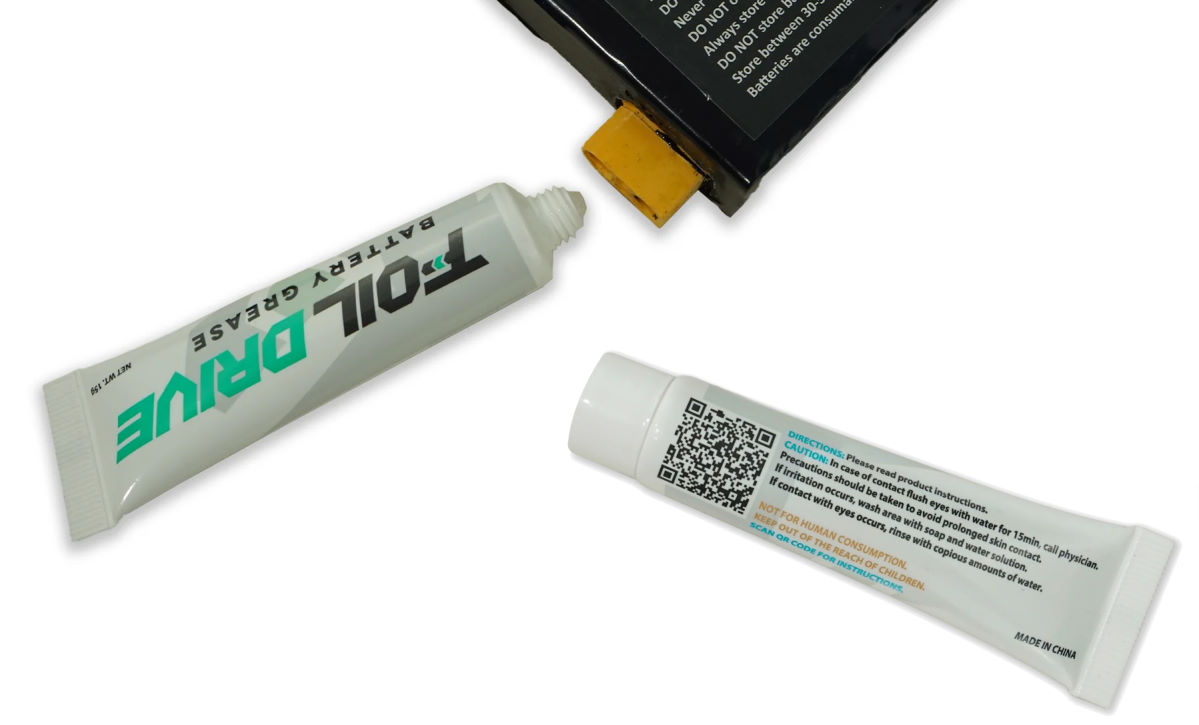
Battery Grease
Two tubes of battery grease are packed in so you'll have plenty to protect your battery plug and motor plug from corrosion in the water. The grease is specially formulated to conduct electricity, but won't short out your connection. It can also be used to help seal your O-ring.
Keep It Clean
Finally, there is a microfiber cloth to wipe down any sandy connections as you're assembling your gear.
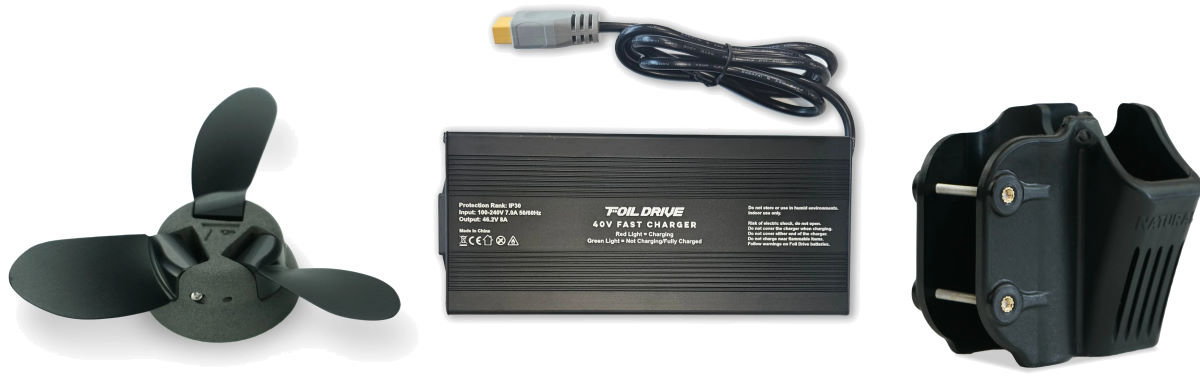
Beyond the Box
Except for the adapter for your mast and some electrical tape, everything you need to go ride is included. Of course, there are additional accessories available to customize your setup to your needs, like the 3-prop upgrade, a fast charger for the battery, spare batteries, a paddle or wing handle holster for the controller, and even an upgraded controller leash. Parts can also be replaced individually, so if you lose or break something, you can easily fix it and get back out there.
MACkite Subscription Links:
YouTube | Instagram | Spotify Oddcasts
Contact MACkite Below:
800.622.4655 | Kiteboarder@MACkite.com | LIVE Chat Messenger

Recent Posts
-

Kiteboarding | Crafting the Harlem Force Kite with Sustainability and Performance
Unparalleled Performance Meets Unmatched Sustainability The kiteboarding industry is on …24th Apr 2024 -

Duotone Ventis 2025 | What's New?
If you're familiar with Duotone's Ventis, you know its specialty is freeriding in light wind …23rd Apr 2024 -

Duotone Ventis D/LAB 2025 Overview
If you ride in an area with multiple light wind days and need a wing that'll let you get o …23rd Apr 2024