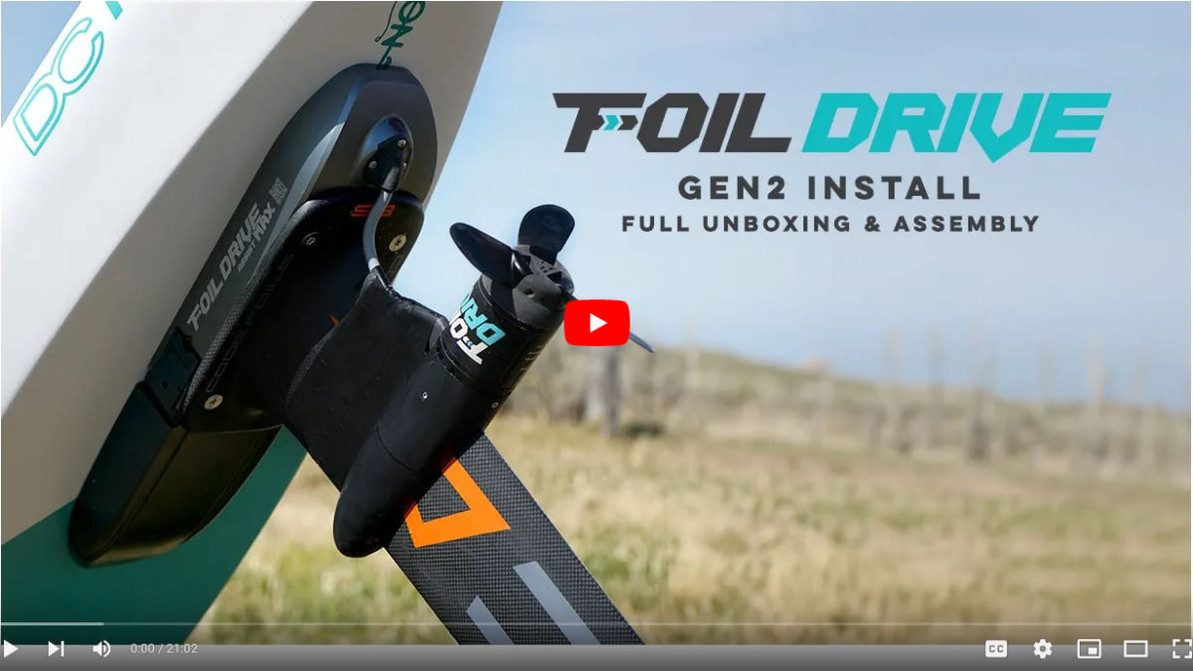
Foil Drive Gen2 Install | Full Unboxing and Assembly | Assist MAX
You've got your Gen2 Foil Drive MAX and want to get out on the water. What is included in your kit? How do you install it so you can go ride?
In the Box
In the MAX kit you've got the main unit, which is where everything happens, and two nose cones: the large for the Power battery and the smaller nose cone for the Sport battery. It also comes with the battery you selected at purchase, the battery charger, and grease for waterproofing the battery terminals.
Underneath the charger are tools with everything you will need to install your Foil Drive on your board. There is a T30, a T40 and a pick tool for cleaning the gear. There is also a 2.5mm Allen key for installing the pod.
The motor will have the cable length you chose when you ordered, depending on how close you want to mount the motor to the board. A short cable like the 15 cm cable will keep your propeller out of the water anytime you're on foil and would be used just to assist in getting up, while a longer cable can assist you in staying powered up while on foil.
You'll also find the motor pod and the inner sleeve that will fit the mast you selected. Each kit comes with the long and the short nose cones for any mast.
The controller for the unit is also included with the kit. Remember to charge it and your main battery prior to heading to the water.
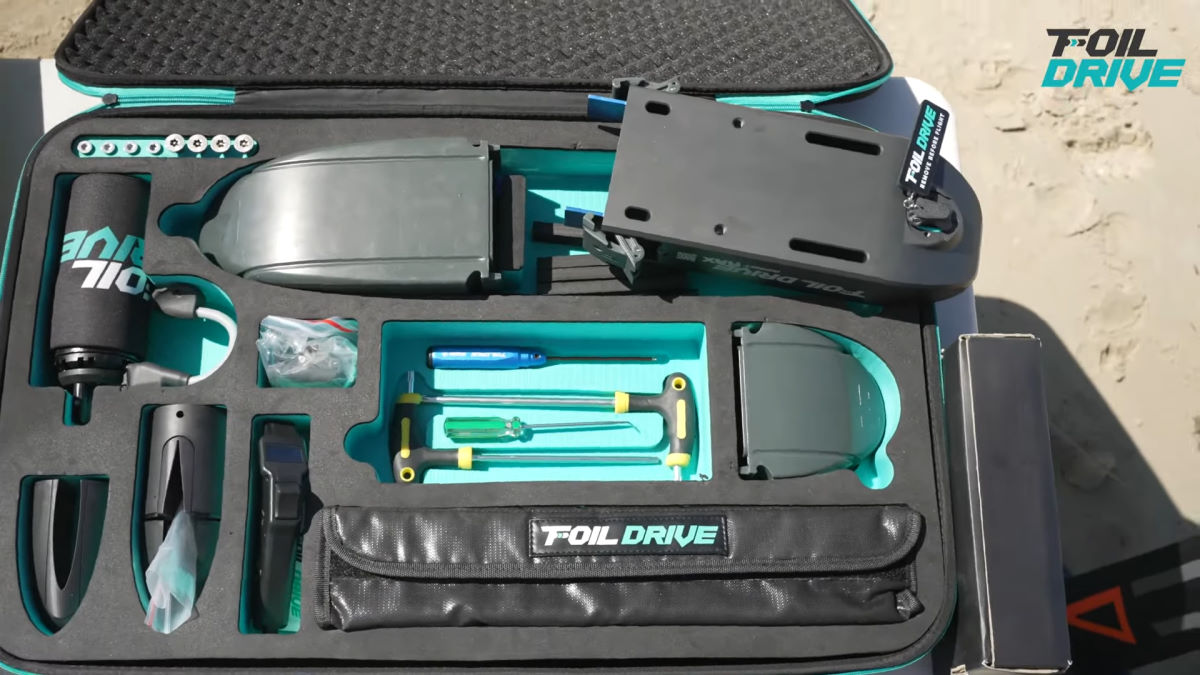
Finally, there is all the hardware needed to install the Foil Drive kit on almost any brand board, as well as some spare parts. All this comes packed in a zip-up case with cutouts to securely house each component. You may also want to add some black electrical tape and scissors.
Installation
1. Find the T-nuts you need, which come in M8 and M6, as well as the 20mm long stainless steel M3 bolts. These bolts are designed to thread into the T-nut, and this allows you to lock the T-nut in the track of the board so that every time you go to put your kit on, the bolts always line up. Be sure to align the flange on the T-nut so that the wider part goes down into the track. If you can't slide the T-nut, you might have screwed the screw so far down that it's hitting the bottom of the track.
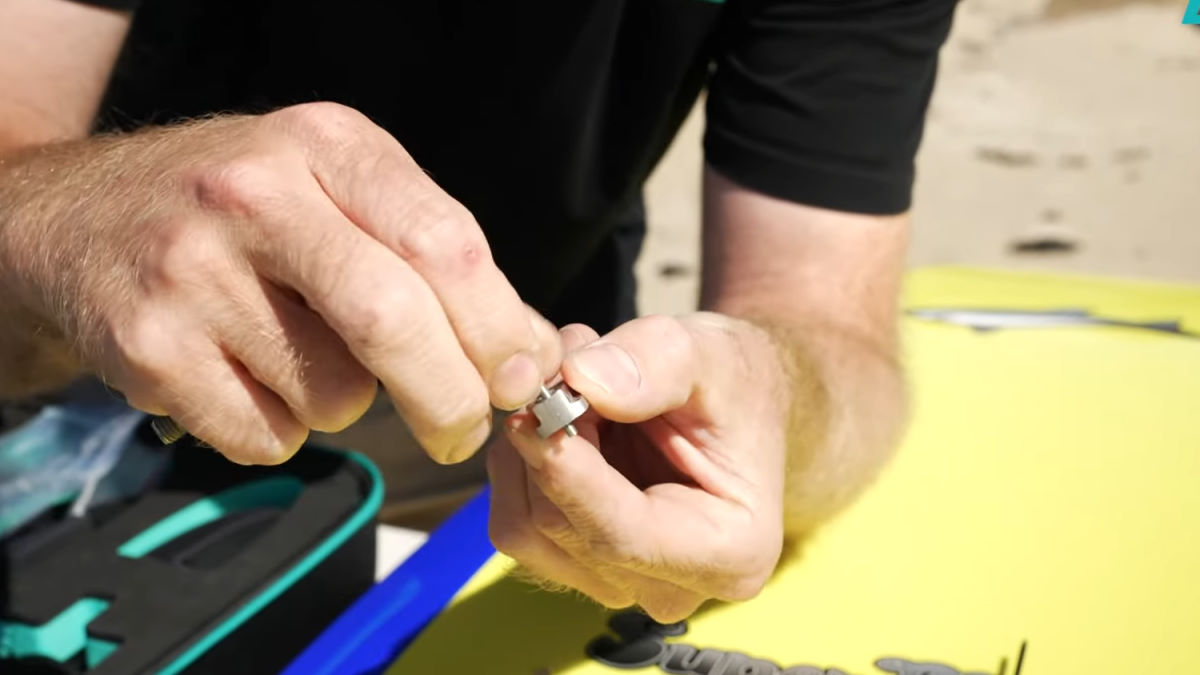
2. Take your mast and clean off any sand from the base plate so it doesn't drop down into the track or scratch your board. Place it beside the tracks and roughly line the T-nuts up to the spacing and the position that you want to run on the board. Then set the mast on top of the tracks and use the tool to make sure that the holes in the T-nuts line up perfectly with the holes in the mast. Lock the T-nuts in place. You can use one of the bolts to hold the T-nut so it doesn't move, and then use a tool to lock it in place. You don't need to do them up super tight- just enough to prevent the T-nut from being able to slide backwards and forwards.
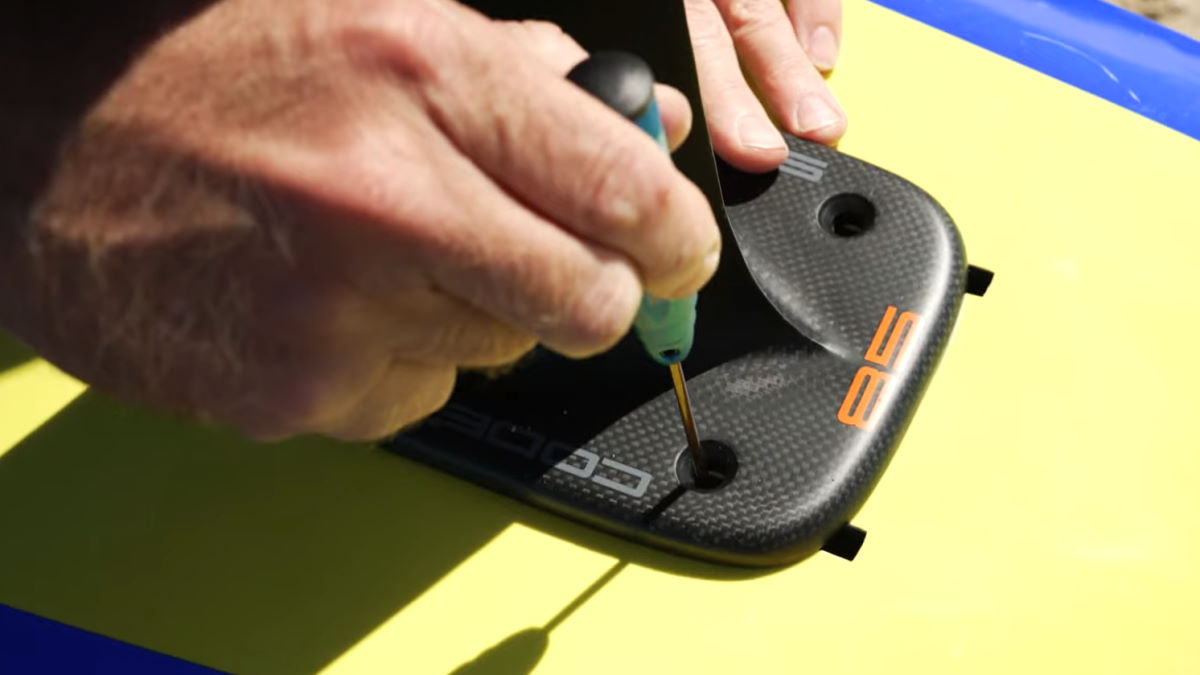
Tip: If you have a full carbon fiber board, you may need to use the included high-density foam blocks. Stuff them into the voids between your T-nuts. This helps with the signal propagation through the board and gives you a better link from the remote control to the unit. The more foam you stuff in, the better the reception will be. You won't need to do this on all boards; it's really for the high carbon fiber full-wrap boards.
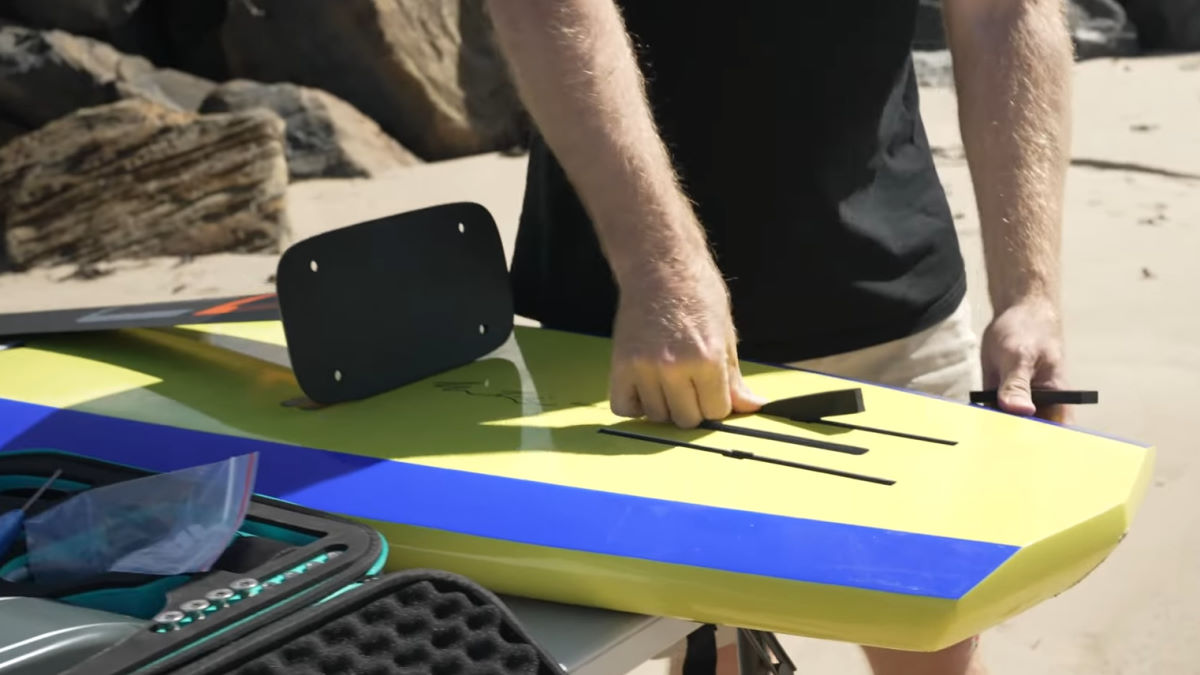
3. Set the main housing onto the track and take off the cover protecting the motor plug and O-ring. Set your mast on top of the unit and then find your four bolts. The M8 80mm long ones are for the MAX. Put them through the unit and ensure that the bolts line up perfectly with the threads of the T-nuts. Use the T40 driver that's provided in the kit to loosely snug up the bolts. Don't fully tighten them straight away; just tighten them enough that the box can seat evenly. The reason not to torque these up yet is to make sure the plug for the motor has enough space to fit. A mast with a large base can cover this, and then you'll need to slide the mast forward.
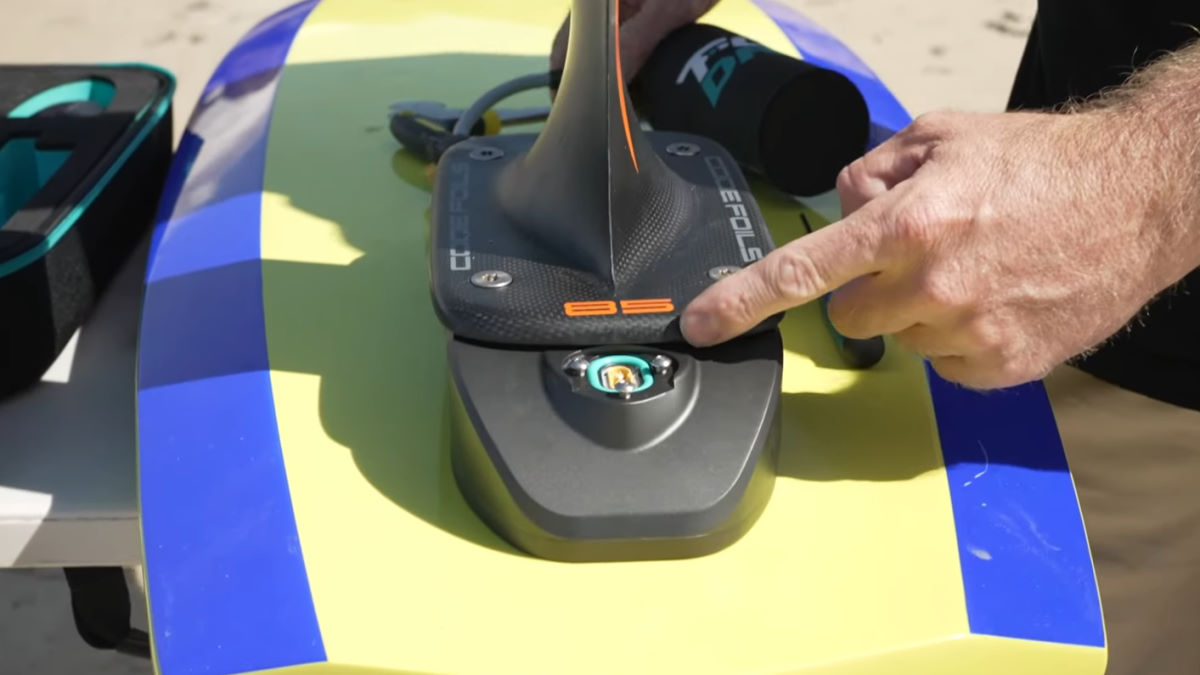
4. Remove the three M4 10mm long stainless steel bolts from the motor plug receptacle. Put some of the Foil Drive battery grease onto the plug before you push it into the receptacle on the main unit. This is important because it adds a layer of protection to keep the gold pins from corroding if any water or salt gets in.
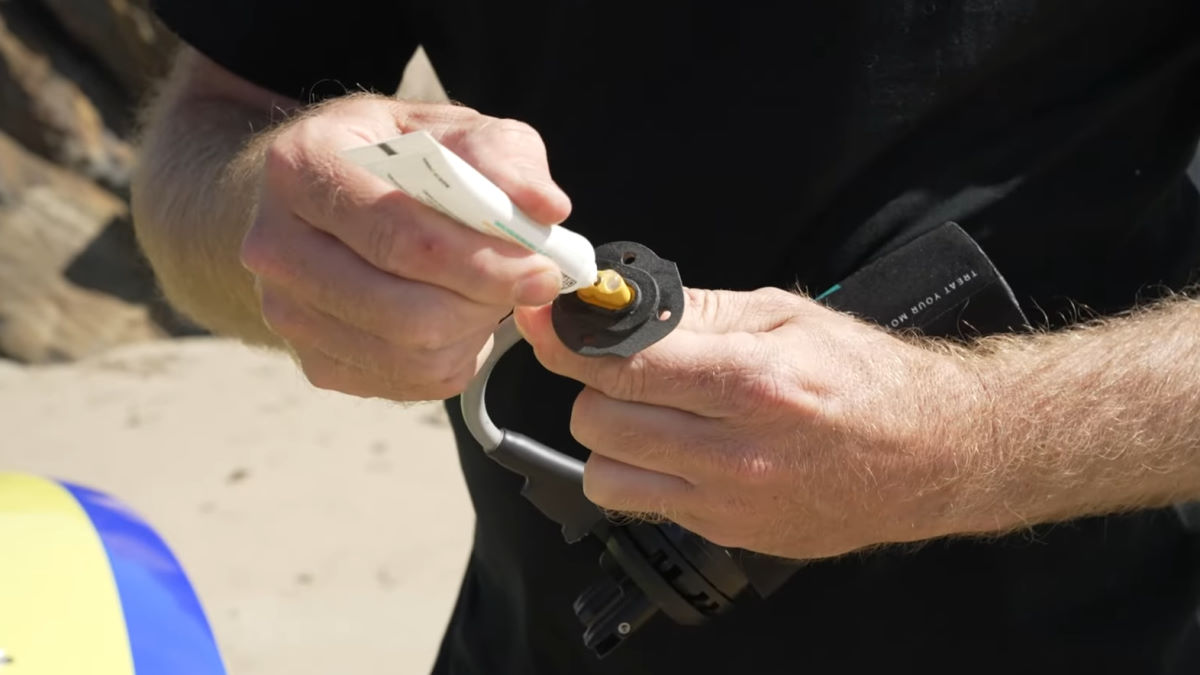
Once the motor plug is greased, push it straight down into the receptacle and put the three screws back in so that your motor is fully locked in place. Try to snug them up evenly so the plug doesn't tilt. You don't need to crank them super tight; the blue O-ring will squish to keep them snug and help keep water out.
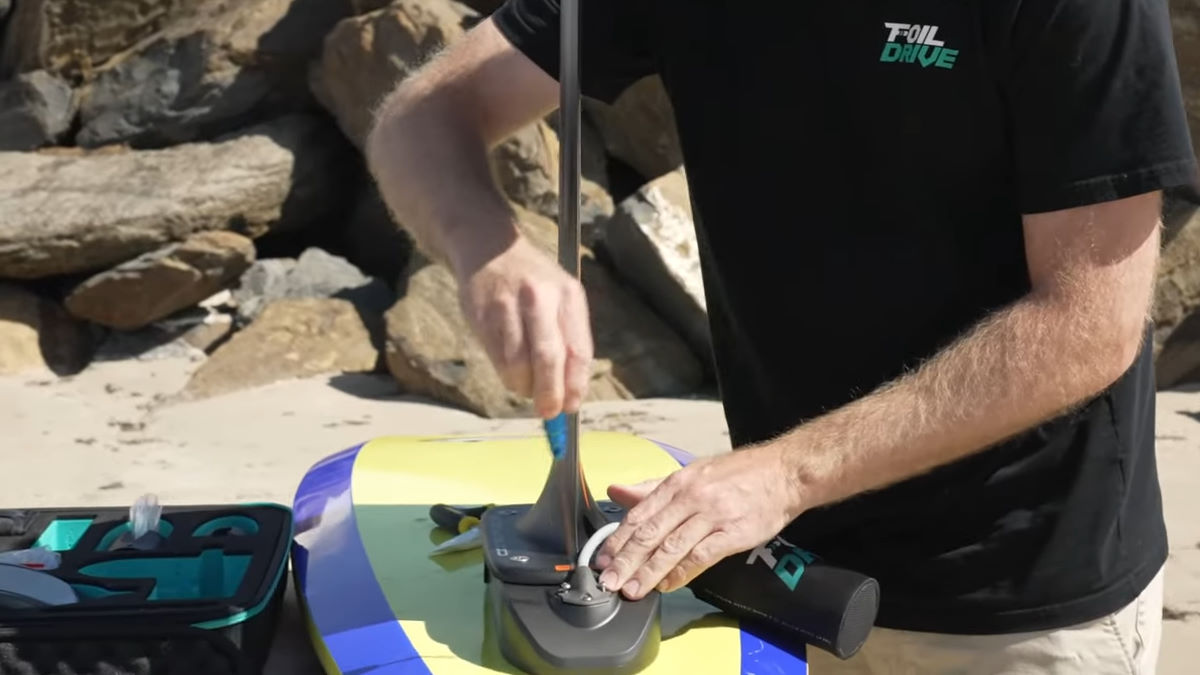
5. Go ahead and tighten up the mast bolts so that the mast and the box can't move under load.
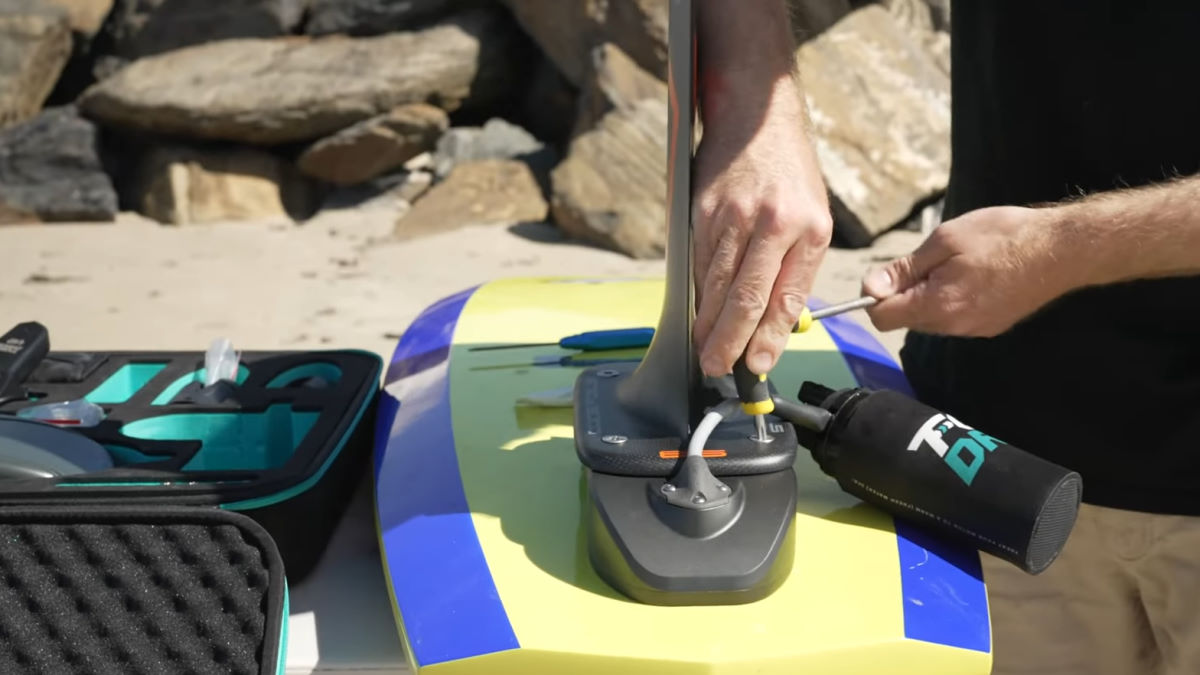
6. There's a bag stuffed inside the motor pod with all the screws that you'll need. Take out four M3 by 12mm screws. To put the pod on the mast, take the 3D printed sleeves out of the pod. Hold the two halves together so that the hashtag numbers are facing you and the base plate text with an arrow points to the base plate. Put it on your mast about where you want it.
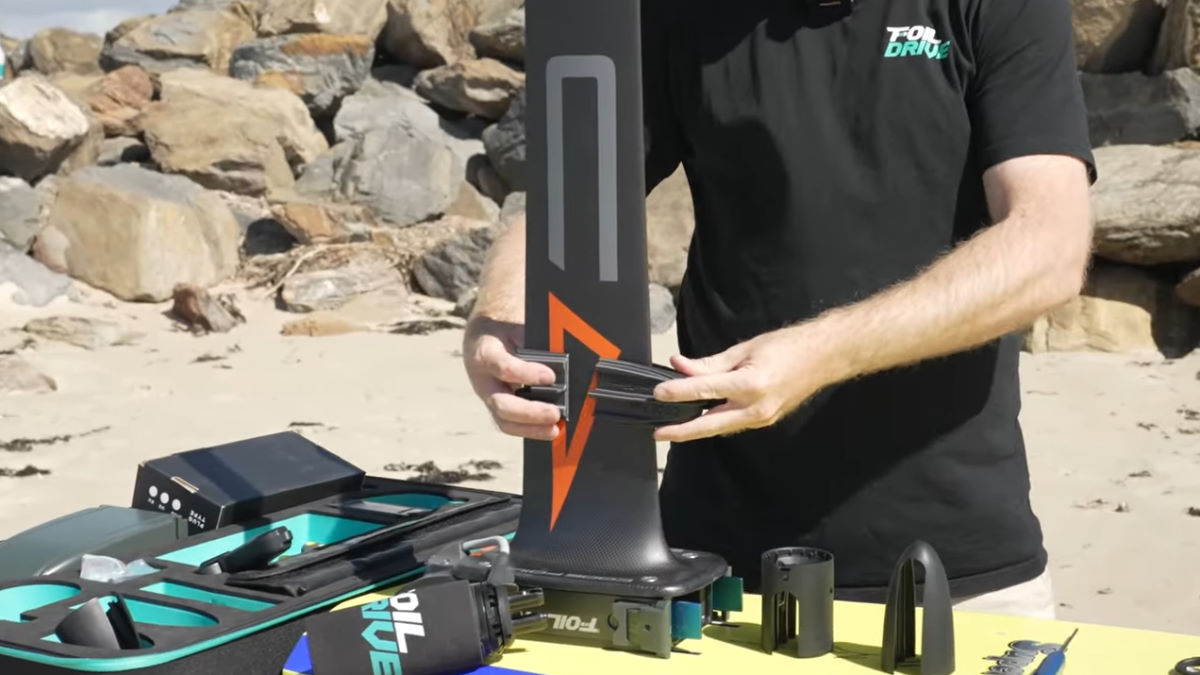
7. The nose half of the cone can be mounted in either orientation, but the rear has a square cutout that needs to face the board. Four M3 12mm screws go in through the rear piece of the pod to join it together. Get it roughly seated for now because you'll still need to make sure your motor is at the right height before you tighten it up.
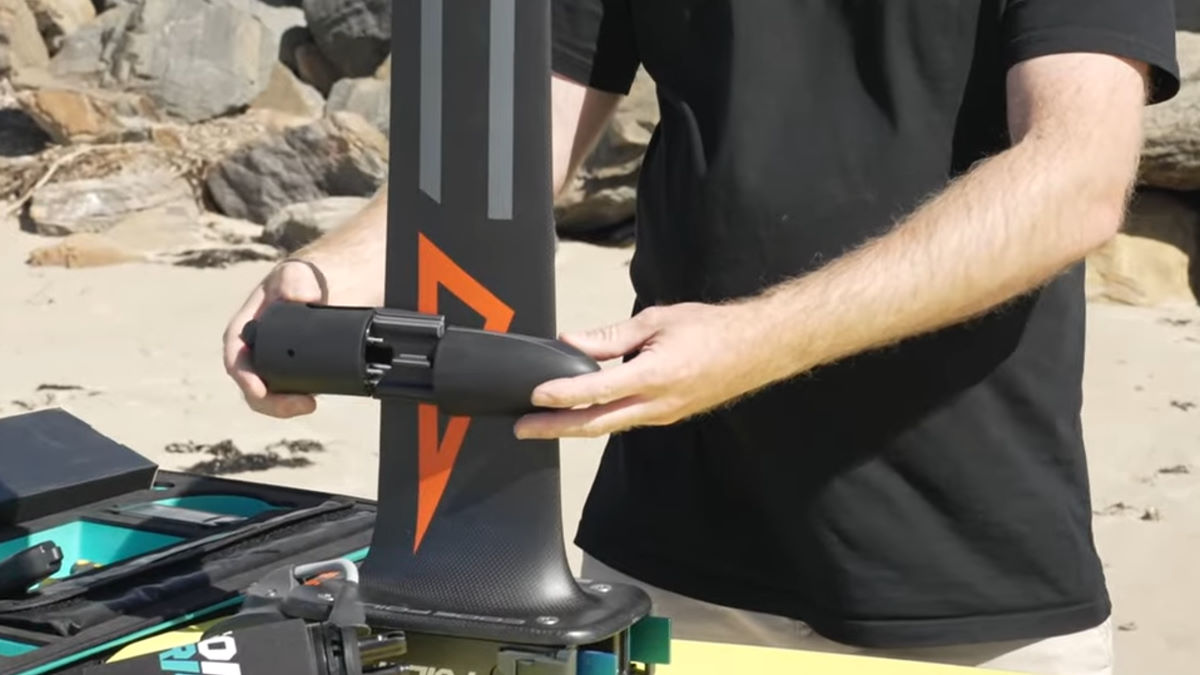
8. Slide the motor into the rear of the pod and adjust the pod position to where you want it. Take the motor back out. Put the 2.5mm driver into the back of the pod and snug up the screws gently so that the two halves engage. Tighten each bolt a bit at a time so they pull in evenly and the pods pull straight together. It's okay to have a gap between the pod halves, especially on tapered masts. The gap allows there to be a clamping force. The bolts should be snug without cranking on them.
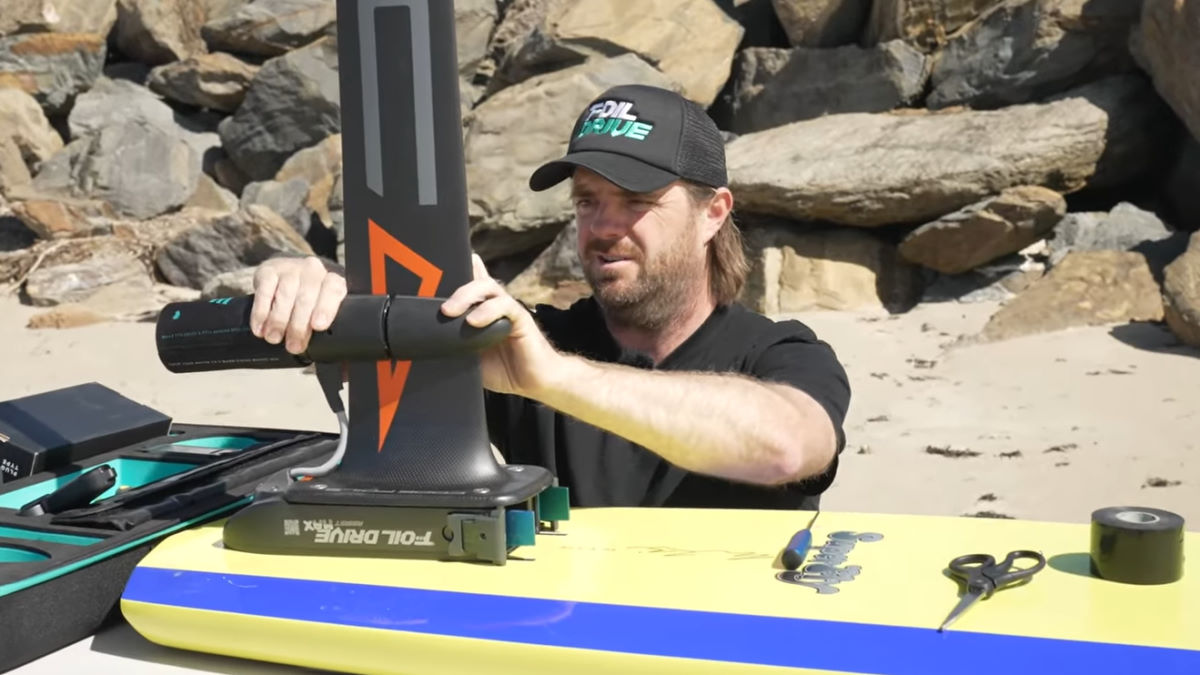
9. Replace the motor into the pod. There are three more M3 12mm bolts which go in the pod to secure your motor. Thread them in with your fingers; you should never need to force them. If you have to force them, something's not lined up. Once all three of them are in, go ahead and tighten them with the tool, but not crazy tight.
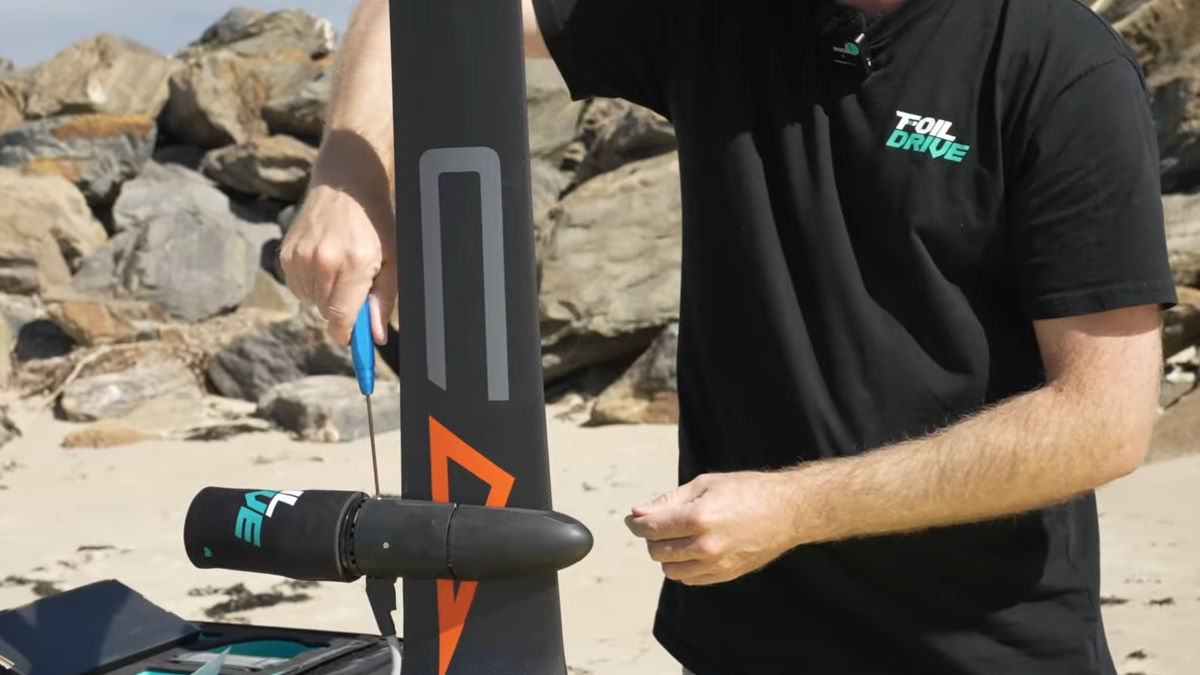
10. Once the motor is locked in place nice and sturdy, the next thing is the cable guide. Measure it on the back of your mast and cut a strip to put between the mast and cable for slightly better hydrodynamic performance. Cut it with your scissors and push it into place on the back of the mast. It fills in a void for hydrodynamic performance.
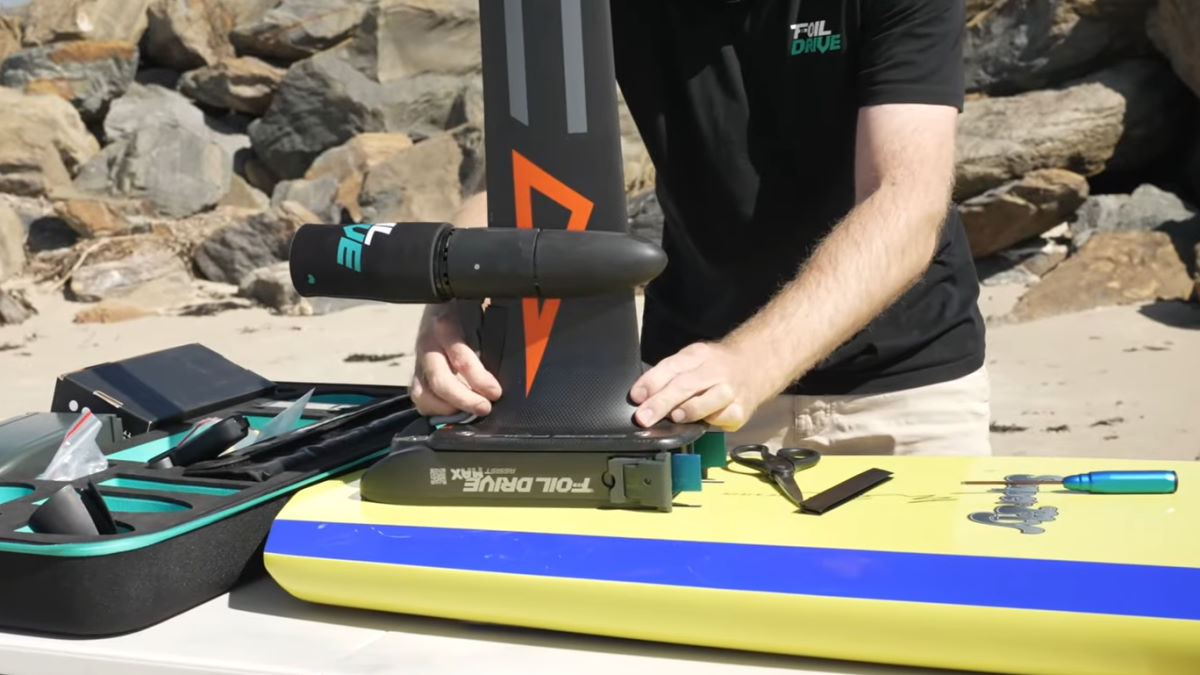
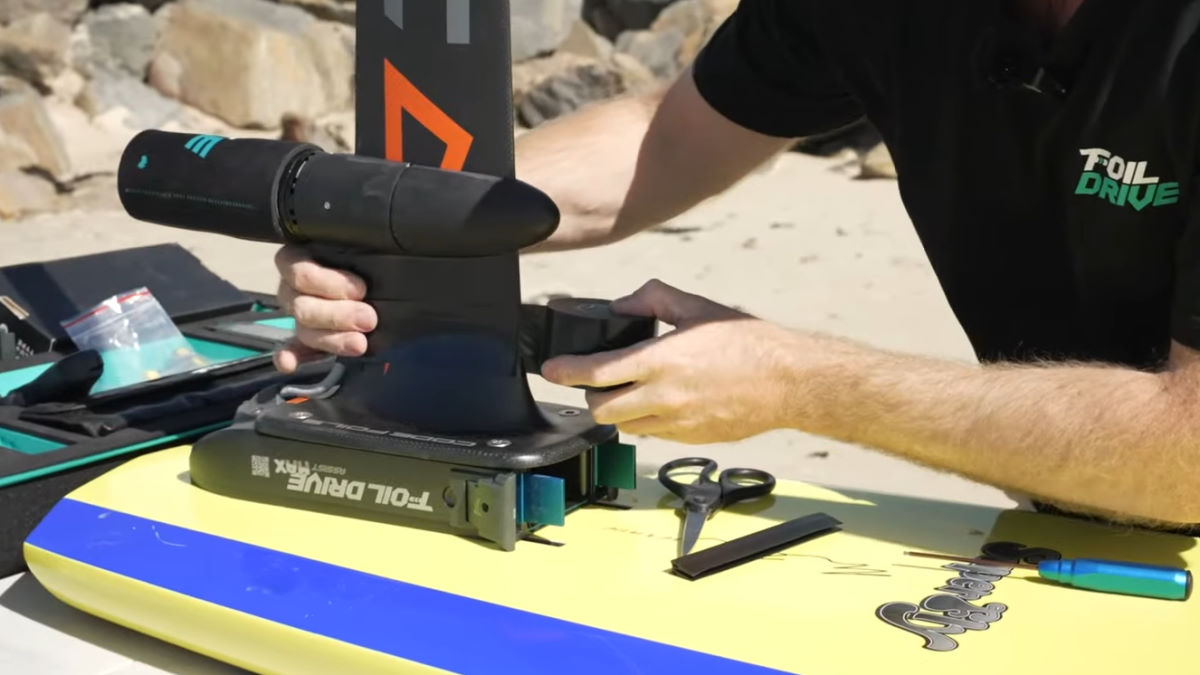
11. Spend some time doing a nice tape job. This is the best way to fill the gaps and prevent water from swirling into all the little areas between the mast and cable for the best hydrodynamic performance. Start the tape on the leading edge of the mast just below the nose of the motor pod. Electrical tape works really well because it's got a little bit of stretch to it. Wrap it around the mast, working your way toward where the cable begins to curve to enter the main box, all while taking the time to make sure the tape lays smooth. Snip the tape off, making sure the last bit of tape overlaps and heads toward the back of the mast so the water flow doesn't try to open it back up.
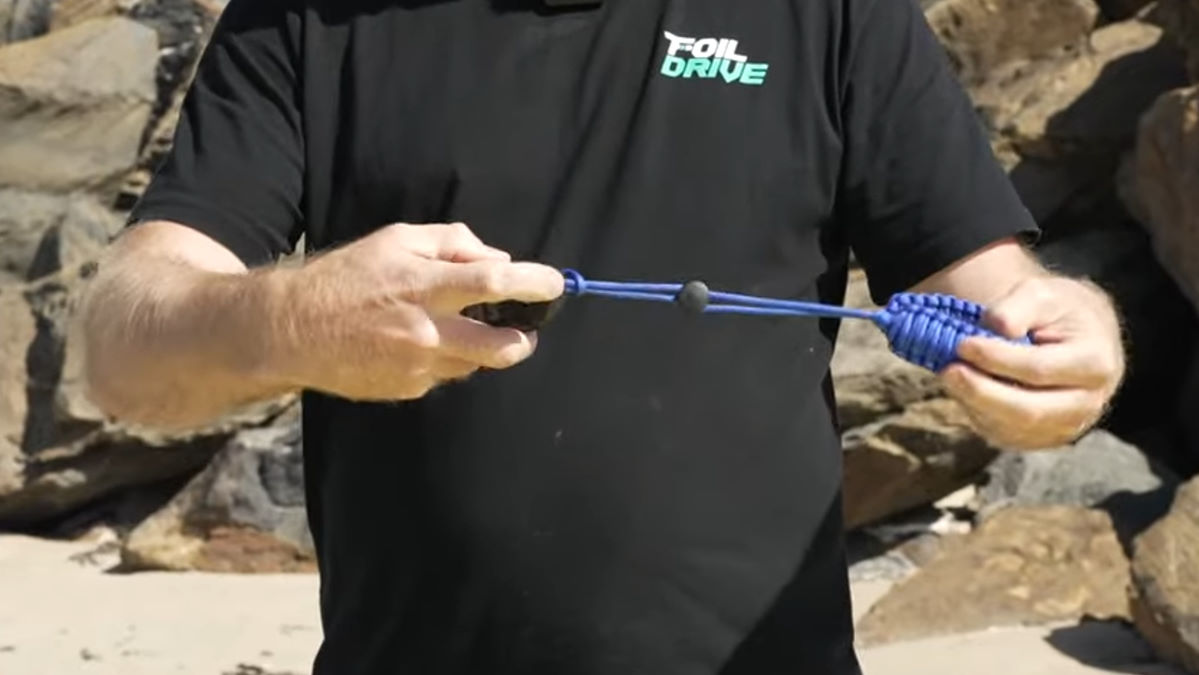
12. Put the lanyard on the controller. While the controller will float, it's still easy to lose track of it in the water, so it's best to keep it attached to you. Feed the small loop through the triangle at the bottom and then pull the wrist strap through the loop.
13. Put the Foil Drive battery grease on the connection on the front of the battery cell so that it has protection from the water and salt. Simply put a smear of it right across the terminals of the battery.
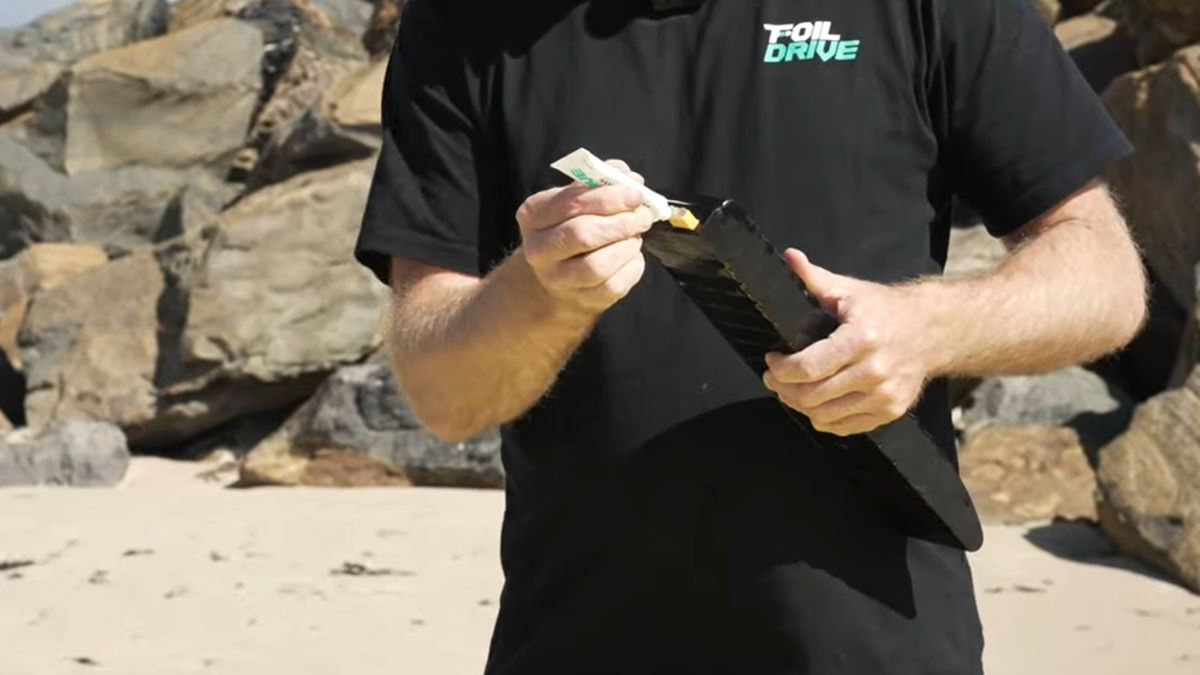
14. Take the cover off the motor so you can see the propeller and ensure it spins freely. Be careful not to touch it once the battery is installed. Turn the controller on and the little screen will come up.
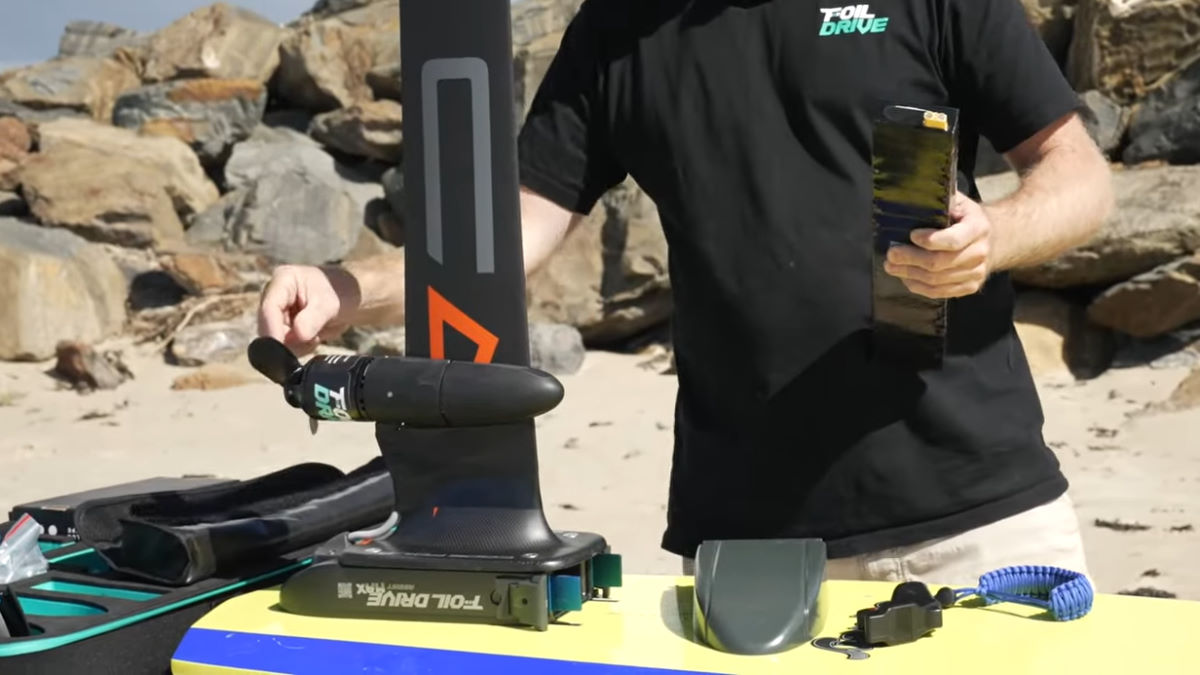
15. Slide the main battery gently into the front of the box, with the connector facing the back. Once it's all the way in, it's now connected. Before you slide the nose cone on, look down the center line of the box to make sure the blue O-ring is in place. Simply slide the nose cone over the front, open the latches, push it all the way in, and close both latches shut. Make sure that everything looks flat on the board.
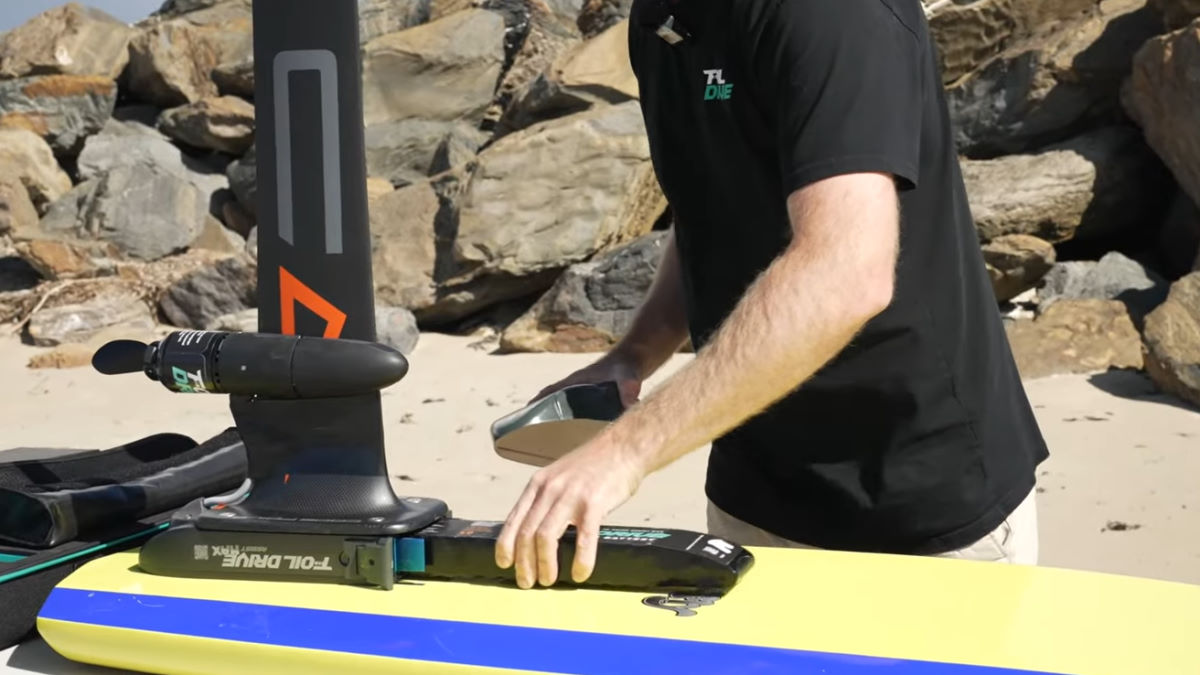
16. The controller should be pre-paired from the factory. Keeping well away from the prop, go ahead and test the controller. Whenever you are handling your Foil Drive board and you are not in the water, press and hold the power button to turn the controller off and check that it doesn't run.
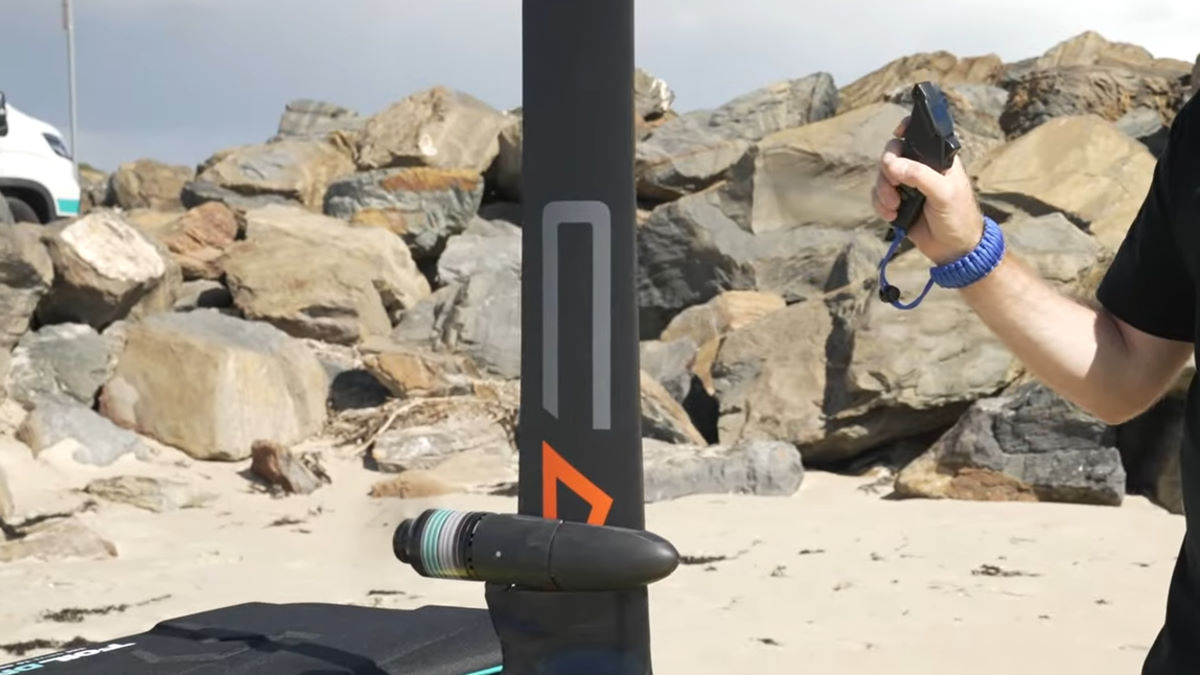
You're done and ready to go get in the water! Enjoy your Foil Drive and have fun.
MACkite Subscription Links:
YouTube | Instagram | Spotify Oddcasts
Contact MACkite Below:
800.622.4655 | eFoils@MACkite.com | LIVE Chat Messenger
Recent Posts
-
Kiteboarding Tricks | How To Do A Backroll Hat Drag
You can use a little creativity to switch up even the more basic tricks and add a little f …26th Jul 2024 -
KT Ginxu Step-Bottom and Foil Drive Systems | A Perfect Match?
The step-bottom feature of the KT Ginxu foilboards is a big help in releasing the surface te …24th Jul 2024 -
Starboard Ace Air Inflatable Wing Foilboard Review
It's Wing Wednesday, and today Tucker's got an inflatable foilboard, the 2024 Starboard Ace …23rd Jul 2024

