

How To: Clean Your 2017 North Click Bar
Cleaning The 2017 Click Bar
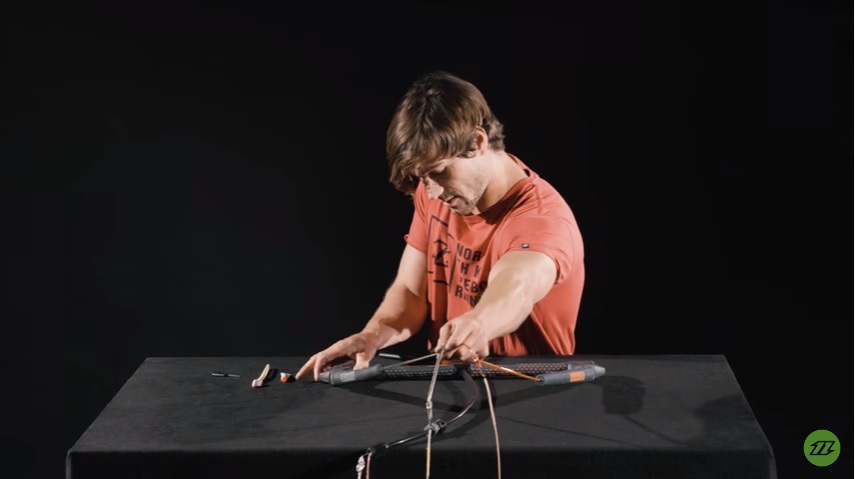
So, when you buy a product like the 2017 North Click Bar, it's very important to look after it. If you use your Click Bar a lot, we recommend that you give it a good clean at least once every six months. If you notice that the depower function is getting slightly stiff, then it's probably time to give it a good clean. We recommend you use a toothbrush and some toothpaste and then give it a thorough wash with fresh water right away. Here's a breakdown of how to clean your North Click Bar:
- Make sure that the bar is completely depowered before you attempt to disassemble the mechanism. (Tip: You can see clearly on the power display.)
- At the end of the bar, you rotate the mechanism 90 degrees, which exposes the two screws, and use your Allen key to undo that. Keep a grip on the mechanism to make sure the screws don't catch as they undo.
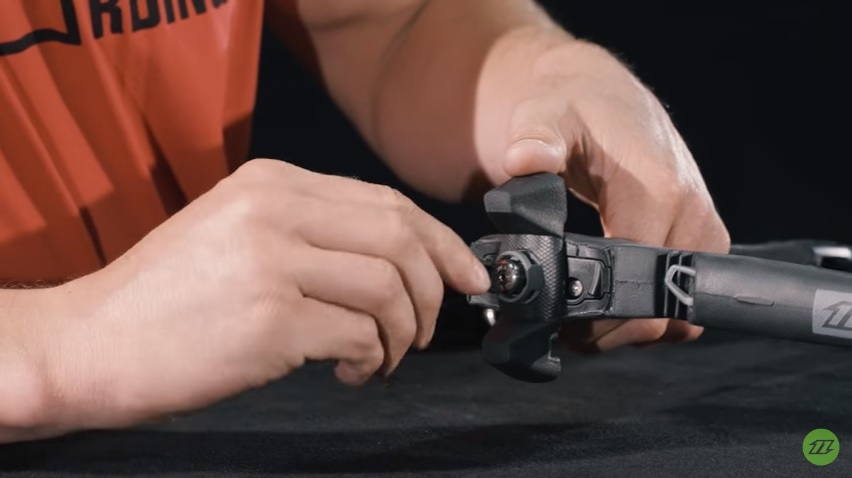
- Once you've taken out both of those screws, you can pull the whole mechanism.
- Once the mechanism is off of the end of the bar, then you under the push button. The mechanism itself will come straight out from the inside.

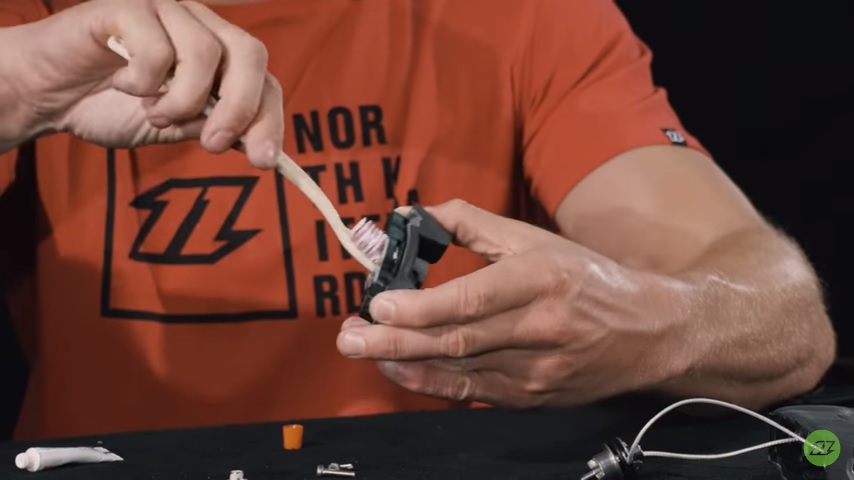
- Grab your toothbrush and go through them individually. First, you want to start with the push-button and the spring.
- Then you want to move down to the winder and the right cover.
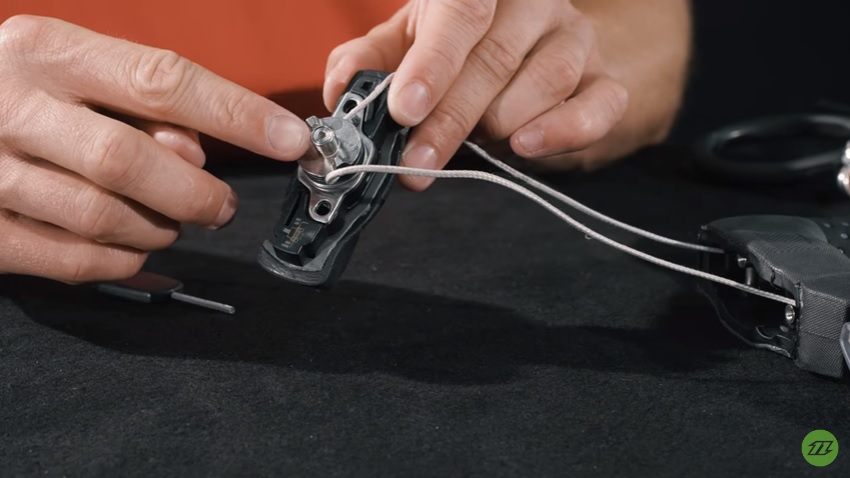
- Then you move on to the mechanism itself. Make sure there's no dirt caught in between the gaps, all of the lines are clean, and the lines are both exiting from different sides of the mechanism, and then use your toothbrush to clean inside the bar itself.
- Make sure you give it a thorough rinse after you've cleaned it to make sure there's no cleaning material or anything left on any of the parts.
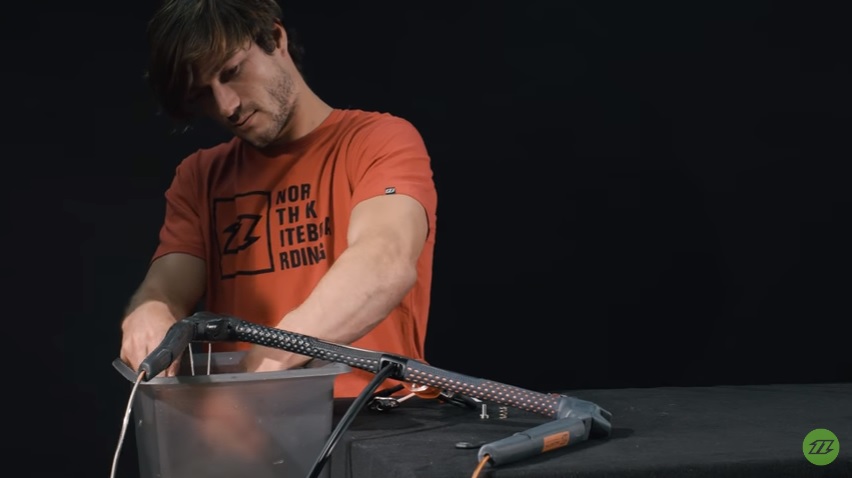
- So, once you've given all the elements of your bar a thorough scrub, you put it all back together.
- Have a check just to make sure that the lines in the mechanism are all set in the right direction. Make sure that the top line is going up to the gray leader line, and that the bottom line is running straight through the bar, up the red leader line. Make sure there are no extra twists in the mechanism and that it fits into the right cover easily.
- Take the push-button and screw that back into place, using the Allen key. If it doesn't fit back into the bar easily, it could mean that the right cover is the wrong way around. (Tip: You can tell this by the small diagram on the topside of the right cover. This diagram needs to be facing upwards. If it's on the downward side, however, don't just flip it because that would be wrong. You want to pull the winder and twist the outside cover independently so as not to twist the lines and create an angle.)
- If you're happy that the mechanism is in the right place, everything's turned around the right way, and the leader lines are running through the bar in the correct order, then reassemble.
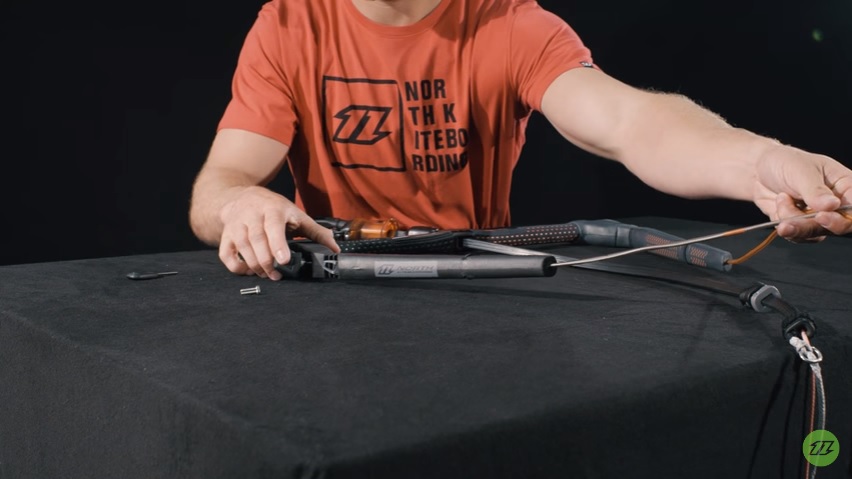
- Make sure the mechanism slides easily back into place in the end of the bar. Give it two or three turns just to check everything is running smoothly. Put the last two screws back in.
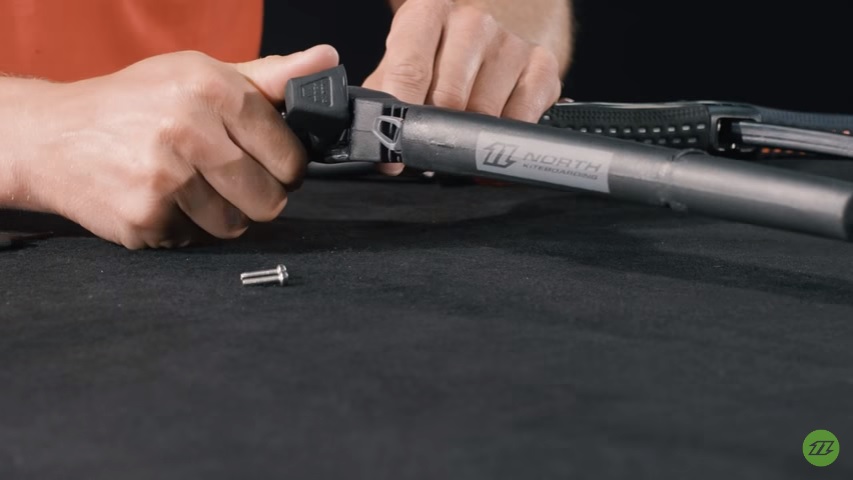
- Once the screws are tight, get somebody to help you to test the mechanism, making sure everything's in the right place. And then, you get your bars like brand-new.
26th Aug 2016
Recent Posts
-

Kiteboarding | Crafting the Harlem Force Kite with Sustainability and Performance
Unparalleled Performance Meets Unmatched Sustainability The kiteboarding industry is on …24th Apr 2024 -

Duotone Ventis 2025 | What's New?
If you're familiar with Duotone's Ventis, you know its specialty is freeriding in light wind …23rd Apr 2024 -

Duotone Ventis D/LAB 2025 Overview
If you ride in an area with multiple light wind days and need a wing that'll let you get o …23rd Apr 2024