Foil Drive Tips | How to Properly Charge Your Battery and Remote
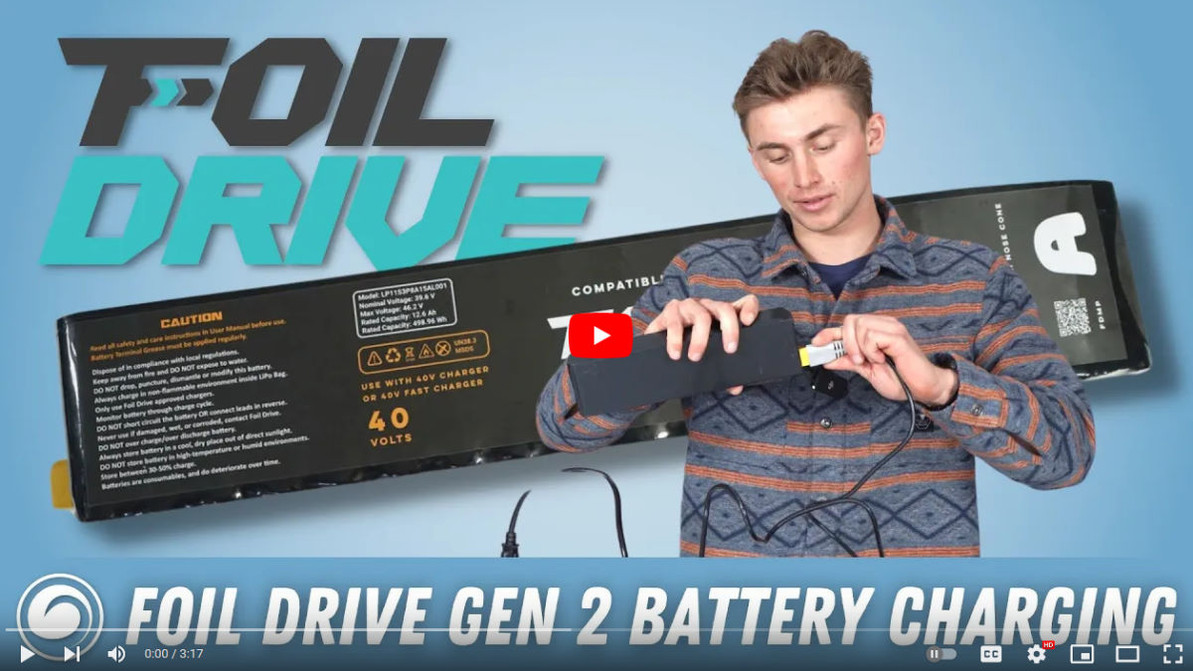
You can extend the life of your Foil Drive Gen 2 unit battery and remote battery by properly charging them. Fortunately, it's easy.
Foil Drive Gen2 Unit Battery
1. Plug your charger into a wall outlet. (Although we used an extension cord for the video, it's always better to plug it directly into the wall.)
2. Check to see that the light on the charger is flashing green.
3. Remove the yellow cover from the battery contacts and plug the charging cable into the port on the battery, taking care that the plug is aligned correctly. As you do so, you should hear a "pop" sound and see the light turn solid orange. This indicates that the battery is charging.

4. Put the battery into its protective case. This case is made from a fire-retardant fiberglass and can help contain excessive heat in the unlikely event of an issue. Only charge in a dry area, away from flammable materials and out of direct sunlight.

5. Depending on how depleted your battery was, charging should complete in 1 - 3 hours. Don't leave it on the charger or leave the charger plugged into the wall after charging is complete.
Tips: Don't leave your battery in the Foil Drive unit when not in use. Remove it after riding, but be sure your hands are dry and your wetsuit and hair are not dripping or you may have a bad time.
If you are going to be riding for an extended period in one day, it's a good idea to have a second battery. Both depleting and charging a battery cause it to heat up, so using a battery, then immediately recharging it and using it again can shorten its lifespan. Allowing it to cool to room temperature after using and charging it is better for its long-term health.
If you're going to be storing your battery for a while, such as during your off-season, you should not fully charge it, but have it at 40 - 60 percent of full. You can see the charge level with the Foil Drive Battery Checker. Always store your battery inside the protective Lipo case when not in use.
Foil Drive Gen2 Remote Battery
1. A charging pad and USB cable are included in your Foil Drive package, but you'll need to supply the wall adapter or other USB port. Plug the cable in to the power source and then to the charging pad. If the charging pad has power, the ring around the outside will glow blue for a moment.
2. Your remote has the Foil Drive logo on one side and a bulls-eye icon on the other. Place the remote on the charging pad with the bulls-eye icon down and centered on the pad.

3. If the remote is properly placed on the pad, the ring will begin to slowly pulse blue to indicate that it's charging. If it flashes blue, there is an error. Try repositioning the remote or consult your manual.
4. In 1 - 3 hours, your remote should be charged. You can check the battery level by turning it on and checking the battery icon at the top right of the screen. Be sure not to leave it on the charging pad for longer than 4 hours.

If you have any questions, reach out to us and we'll be happy to help. See you on the water!
MACkite Subscription Links:
YouTube | Instagram | Spotify Oddcasts
Contact MACkite Below:
800.622.4655 | Kiteboarder@MACkite.com | LIVE Chat Messenger

Recent Posts
-
Appletree Zapple | Is This the Best Foil Drive Board Ever?
If you've ever had a chance to ride a board that came out of the Appletree factory, you know it's …21st Feb 2025 -
Omen SuperMarine | Flux DNA, Bigger Design, and a Mid-Length Board That Rips
There's an ice shelf along the beach on Lake Michigan, which makes it dangerous and difficult to g …19th Feb 2025 -
All Hype? Or Fully Locked & Loaded? Ride Engine HyperLock hot take review with Jake
Shop Latest Ride Engine Releases. Jake here from MACkite, I recently got my hands on the new Ride …18th Feb 2025


