
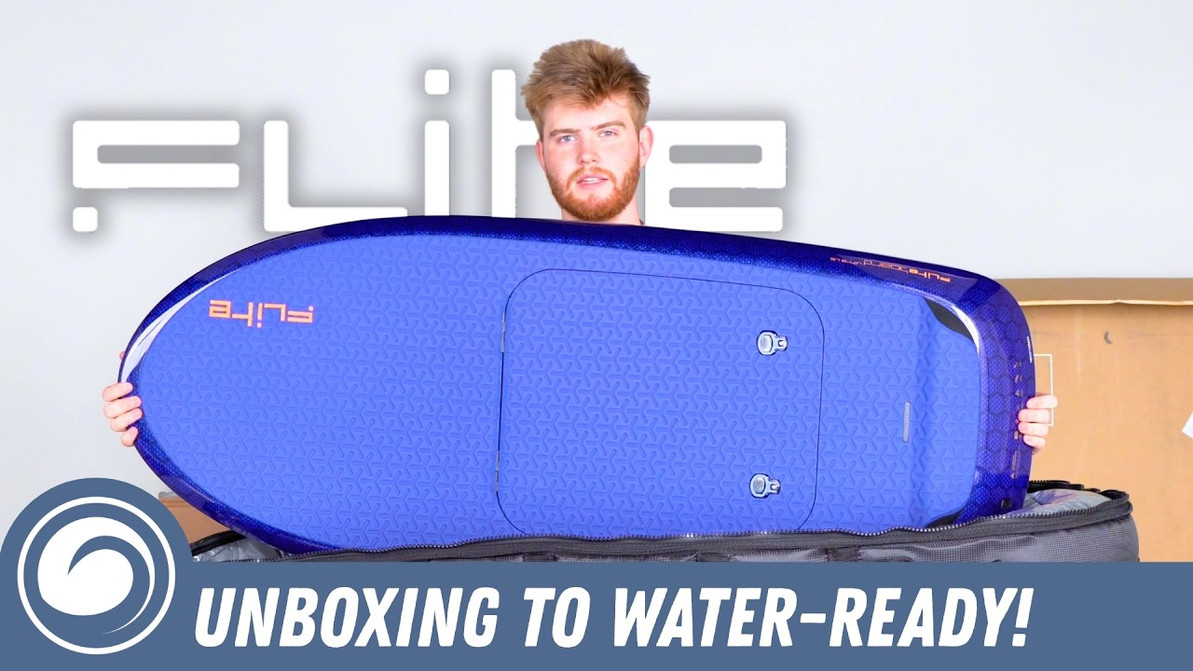
How to Unbox and Assemble a Fliteboard
Eli takes us through how to unbox and assemble a brand new Fliteboard. Let's get into the easy stuff first and work our way through the entire setup.
Charger and Battery
Starting with the fast charger, it comes in a perfectly sized box and includes a nice carrying case. Inside the case, you get your wall cable and a handy carrying handle that straps to two hooks on the outside. This universal strap also fits the battery, turning it into a nice satchel for easy carrying. The charger pops out easily, and the cord plugs right in.
Moving on to the battery, Eli unboxes the Flitecell Sport — the size in between the full-size battery (the Explore) and the Nano. It comes in a case with the battery on one side and a sturdy styrofoam battery adapter on the other. You need this adapter because the battery isn't the full-size Flitecell. If you have the full-size battery, you won't need the adapter, since it fills the entire battery compartment.
Remote and Accessories
The accessories pouch includes a few spare items and your remote. Inside this case, you'll find:
- Instructions
- A little bit of grease
- The remote charger and wall adapters (including every adapter known to mankind)
- The remote and a nice leash
The remote is a nice size that's comfortable for average hands, featuring good buttons and a solid trigger pull. The remote charger cable is also conveniently long. Keep in mind that everything will need to be updated before your first session.
Foil and Stabilizer Wings
A neat thing about Flite is that any of their FLITElab foils can be used on any of their Fliteboards. The rear wing comes with a hardware pack that includes all the shims you need, four bolts, and a tool. The front wing also includes a hardware pack with four bolts and an additional tool.
The hardware specs included in these packs are:
- M8x18 bolts for the front wing connection
- M6x20 bolts for the rear wing connection
Both wings come in nice cases with soft interiors so your hardware won't scratch up your wings. They also feature an additional storage pouch for all your bits and pieces, so you never have to question what goes where or worry about losing your hardware.
The ULTRA L3 eFoil Board
Eli pulls out the ULTRA L3 board in the Ultramarine colorway. Because it's the smallest board, it's a lot easier to get out of the box if you have a partner to help. The board bag features four clips (two on the front, two on the back), and Flite does a really good job protecting everything with a cheesecloth-like bag inside.
The Ultramarine color looks sweet and features a completely smooth bottom. Unlike some eFoil brands that use plug-and-play waterproof batteries, Flite operates on a well-engineered, seamless battery compartment. The compartment door has two metal toggles that you simply twist 90 degrees to open. Inside, it comes with another battery adapter (commonly used with the Nano, but it fits the Sport as well) and a battery shim at the top.
Propulsion Unit and Mast Assembly
The largest box holds the propulsion unit and mast. Eli unboxes the aluminum mast with the impeller, noting that Flite also offers standard propulsion units and jet drives with a regular prop guard and a 3-blade prop. If the mast hardware isn't already installed on your board, it'll be included in this propulsion unit box (four M6x20 star bolts).
Because Flite doesn't use a plug-and-play battery system, the board has rubber gaskets in the mast track to keep water out of the battery compartment. Before installing the mast, make sure there are no kinks, sand, or debris getting in the way. If there are any tears, spare gaskets are included in the remote box.
To install the mast, slide the two wires through the angled hole in the compartment. Push the mast through so it settles into place, then tighten down the four M6x20 Torx head bolts hand-tight.
Wing Installation and Final Steps
To finish the assembly, pop your rear wing out of its case and install it using the M6x16 Torx screws. The front wing slips right over the fuselage and installs using the M8x18 screws. These are the only M8 screws on the entire Fliteboard, so you don't have to worry about mixing them up.
Once your foils are tightened down, all you have to do is install the battery, pair the board to the remote, and you're ready to rip!
The MACkite Take
Fliteboard's unboxing experience reflects the same engineering care that goes into the boards themselves — everything is protected, labeled, and modular. Here's the quick reference for a smooth first assembly.
- Update everything before your first session. Board firmware and remote firmware both need to be current, so plan your first day around software updates before you head to the water.
- Battery adapters are critical for anything smaller than a full-size Flitecell. The Flitecell Sport and Nano both need adapters to seat correctly in the compartment. Full-size Flitecells fill the compartment on their own.
- All FLITElab foils fit all Fliteboards. That interchangeability is genuinely valuable when you're building a quiver: your surf/prone foils cross over to the eFoil setup and back.
- Check the mast track gaskets before every install. Flite's seamless battery compartment relies on rubber gaskets in the mast track to keep water out. Kinks, sand, or debris on the gaskets is how water gets in. Spare gaskets are in the remote box if you spot a tear.
- Hardware quick reference: M8x18 for the front wing (the only M8 bolts on the whole board, so no mixups), M6x16 Torx for the rear wing, and M6x20 star bolts for the mast install.
MACkite Subscription Links:
YouTube | Instagram | Spotify Oddcasts
Contact MACkite Below:
800.622.4655 | Kiteboarder@MACkite.com | LIVE Chat Messenger
Recent Posts
-

Naish Hatch V2 Parawing Overview
Jeff takes a few minutes out from the KoGL event to chat with Adam Carr from Naish about the Hatch …22nd Oct 2026 -

Flysurfer Soul 4 vs Sonic 5: Which Kite is for You?
Jeff is on the beach at KoGL with Marie-Eve from Flysurfer to discuss the growing excitement surro …20th Oct 2026 -

2026 Duotone Rebel D/LAB Review: 30-Knot Test
The Brazilian Brothers are ready to provide honest feedback on the 2026 Rebel D/LAB by Duotone. Th …13th Oct 2026