

Kiteloop Back Roll - Ride with Blake
Today we're covering one of the most sought-after tricks in kiteboarding: the backroll kiteloop, also known as the F-16. This doesn’t have to be a scary trick. Actually, most people accidentally do backroll kiteloops as they are learning their first backrolls because it is natural to pull in on your back hand as you throw the rotation.
The only thing that makes this trick scary is when you don’t know what you are doing and it gets out of control. If you can follow these simple steps you will overcome the fear of the backroll kiteloop and land a really fun and natural-feeling trick.
Before trying this, make sure you have backrolls on lock, downloops and kiteloops. I’ve done videos on all three of these tricks so be sure to give those a watch if you don’t know how.

We recommend you download the attached PDF on your phone. Check it before your next session!
Kite size mattress when learning
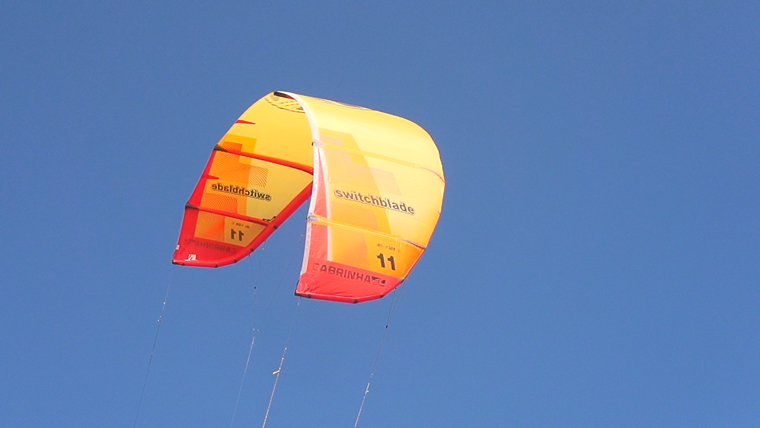
Step One: Start with a kite no bigger than an 11m
The bigger the kite, the slower it loops, and anything bigger than a 10m will make it difficult to land the trick properly. A lot of people get caught up in using a faster kite, and it’s true; some kites do loop better than others. I love using the Cabrinha FX for kiteloops, but it’s completely possible to do this trick with almost any kite.
Not only should you learn with a smaller kite, but you should learn in a little lighter wind. So if the wind is a good day for your 12m, use your 10m to learn this trick. That way there will be very little consequence when you crash, and you will. That’s part of learning, but when it comes to kiteloop tricks, you’ll always want to start small.
Keeping your hands close takes more skill
Step Two: Put your hands wide on the bar
This will give you extra leverage on the bar and allow you to loop your kite faster. You want to maximize the speed of the kite by pulling hard with your hands wide. So while you’re riding out, you’ll jump just like you would for a normal jump but with your hands wide. When you hit the apex of your jump, you can take your front hand off and fully commit to pulling in.
Pull the kiteloop halfway into the roll
Step Three: The timing of your loop and your roll are important
It can vary a little depending on how high you jump and when you initiate the roll. The trick is to pull the bar in about halfway through your roll.
The smaller you jump, the earlier you will have to roll and take your front hand off. It’s best to start smaller on this trick and simply pull hard with your back hand. Technically, you can do this very low but it’s ideal to get a few feet off the water so you have some room for error.
The best time to start the loop is at the apex of your jump. So in an ideal kiteloop, you’ll want to send the kite. Jump, get some height, start your roll, and as soon as you look over your shoulder pull the bar hard with your back hand. When you look over your shoulder you are basically halfway around already, so the loop will pull you around the rest of the way.
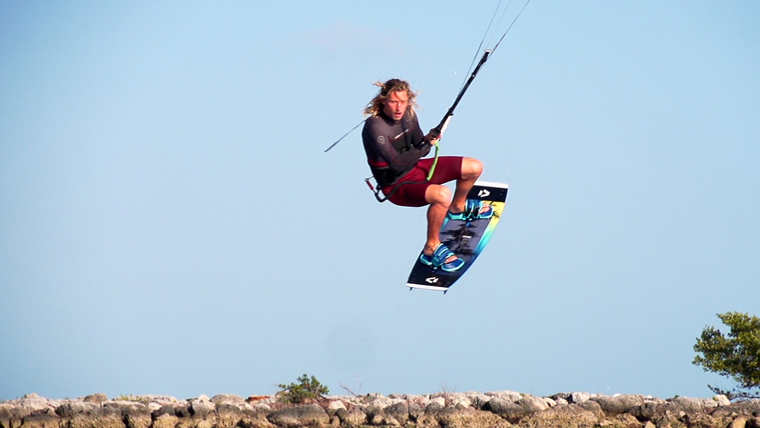
Commit to the movement
Step Four: Drop your shoulder and fully commit
The secret to landing any kiteloop-based trick is that you must commit. There is no middle ground here. Crashing fully powered can hurt sometimes. So start small enough so that you can commit. The trick doesn’t have to be intense at first. It can be very natural, fluid and flowing.
In fact, as with most tricks, form should always come before power. Get the form right, then huck it!
As you get confident and better, you can go bigger.
Go into your regular backroll, knowing that you are going to loop the kite. Get plenty of speed and send it. When going bigger, make sure you pull hard on your back hand just before you reach the peak of your jump and wait till you feel the kite pull you around and open back. If you properly looped the kite, it will automatically spin you around and the work will be done for you. It is actually easier than a regular backroll because the movement of the kite carries your body around with it.
That’s what’s really nice about this trick- if you commit, the loop will actually do most of the work for you! It feels very natural and is an amazing trick once you learn it.
Backroll technique
The biggest difference between this and a normal backroll is that you shouldn't throw the roll too hard. It’s easy to over-rotate this, so even when going big, let the kite pull you through the backroll. Don’t try to throw into one like a normal backroll.
Keep your knees tucked
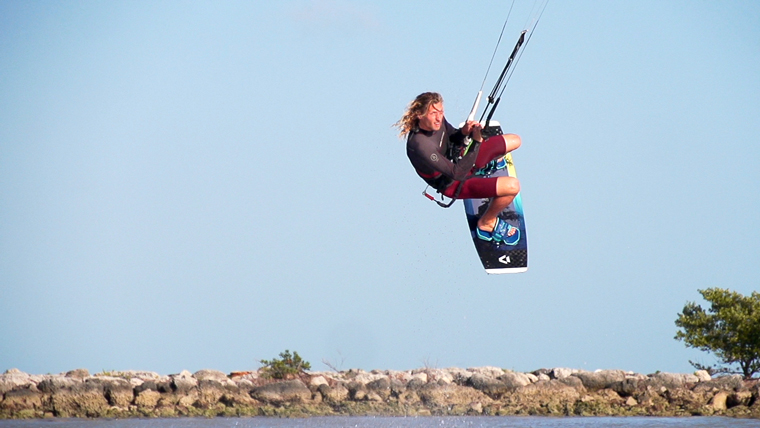
Step Five: Stay Compact
Keep your front knee close to your chest so that you maintain a low center of gravity.
If you let your legs go straight, it will most likely result in over-rotating. As you feel the kite pull you around and your kite travelling up to the zenith, keep your front knee to your chest so that you can maintain control and direction to your board.
It’s time to let your legs out after the loop and right as you complete your backroll. You’ll need to open up a little to slow down the rotation so you don’t over-rotate. Don’t open up too much; you don’t want to land with straight knees! Just open up a little to slow down your body's spin. This is also the time to spot your landing so you can prepare.
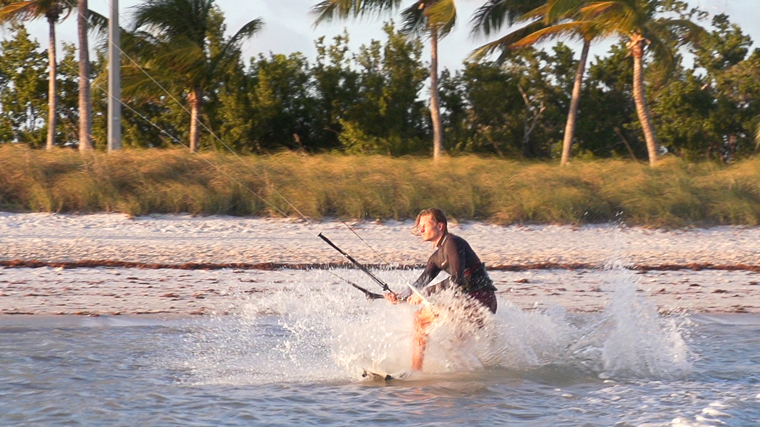
Always land with the board flat & downwind
Step Six: Land with your board flat and your body compact
Just like any trick, it’s important that you land this trick with your board flat.
It’s actually even more important for loop-based tricks. These are almost always powered, and the landing is going to be fast. With all that power and speed, the only way to safely land is downwind, taking power out of your kite.
Make sure, as you are coming down, to look where you’re going to land, square up your shoulders to the kite, point your board downwind, and land with the board flat on the water. As your board touches the water, get your shoulders over your knees and keep your body stacked.
Depending on how powered you are, you might have to really bend your knees to absorb the impact.
At first, it’s best to keep the kite high when landing to soften the impact, however, after touching down and you’re riding towards the kite, as soon as you are in control you’ll want to dive the kite forward to keep it from falling out of the sky.
Recommended gear
When it comes to kiteloops, most kites will get the job done, especially for beginners. That said, some gear does work much better than others. A great rule of thumb is to learn on something no bigger than an 11 or even 10 meter. Larger kites will still loop but they are much slower, more difficult, and not very effective. There are several categories of kites that cater to different styles of riding. We much prefer the freestyle kites in most brands' lineups. That said, many of the freeride kites work. To demonstrate this, we used the Cabrinha Switchblade 11 to film the majority of this list.
For intermediate to advanced kiteboarders
The fastest, most powerful kites for loops fall in the crossover category. These are three-strut C Hybrid kites designed specifically with kitelooping in mind.
Duotone Dice - Cabrinha FX - Liquid Force NV - Naish Dash - Cabrinha Switchblade 11m
The Switchblade is an outlier on this list. It's technically a freeride kite. The FX is superior in speed and arc, yet the Switchblade packs some power. We chose to film with this kite due to its powerful low end. As we were filming in the Keys, the wind could be quite light. We don't recommend going larger than the 11 for kiteloops unless you are an advanced kiteboarder.
For newer to intermediate kiteboarders
These are faster freeride kites. They're not designed specifically for kiteloops, but as they are all faster they work quite well. They also tend not to be as powerful when looping. The RPM might be the most powerful on this list.
Duotone Evo - Cabrinha Moto - Slingshot RPM - Naish Pivot
These are just a few kites that we prefer. There are plenty of good options beyond these. If you already have a freeride kite and are new to loops, switching to a crossover kite will not make or break your progress. It will, however, help. If you are a more advanced rider, chances are you've already made the switch to something designed with loops in mind. Either way you go, we encourage you to simply have fun with it. Kiteloops can be scary and like any kiteboarding trick, they can be frustrating. Take your time and learn to enjoy the process.
-Rygo
-Written and produced by Blake Olsen & Ryan (Rygo) Goloversic.
 Blake Olsen
A Michigan boy through and through (even though he was born in Saudi Arabia), Blake is a youth with a lifetime of experiences and adventures. Not only that, he's passionate about sharing his zest for life with others. He is proficient at many fields, including kiteboarding and acting as concierge to any who simply ask. Looking for an adventure? Well, Blake is your guy. From sailing the Gulf and the Caribbean to backpacking Hawaii and Southeast Asia, he knows his stuff and can make your vacation into an adventure.
Webpage: BlakeTheOlsen.com
Instagram: @BlakeTheOlsen
 Ryan (Rygo) Goloversic
Just a dude from a kite shop testing all the gear one session at a time.
Many people dream of quitting their job, traveling the world and pursuing their passions. Rygo is one of those people who pulled the trigger. A few years into a postal career, he decided to change everything and travel as a kiteboarder, freelance videographer & writer. His mission is to help people and share the stoke. Get out there and kite!
Producer of: Ride with Blake I Sessions I Versus I Destinations I Foil Fridays`
Recent Posts
-

Foil Drive | Essential Maintenance Tips to Help Enjoy Your Ride
Ryan from MACkite takes a few minutes to chat with Ben from Foil Drive and pick up some ti …22nd Apr 2024 -

North Navigator Pro Quick Release | How to Swap Yours Out With Ease
What You Need Before starting the replacement process, ensure you have all the necessary t …18th Apr 2024 -

Foil Drive | Essential Tips to Supercharge Your First Session
The Foil Drive makes your foiling life easier. You'll get up easier and catch more waves, …17th Apr 2024