
![How to pop kiteboarding [Unhooked] -The ultimate guide](https://cdn11.bigcommerce.com/s-cam6oqe/images/stencil/1193x795/uploaded_images/unhooked-pop-large.jpg?t=1576780678 "How to pop kiteboarding [Unhooked] -The ultimate guide")
How to pop kiteboarding [Unhooked] -The ultimate guide
Welcome to our latest playlist: The Unhooking Fundamentals. With freestyle kiteboarding being so advanced these days, it can be overwhelming. Strangely, unhooked riding has a weird reputation. You see it all over in the magazines and in pro rider videos, yet on the local beach it has become far less common. Often people are worried that it's too intense or dangerous. In truth, unhooking is one of the most fun aspects of kiteboarding. If you learn to do it right, it's actually easy and just as safe as hooked in riding.
Most often the biggest fear comes from catching an edge and hard impacts. If you take time to practice the fundamentals and don't ride overpowered, you'll be surprised how fast you progress and how much fun it can be. You'll also learn the correct form to prevent catching an edge most of the time.
We're teaming up with Slingshot and Chris Bobryk to film a series covering all the basics needed to advance into more difficult tricks. I'll be doing most of the fundamentals, and as we progress into more advanced tricks Chris and I will team up for some fun tutorials.
To kick off this new playlist we're going to start with the most important move in hooked-in or unhooked kiteboarding: the pop. The goal of this video is to break it down into easy-to-practice steps so you can work your way up and establish good habits in your riding early. So whether you're a rank beginner or an intermediate kiteboarder, give this guide a look over and see how you can improve your pop.
Prerequisites
This is a beginner level trick, so almost anyone can learn.
Unhooked popping is similar to doing a sent jump, but there are quite a few differences. Even still, it helps a lot if you know how to jump hooked in first.
The only other prerequisites for this trick are:
- Knowing how to unhook
- Riding upwind
- Relaunching the kite
Being able to do a sent jump actually helps a lot. They are similar but different. The main difference is that, rather than sending the kite up and sheeting in, you will be using board speed and your edge to create tension in the lines. Instead of sending the kite, you will release your edge in a scoop and the lines will slingshot you forward.
Click here for your Free PDF.
The pop
In freestyle kiteboarding, all advanced kiteboarding tricks can be broken down into smaller tricks. That means you have to master the basics, and it doesn't get any more basic than a good pop.
Think of this as your foundation. All kiteboarding tricks start with the pop. Whether you want to progress into air tricks, ride the park, or add a little variation to your riding, if you want to progress, you're going to want to get this right.
In fact, if you have no interest in unhooked riding, you will still find the guide helpful with improving your hooked-in pop. Just omit the unhooking and apply the other steps. If you do want to unhook, however, I encourage you to start right away. The sooner you start unhooking every session, the faster you will progress.
This guide is going to break down a series of drills for you to work on, each with their own set of habits and lessons to apply, starting with the ollie, half-loaded pops, and scooping for a better pop. After the drills, we'll cover different variations of the pop and some useful tips to practice. I'm going to cover everything you need to know- let's get to it.
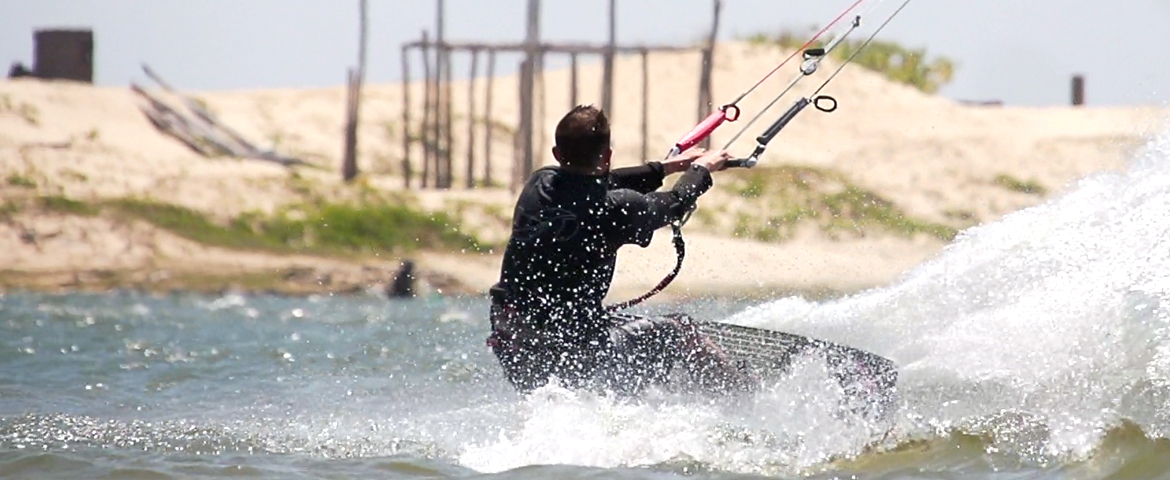
Keeping the kite low
Popping with the kite low or unhooked is different from a sent jump. When you send the kite, you're loading pressure into the lines as you stomp down and pull the bar in so the kite rips you off the water. You'll be doing something similar, except now the kite is low and fully powered as you load the lines. This means, as when cableboarding, you need to use your board speed and edging to load energy into the lines. You can't sheet in and take off. The technique is different.
We're going to cover some drills to teach you the basics of air ticks. The point of these drills are to work your way into it. As you improve your pop, you can start adding half-loaded grabs, spins and other variations to your riding. The ultimate goal here is to progress into air tricks with good form.
Push it, but don't get ahead of yourself
It's tempting to progress along to the next step quickly, but you will thank yourself later if you take the time to learn properly now and build that muscle memory.
Another recommendation would be to learn each step in both right and left directions. Doing this now will amplify your trick count and make each tack an opportunity for a new trick. This will also help you learn new tricks that align with your strengths. For instance, a front roll, for most riders, forces you to spin in an "unnatural" direction. If you ride and pop the trick on your unnatural riding direction, it will allow you to spin your preferred direction for the front roll.
Additionally, when you get to passing tricks, you may prefer to pass with one arm over the other. Being able to ride in both directions will afford you the freedom to decide which way works best for you and your strengths, rather than re-learning the basics again. The more muscle memory you build on one side, the harder, mentally, it gets to re-learn it on the other side. No one likes becoming a beginner again.
Just like a skateboard
Drill one - The ollie
There are a few goals for this drill:
- Learning how to unhook easily
- Learning to load tension in the lines
- Developing body and air awareness
- Learning to keep the control bar close
- Flying the kite with one hand
- Learning how to land properly for more powered tricks
This drill is going to build some muscle memory and help you establish good habits for more advanced tricks. It's far less intimidating and you can actually do a lot of fun stuff with it later, things like riding features and half-loaded grabs. Maybe even taken to blind or wrapped. Your imagination is the limit.
The goal here is to get used to getting airborne unhooked. I recommend starting with a piece of chop for extra air.
First pops
While hooked in, park your kite around 11:00 or 1:00. Remove your harness pin and take your front hand and split the bar between your index and middle finger. This will keep you from sending the kite too high or low. Your first attempts can be with two hands. Eventually, as you get more comfortable and consistent, learn this with one hand. Ride slightly downwind and let off your edge. This will take the tension out of your lines so you can unhook. Find a small piece of chop and ride at it. It should be slightly across the wind so you can edge a little against the kite. Bend your knees and keep your back straight. Lean back just a little to maintain an edge in the water. You should feel just a little bit of tension in the lines.
Start with two hands
As you ride up the chop, push down on your back leg and bring your front leg up. Right after, bring your back leg up into your chest. Keep the bar close, somewhere between your chest and your hips. Maintain a slight bend in your elbow so the bar doesn't get away from you. While popping off the chop, you should feel a transfer of energy from the control bar though your arms and body into your board edge.
In the air, keep up with the control bar and point the nose of your board downwind at the kite. If the kite is pulling away from you, try to pop more downwind next time. If you have to, let go and focus on landing flat, riding downwind.
To land, keep your arm bent and keep up with the bar. You should be jumping forward with your nose pointed downwind towards the kite. Doing this will allow you to simply drop into your landing. Land flat and downwind. Keep your knees over your shoulders and bend them as necessary to absorb the impact. The most important habit to establish here is not landing on an edge or being too eager to get back upwind. I mentioned that people are intimidated by the hard landings from unhooked riding, but if you learn to land downwind not only does it look better, but you can take so much power out of the landing. It's important that you learn this now.
Let the kite lift you up
Controlling the power
This is a great drill of understanding how to control the power of your kite as well. You can start by simply jumping off large pieces of chop or waves. As you gain control and confidence, experiment with loading up more pressure in the lines with your edging. The more upwind you edge, the more power you will put into the lines.
This drill should give you a solid foundation with unhooked principles. All of these habits are going to help when you start trying rotations and powered tricks.
If you practice this enough, you will build the basic skills needed and improve your confidence. Eventually, this will be very useful if you hope to ollie onto kite park features or half-loaded grabs in your riding.
Loading energy into the kite lines
Drill two - Learning to load the lines
Goals for this drill:
- Learning to use your body as a unit
- Learning how to stretch out in the air
- Learning how board speed and edging impact your pop
- Controlling more powered landings
- Developing kite awareness and control in the air
- Learning to pull the bar back into your hip for passes or landing properly
Like the last step, you will be developing more muscle memory. In this step, you're going to learn to load your lines. This is similar to step one, except now you're going to lean back to engage your edge more. You'll still want to split the bar, but you will be using two hands here. Instead of an ollie, you'll be practicing a half-loaded pop almost like a raley but not nearly as stretched out.
While hooked in, park your kite around 11:00 or 1:00. Remove your harness pin and take your front hand and split the bar between your index and middle finger. Keep both hands close to the center of the bar. Get decent speed, come off your edge for a moment and unhook. Re-engage your edge and lean back slightly. Keep your hips locked upright and roll your shoulders back. Remember to keep the control bar close between your hips and chest while you load.
You'll feel a little pressure load up in the lines; now carve away from the kite and stomp down with your back heel. This can be done with or without chop. As you carve away, throw your legs out behind you and let the kite pull you forward. As you come up, pull down on your front hand to send the kite down a little. This will pull you forward and you'll start to notice how the kite position and movement will affect you in the air.
As you pop into the air, you can stretch out a little bit for this one. Your arms should keep a slight bend and the control bar can rise up around between your chest or a bit higher than your head in the air.
As you start to drop, pull the control bar back down into your lead hip. You can even bring your front knee into your chest. Point the nose of your board downwind at the kite just like the ollie. Land flat riding downwind. This should be familiar as you've been practicing it with your ollie. Hook back in and edge back upwind.
Progressing your pop
Moving forward, you'll want to experiment by riding faster and edging harder. It helps to have bigger fins for this step. They allow you to keep a solid edge. You can also experiment with removing your fins. This will teach you to apply more heel pressure with your entire edge.
This drill will help you develop the muscle memory needed to progress into every other unhooked trick. The only factor that changes from trick to trick is how much power you bring and how you release your edge. We'll break those down in individual videos. The faster you go, the harder you edge, and the more you scoop, the higher your body and legs will go. We'll cover the scoop in the next drill. Make sure you spend enough time on this drill in particular. Establishing good form on the landing is important for the next drill.
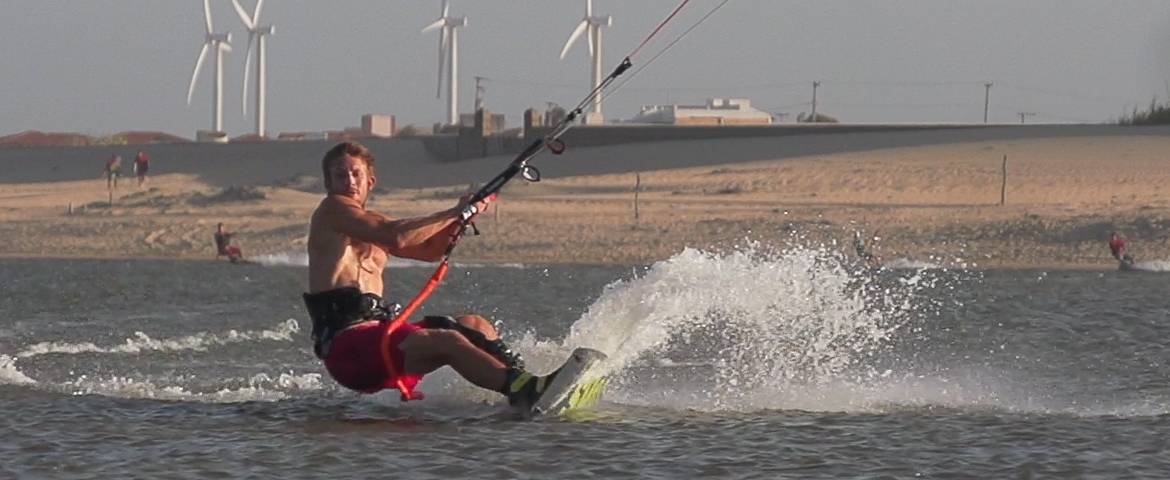
Stay locked at the hips & keep a straight back
Body position
Your posture is important in getting a good pop. When loading the lines, keep the control bar close. Sit back like you are sitting in a chair with good posture and leaning back. Keep your hips locked and pressure on your heels. If you bend at your hips like a hinge, you will take energy out of the lines and choke out the pop. Usually this happens because people are intimidated at the dramatic increase of bar pressure. This is only temporary and is what will pop you into the air.
Likewise, it's common for people to let off their heels. This causes the board to slip out and also reduces the slingshot effect. Imagine your body as a unit taking all the energy from the kite and edging upwind to release that energy.
The more tension you create, the harder you lean back, and the faster you go will all impact how powerful your pop is. The release is equally important. With this step, you'll be working on loading more power into the lines. Get used to loading the pressure in the lines and edging away explosively. Over time, it will no longer feel intimidating. It becomes addicting!
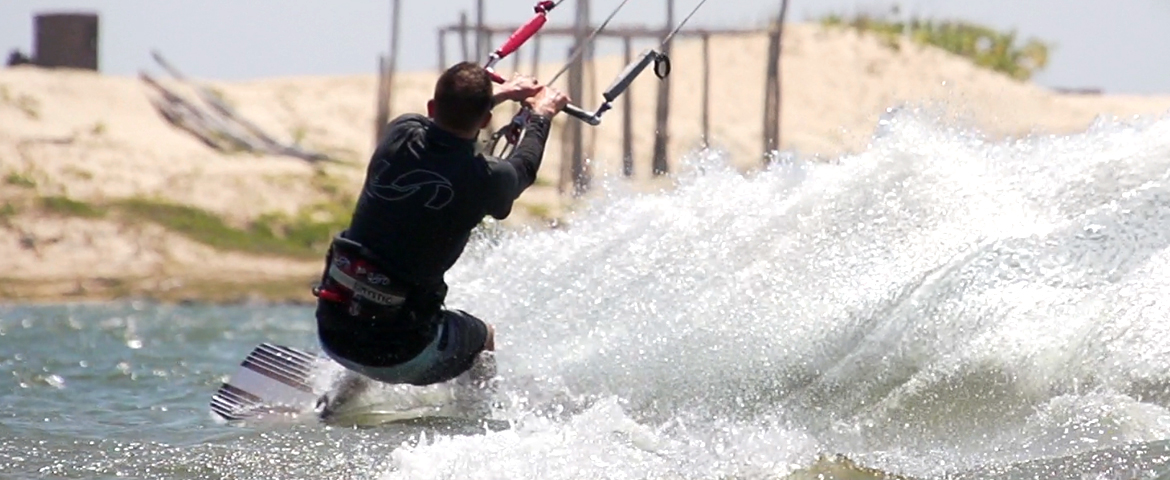
Scoop your board for a fluid pop
Drill three - Scooping for bigger pop
Goals:
- Developing your rhythm
- Understanding how to release the edge
- Mastery of the pop
Let's talk about the scoop. Imagine digging your edge so hard that you create a ramp in the water. As you edge away, your board will be sitting deep in the water. As you dig your edge and carve upwind, notice the spray of water in front of you. Start paying attention as you push off the back leg; the kite is going to pull you forward and your board is going to scoop away from the kite.
As the board leaves the water, you want to point your toes and throw your legs back behind you. This is going to be similar to a raley, except your kite is high and you won't be very powered. Don't worry about getting your legs above your head or anything. Get used to pointing your toes and feeling the release of your tail from the water.
Try to feel the pressure loading in the lines and into your arms. Imagine a direct line of pressure from your back hand to your back leg. As you scoop, stomp down on your back leg. This will send you into the air. As soon as you release, you want to immediately start pulling on your front hand to send the kite back down.
A good scoop is going to be fluid. You don't want to load too long and you want to bring some explosiveness to the trick. The more explosive your pop, the better chance you will have of generating slack in your lines. This comes down to board speed and the timing of your scoop and release from the water. No blog or video can help you past this point. It comes down to hours on the water practicing. Eventually you will find your rhythm. Keep practicing and you will naturally get better. Watch lots of videos and pay attention to the rider's flow. This only comes with time.
Landing
The landing is the same as the second step. If you diligently practiced pulling the bar to your hip and landing downwind, it should be easy. As you feel yourself coming down, pull that bar hard into your lead hip, or even into your front knee. Point the nose of your board towards the kite. Land flat and downwind. You will feel the kite lose some power as you ride out the momentum of your board speed. Hook back in, lean back and ride upwind like normal.
The point of this drill is to build your understanding of how to load the kite, how to scoop the board and how to control your landings. If you want to find your rhythm, be present for all of these steps. Think about your posture, feel the line tension. Be mindful of how your speed, edging, and release affect your pop.
Tips:
- Keep the kite higher when learning this, but your goal should be to keep it progressively lower. Start at 11 or 1 o'clock.
- As you pop, get in the habit now of flicking your kite down a little after you pop it!
- Practice taking your back hand off for a better-looking landing.
The Flick
To flick or not to flick?
Something you can do is flick the kite up when you pop. This works best in light wind conditions or if you are going for a big trick that needs more air. Some people frown on this, but honestly the only thing that matters is what you think about it. I use it all the time! As you scoop your board, you'll feel that energy transfer. While stomping down on your back leg just before release, pull on your back hand to send the kite up. As you come off the water, pull hard on your front hand to send the kite back down. This will give you extra pop and redirecting the kite will pull you forward.
Light wind pop
Lastly, I wanted to mention the variations. Something I just learned on my last trip to Brazil was how to make the most out of the size I was on. I noticed when I felt I didn't have the power to do tricks, the competitive freestylers were popping differently. The trick is to go downwind and do a series of small hops to build up a ton of board speed. The more speed, the better.
Try working the kite and hoping to break surface tension. It helps to have a flow to practice. Like 3 hops, unhook and land into a scoop on your last hop. Like: 1, 2, 3, pop. On your last hop, unhook and land into fast scoop as you connect with the water. Flicking the kite in these conditions is mandatory. Be as explosive as possible with your speed, your scoop and your body movement. If you are going for a trick, you need to rotate faster and harder than normal. It will take practice to get the timing right, but you'll be amazed at how effective this is. It will change everything, too, because crashing in light wind doesn't hurt too bad. In fact, it turns out riding in light conditions you previously thought not enough are the perfect time to try new moves.
The high wind pop
For the high wind pop, you don't have to go that fast. You don't have to flick the kite either. You can actually go a bit slower, at least for the basic tricks. When you ride downwind to unhook, you can let even more power out of the kite by riding slightly downwind. When you go to load like we covered, don't pop as hard. You can use a softer edge and release earlier. When the wind picks up, practice taking some of the power out of your pop. You still want to have a consistent, clean scoop and enough speed to catch up to the bar for a clean landing.
The mindset of progress
Both of these final techniques take practice to get right, but they are invaluable. The wind is, more often than not, gusty and inconsistent. Don't wish for better conditions; work to be a better rider. Most importantly, have fun with failure. Crashing is part of the process. The best riders failed more times than you can imagine. Learn to love the process. Have fun when you drop your kite. Enjoy swimming in the water. When you fail, think about what you did wrong and how to do it better. Stay positive and don't get frustrated. It's difficult to learn when you're frustrated. Getting intense helps sometimes, but so does laughing like a kid. Visualize your success by watching videos and seeing it in your mind. Commit to trying and experimenting. Believe you can land it!
I hope you found this guide helpful. You're about to embark on what I think is the most fun aspect of kiteboarding. If you have any questions, reach out to me on instagram, linked in my bio below.
Need help?
Add me on instagram and message me with questions. I'm happy to offer up some advice.
Kiteboarding equipment used for this playlist
The past 5 years I've changed my setup every season. These are my top choice kites and kiteboards. If you're interested in unhooked riding, these are my personal recommendations. If you have any gear questions, you can always message me with questions.
Kites
Slingshot RPM
Cabrinha FX
Liquid Force NV V9
Duotone Dice
Kiteboards
Slingshot Refraction
Duotone Team Series
Cabrinha CBL
Naish Stomp
 Ryan (Rygo) Goloversic
Many people dream of quitting their job, traveling the world and pursuing their passions. Rygo is one of those people who pulled the trigger. A few years into a postal career, he decided to change everything and travel as a kiteboarder, freelance videographer & writer. His mission is to help people and share the stoke. Get out there and kite!
Producer of: Ride with Blake I Sessions I Versus I Destinations I Foil Fridays
Recent Posts
-

Duotone Ventis 2025 | What's New?
If you're familiar with Duotone's Ventis, you know its specialty is freeriding in light wind …23rd Apr 2024 -

Duotone Ventis D/LAB 2025 Overview
If you ride in an area with multiple light wind days and need a wing that'll let you get o …23rd Apr 2024 -

Foil Drive | Essential Maintenance Tips to Help Enjoy Your Ride
Ryan from MACkite takes a few minutes to chat with Ben from Foil Drive and pick up some ti …22nd Apr 2024