

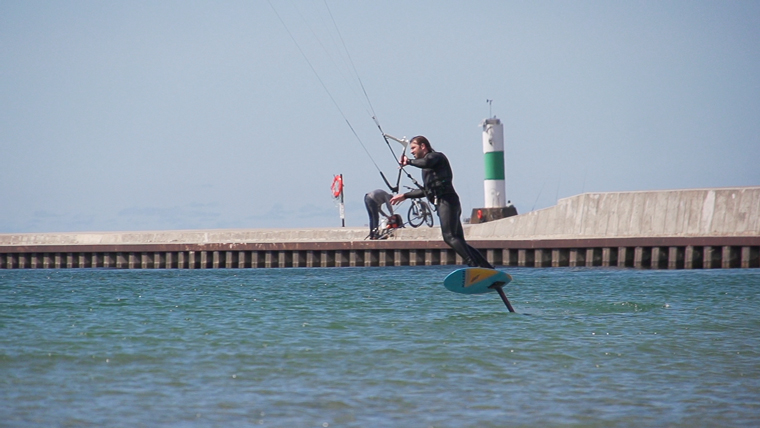
Foilboard Transitions: Heelside to Toeside - Ticket to Glide Ep 2
This video will kick off a new series of videos showing some foil trick tips that you can look to learn in your beginner and intermediate stages of kiteboarding. We will be trying to drop one of these every week or so for the foreseeable future. So... keep an eye out.... and get ready to progress through some basic techniques and tricks.
The Heelside to toeside transition
This week we are going to start with a familiar obstacle for new foilers...your first tacks. I speak with new foilers almost every day that are having problems making laps once they learn ride on foil.
The issue tends to be that they are attempting to complete stance changes during their first few sessions. My recommendation to these new riders is to forget about the stance change and transition to toeside instead.
Today we are going to address the heelside to toeside downwind transition, as well as the toeside to heelside downwind transition. These are the most basic transitions you can do; there’s no stance change, and they don’t require ducking the lines, cutting upwind, or anything hard like that.
This is a great way to get out there and foil a lot without having to constantly boardstart or reset your foil and go through those real learning pains. It’s also going to set the groundwork for the rest of our transitions and a lot of skillsets that are going to become valuable for you as you begin to foil more and progress into different kinds of riding styles. This is my recommendation to newer riders to begin their first transitions, and it’s going to do three things.
First It’s going to allow them to stay on foil and ride more, rather than having to boardstart constantly or trying to do stance changes. If you’re riding in light wind as well, which a lot of foilers are, it should help to save you some time by not dumping your kite and having to swim it in constantly in those light winds where you can’t relaunch.
Second doing these heelside to toeside transitions and toeside to heelside transitions really lays the groundwork for a lot of your board skills and getting the feel of your foil when you’re turning and carving back and forth. When you’re forced to do a turn at the end of every tack, it really reinforces those skillsets and allows you to learn how the foil reacts when you tip it on edge and lay into your turn.
Third it forces you to ride toeside half the time. When you’re riding toeside, you’re dealing with a lot of skills that are really beneficial in other styles of riding, tricks, and necessary maneuvers when you’re kitefoiling. It’s also an essential skill for most freeriders and people that want to ride swell downwind. Also, it’s just a nice way to cruise in the other direction without forcing yourself to ride too far upwind because it can certainly be an issue when you’re foiling to get caught upwind, especially in light winds where it’s so hard to make your way downwind.
Taking that more mellow approach on your toeside will allow you to stay in that same line of riding without having to think about it too much. Those are some reasons why you might want to learn your heelside to toeside transitions/toeside to heelside transitions and get out there and just foil more, boardstart less, and build some of those skillsets.
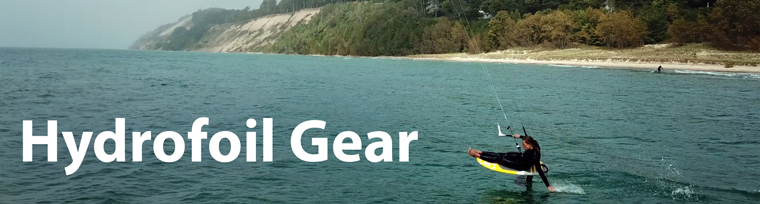
Check out our latest gear at the shop
Equipment
The first thing you’re going to do when you’re going out for your foil progression of any kind is to make sure you’ve got the right equipment for the day. Pumping up the right kite and having a stable foil that you can progress on is a great way to start. No one likes getting out there and trying to progress when they’re either severely under powered or really overpowered.
That’s just going to reinforce bad habits and make it a lot harder for you to progress in the future. It also puts you in a bad position in terms of safety, as well as just having a good session, so make sure you’re rigging the right kite and understand which ones you like for each foil. If you have any questions about that, you can always reach out to us.
![]()
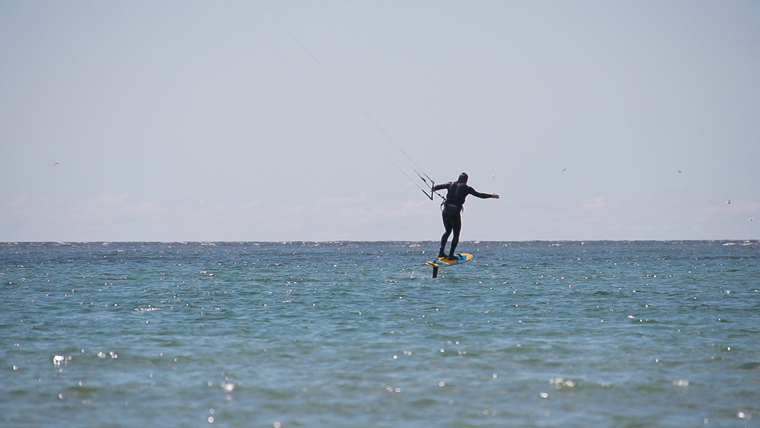
Lead the transition with your kite
Getting into the actual trick
Lead the motion with your kite.
As you’re moving in one direction, on your heelside, you’re going to initiate the turn, or the transition, with your kite first, just moments before you’re going to initiate the turn with your board. So get that kite moving. A quick note, larger the kite, the longer you’re going to have to wait for it to come around. Now, as that kite starts to turn you want to mirror that motion by angling your board slightly downwind. Make a point to go with the tension of the lines. Don’t fight the tension and don’t do it pre-emptively where you’re going to slack your lines. Rather just go along with it as if it’s pulling you around a corner, and that’s going to allow you to get through the transition smoothly, keep power, and not
Hindenburg your kite. On the toeside it’s the same idea, only you’re going to be leaning a little bit downwind on your heels rather than your toes, but again, initiate that turn with your kite, follow a moment later using the board, and that’s going to allow for a smooth transition without real heavy power spikes, and allow you to deal with that surge of power as you accelerate and transition through the turn.
![]()
Incorporate downloops
For more powered situations, or if you just feel more comfortable from a basic level, your kite movement should be from that 10-to-2 position, or 2-to-10 position going the other direction. If you’re feeling under powered, or you have a faster foil that requires more power to stay on foil, you can pull a down-loop, which is going to allow the kite to move through a more powerful section of the window and really drag you with more acceleration through the turn. If you’re having an issue with slacking your lines or it’s just real punchy wind, that’s another great time to do it, but when you do that downloop, you’re going to want to make sure you carve a larger arc and head straight downwind as that kite comes about through the power zone, because you are going to accelerate quite a bit since the kite is going to pull you with more force.
So, aim your board downwind as the kite comes across, and ride out that spike of acceleration first. That’s going to allow you to deal with that power without gaining a lot of extra power due to the apparent wind that you’re going to be creating with your board. After you ride it downwind and hit that power spike, begin to carve back towards the direction you want to head on your toeside. Remember- keep weight on that front foot because as you accelerate; more lift is going to be generated. It’s really easy when you’re riding toeside to put too much weight on your back foot. Remember to stay centered, put that pressure on your front foot as you accelerate, and that way you won’t Charlie Brown out the second you accelerate and you have too much weight on your back foot. As you do that, be careful not to bring the kite up too high because it can be difficult to get your weight back downwind when you’re riding toeside if you do that too soon.
Again, bring that kite across and mirror that by carving across. A lot of people find that riding from toeside and transitioning to heelside is easier because you’re finishing in a more natural position. Once you’ve got that down, you can always switch stances. Start out with your right foot forward, and then try to do the same thing to toeside and heelside, just to build those unnatural riding skills and a riding position you might not be as comfortable with. It can be a difficult one to get used to if you’re not used to riding unnaturally with your other foot forward, you’re a surfer, or just haven’t been kiteboarding that often on a twintip.
Once you have that dialed, play with your rails a little bit; you can really feel out the turns of your foil and learn a lot about it: little carves downwind, fading downwind, and carving harder upwind, maybe even pumping just a little bit to get the feel of that. It’s going to help further those skills and get you even more comfortable and ready to freeride and run downwind waves, plus you’ll build those skills that are going to be so important as we move on to our next foil transitions.
Next episode we'll break down a more advanced hydrofoil transition
Tune back in two weeks. We’re going to be working on some drives with foot changes, some tacks with foot changes, some upwind duck tacks to toeside, and toeside to heelside duck tacks, as well as some fun tricks like carving 360s, and some other stuff we’ve got planned. Our current schedule says we’re going to be adding tips about every two weeks or so. We’ll see you for our next video, which will be a jibe with a stance change.
Written and produced by Ryan (Rygo) Goloversic Blake Olsen and Tucker Vantol

Tucker Vantol
Mackite's resident surf and "Hydrofoil junkie." You can either catch him on the phones or on the water at dawn testing new gear. He is proficient at a myriad of sports, a shaper and passionate about getting his water time. When he discovered kiteboarding it took over as his predominate sport. The same could be said about hydrofoiling.
Recent Posts
-

Kiteboarding | Crafting the Harlem Force Kite with Sustainability and Performance
Unparalleled Performance Meets Unmatched Sustainability The kiteboarding industry is on …24th Apr 2024 -

Duotone Ventis 2025 | What's New?
If you're familiar with Duotone's Ventis, you know its specialty is freeriding in light wind …23rd Apr 2024 -

Duotone Ventis D/LAB 2025 Overview
If you ride in an area with multiple light wind days and need a wing that'll let you get o …23rd Apr 2024