

Foil Fridays - How to Wing Surf / Foil - First steps and Tips
Chances are, if you clicked on this blog, you are interested in learning to Wing Surf or Wing Foil. SUP, Foil, Surfboard, Snowboard, Skateboard... whatever you decide to put on your feet, Wing Boarding is the hottest new wind sport. It combines a kiteboard kite-like sail, handheld similar to a windsurf sail, only not attached to the board, to propel you. It requires only basic board skills to start and minimal equipment. In addition, it is simpler and safer to learn, so everyone can have a blast. Higher performance will come with the ability to combine with a hydrofoil for top speeds, upwind ability, and jaw-dropping maneuvers.
We have been learning and testing these new wings for a short time now and something was immediately apparent to us. As with most sports, but wind sports in particular, initial learning can be challenging. But, with a few tips and proper progression, the learning curve really accelerates. If you are a seasoned windsurfer, you can probably speed through these drills; those with no windsport skills should take their time before progressing to the next step. Take a read through our learning progression and tips to learn to Wing Surf in a few easy steps.
Play with your Wing
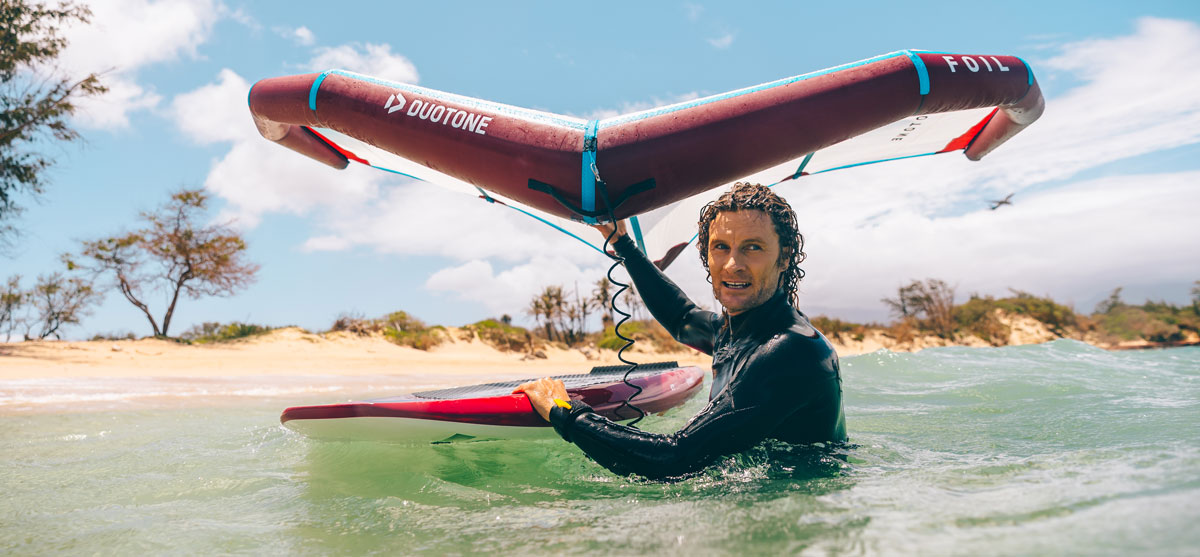
The first step is simply playing with the wing on land. Get it out on a light wind day (8-15 knots), pump it up and learn to handle the kite. It seems silly, but learning how to simply flip the wing over, get into riding position, and add power to the wing is a huge advantage when you get into the water. Here are a few things to work on during your land session...
- Hold the wing into the wind using only one hand on the leading edge. The outside of the canopy up or down, the sail should hover in adequate wind. Imagine you are holding the front edge of a flag and the rest of the sail is simply falling downwind. This is your neutral position and it will allow you to hold the wing without power in the sail. Walking around the beach, out to the water, positioning the board, and standing up will all benefit from this skill.
- If you intend on pulling in and powering the sail, it should have the inside canopy pointing downward. If your inside canopy is upwards, you'll need to flip it. That's easy enough on land in light winds but when you get into the water in some wind, it can be very difficult if you do not have the correct technique. That means you should get plenty of practice on land before struggling in the water. Taller riders may be able to hold their hand high and twist it on small sails, but more likely you'll have to flip it using a "powered flip" that we have discovered. To perform a powered wing flip you should slide both hands towards the one of the wingtips, pull in on your wing leash until it catches some wind, then allow the kite to flip similar to a kiteboard kite relaunch. If you do it correctly, you can climb the leash or leading edge and be in the correct orientation with the inside of the canopy pointing downward (boom down). We recommend practicing on your knees since you will usually be in the water for this.
- Now that you have learned to get into your "neutral" position and flip your kite, let's talk about adding some power to this equation. From your neutral boom down position, pull your leading edge hand close to your face and grab the middle of the boom with your other hand. You will want to really reach out and position your body so you do not pull the sail into the wind before you are ready. New riders and windsurfers in particular will instinctively hold the boom horizontally, but you do not want to do that. With wing boarding, pointing the wing upwards is important for starting motion and slower speed riding. Any downward position of the wing will cause it to fly down into the ground/water. Remember, this thing is a huge paper airplane that will fly where you point it. On land, practice holding the sail in a vertical position then move it slowly into a 45 degree angle towards the direction you would like to travel. Play with how much you pull the sail in. Like kiteboarding and windsurfing, or really any kind of sailing, you can over-sheet the sail and cause it to loose power rather than gain. The higher the wind, the more you can sheet in. There is a fine line between good power and over-sheeting, so play with it and get the feel for where that is. Once again, experienced wind surfers and even sailors will have a huge advantage in this area of progression.
- If you intend on riding a smaller board eventually, you can practice jumping from your knees to your feet. To pop to your feet from your knees, lean on your back leg and move your front foot to a flat foot position. Follow with the back leg and you are standing.
- If you have a skateboard or mountain-board and adequate padding, a large area of grass or pavement and light winds (5-12 knots) will allow you to add some excitement to your land practice. Just remember, you can really get moving with this sail and the crashes will be significantly more painful on land. Drop your back hand and hold on with the leading edge hand to depower your wing. We have even seen people practice on OneWheel skateboards for maximum Wing Foil practice.
With some good practice on land, you will gain knowledge and muscle memory that will help you progress more quickly and easily when you get to the water. If you can get out for a second land session in a bit more wind (15-18 knots), that will allow you to feel out the power and handling in powerful wind before you add a board.
WhatSUP?
For your first water session, look for a good sideshore or side-onshore wind around 13-18 knots. Offshore wind is not recommended without a support boat. Smooth water is ideal but not necessary, though large waves will be problematic for your first session. Avoid the temptation to pull out your smallest SUP and grab a big paddle-board instead. If you don't own one, rent or borrow one. It seems like everybody has a basic SUP these days, so you probably know someone. It will give you a lot more stability and plane-ability. This will maximize your fun and progression rather than tiring you out from tipping and stumbling around. If possible, planning for a downwind ride is ideal. If you do not, you will spend two-thirds of your time simply walking back upwind. Tap into your local paddleboard crew; most locales do downwind groups frequently. They will probably be stoked to see someone try Wing Paddle-boarding and compare the downwind speed and ease to a traditional downwind SUP. Just be ready to share, because this wing boarding is contagious.
- Get out and set up near the water's edge. Carrying the wing and board together can be cumbersome for long distances. When carrying your board, put it on your upwind side and hold the wing on the downwind side. This will allow the wing to hover nicely downwind in your hand.
- Make your way out into the water. Remember to look for other beach goers and avoid them and keep a safe distance downwind.
- Once you are in a good zone, make sure your wing is positioned boom down.
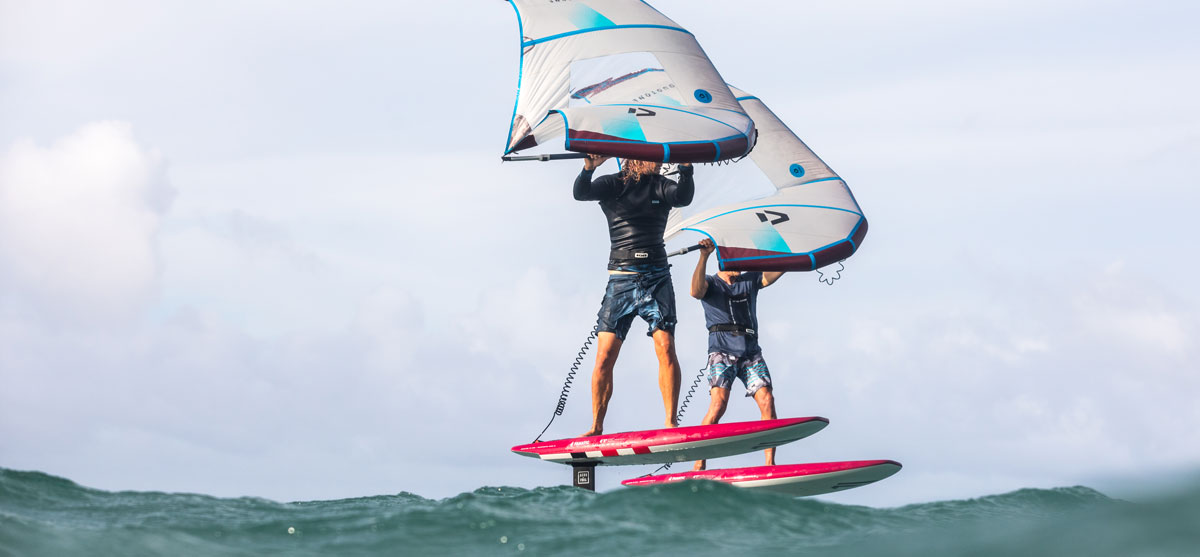
- Point your board downwind and come to your knees. Gain stability on the board, then pull the leading edge close to your face and grab the boom with the other hand. Remember your land practice and angle the wing upwards with very little power. When you are ready, point the wing slightly in the direction you want to go and sheet in slowly to power the sail. If you have enough wind, stayed on your board, and are moving... congrats, you are wing surfing! Practicing on your knees for a while will help lower your center of gravity and get a feel for riding crosswind without having to think too much about balance.
- The next step kind of goes without saying; just stand up. On a stable board, riders will find it easier to stand, then engage the sail. If you are riding a smaller SUP or want to progress into a smaller SUP, I'd recommend practicing the knees-first start. If you start moving on your knees, then pop to your feet, you can keep the wing powered to provide directional stability. To pop to your feet from your knees, lean on your back leg and move your front foot to a flat foot position. Follow with the back leg and you are standing. This skill is crucial if you intend on riding a small board.
- Once you can ride stable for a few hundred yards in both directions, start to work on your board direction. Point it downwind, start to work on pointing upwind, then work it back and forth. Riding upwind on a SUP without a foil requires a ton of skill and the right conditions, so do not get too disappointed if you cannot do it. For most riders, upwind riding will require a hydrofoil.
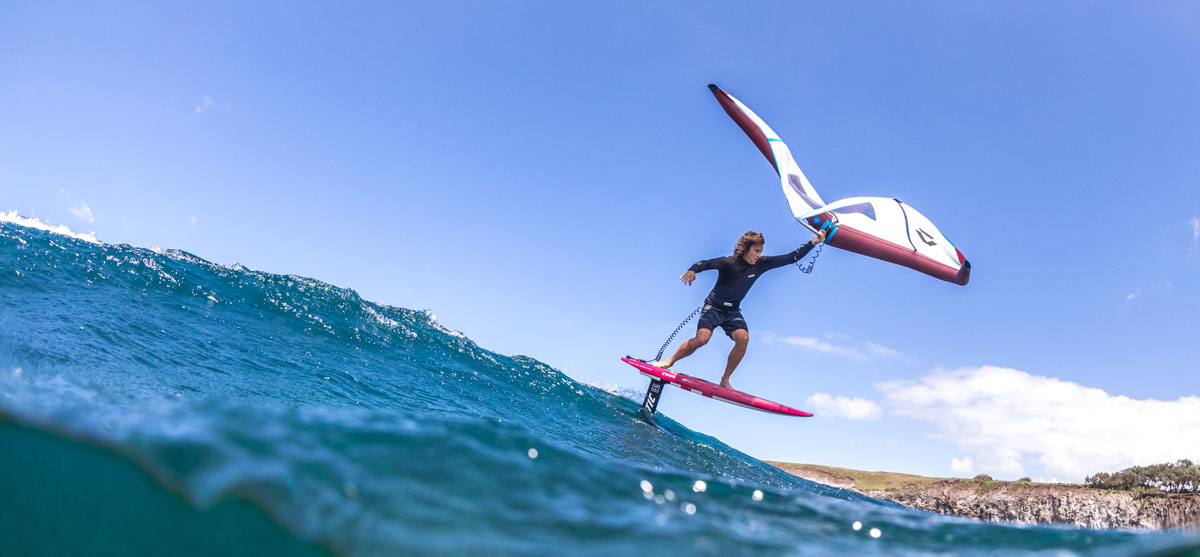
Wing Foiling
Compared to wing surfing or wing boarding, adding a hydrofoil to your SUP will supercharge your wing's performance. Once on foil, the drag and surface tension is significantly reduced. As a result, you gain acceleration, top speed, maneuverability, and significant upwind advantage. While you do not need much power once on foil, you still need enough power to lift off. SUPs have a good amount of drag, so we find that most riders will need at least 15 knots of wind to be successful foiling on XL hydrofoils. For average-sized new riders, a good 17-22 knots is ideal since you are less efficient. Flat water is a huge advantage as well.
- If you have not already done so, get behind a boat and learn to hydrofoil first. Find the "sweet spot" where you feel most comfortable/stable standing while foiling. Our how to foil guide can be found in steps 2-5 here: http://www.mackiteboarding.com/news/learning-to-foilboard-behind-the-boat-foil-fridays-/
- Rig your hydrofoil with your largest wing. Most riders will need at least 1900 cmsq to be successful; 2200+ is best for learning and moderate winds. If you are unsure which foil to use or buy, please contact us for a personal recommendation. The correct gear is required for success.
- When carrying your board and wing, try to keep the wing downwind and your board upwind at all times. This is to protect your wing and body from foil damage. If not possible, do your best to keep your wing in your hand and avoid collision with the foil wings.
- To get started, get to your knees, get moving, then pop up and accelerate. Pay close attention to your foot position and find your foil's sweet spot.
- When you get up to the correct speed, shift your hips backward slightly. If you are positioned correctly and carrying enough speed, you'll begin to lift off. When you get 10" or so above the water, shift your hips forward slightly to level off the board. Bam, you are wing foiling!
- When you fall, be sure to keep your front hand on the leading edge. Failure to do so will leave the wing at the mercy of the wind, and it eventually will find its way to your hydrofoil. Trust me, it has happened to me already. For this reason, we recommend wing foilers take a good strip of rip-stop tape and scissors to the beach. It can save your session and the possibility of an expanded canopy tear.
- Much easier said than done for sure, most riders will need a good 20-25 hours of prerequisite and practice before they successfully reach short flights on foil. Keep at it and eventually you'll be flying around like it's second nature.
This is a new sport for everyone; embrace being a part of something new and help form its future. I can only imagine the cool tricks and rides that will be emerging soon. I am positive that we are only seeing the basics now, and some riders will surely push the limits of our current imagination.
If you are interested in the current options for wings shipping June/July 2019, check out our last Wing Foil blog... http://www.mackiteboarding.com/news/state-of-wing-surfing-and-gear/
We still have availability for our first shipment pre-book from Duotone, Naish, and Slingshot. Reserve now for summer fun! http://www.mackiteboarding.com/wing-foiling/
Recent Posts
-

Kiteboarding | Crafting the Harlem Force Kite with Sustainability and Performance
Unparalleled Performance Meets Unmatched Sustainability The kiteboarding industry is on …24th Apr 2024 -

Duotone Ventis 2025 | What's New?
If you're familiar with Duotone's Ventis, you know its specialty is freeriding in light wind …23rd Apr 2024 -

Duotone Ventis D/LAB 2025 Overview
If you ride in an area with multiple light wind days and need a wing that'll let you get o …23rd Apr 2024